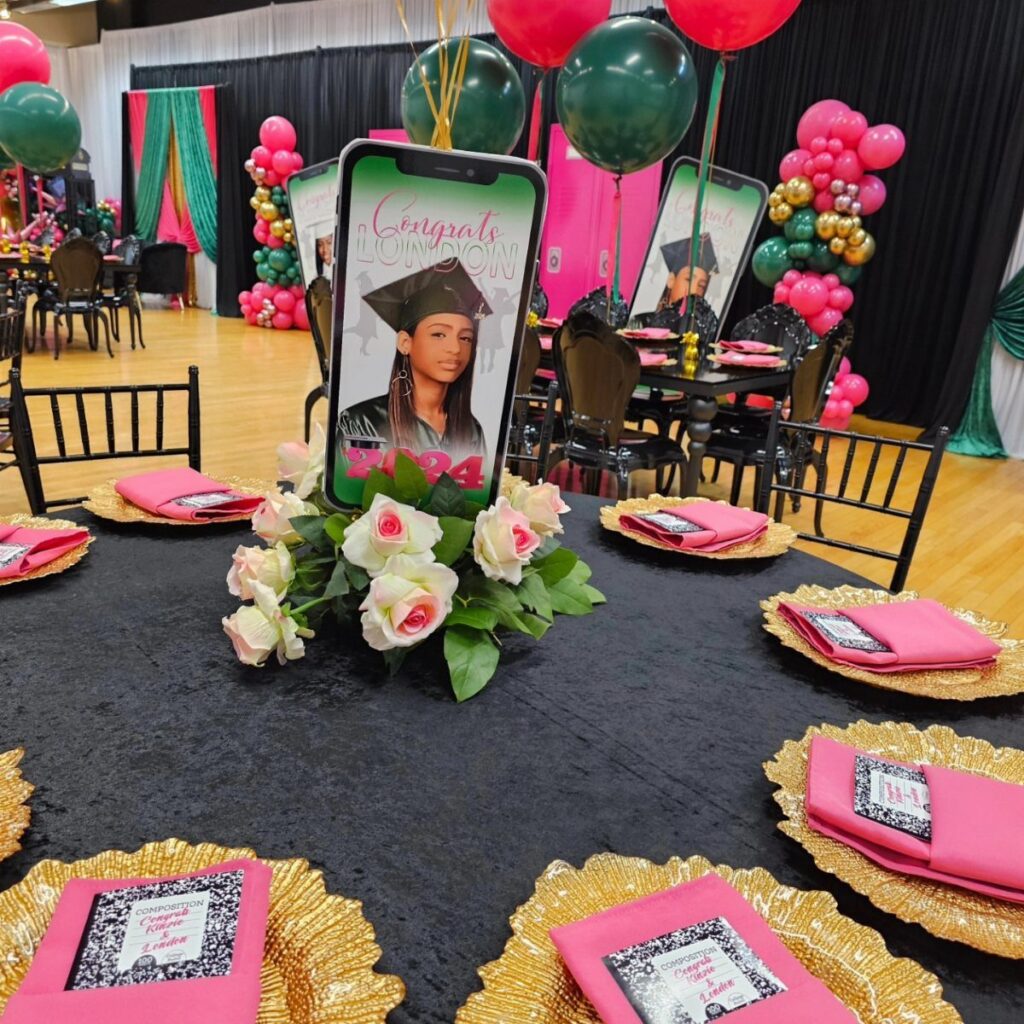
The list runs from a mason jar filled with school colors to a law scale holding fresh flowers, with glitter caps, trophy cups and floating candles in between.
Your table’s size and your schedule pick the winner: if you have one afternoon, batch the cheap pieces like painted jars and glitter caps, and if you have only minutes, buy balloons and skip the crafting.
1. Mason Jar Centerpieces
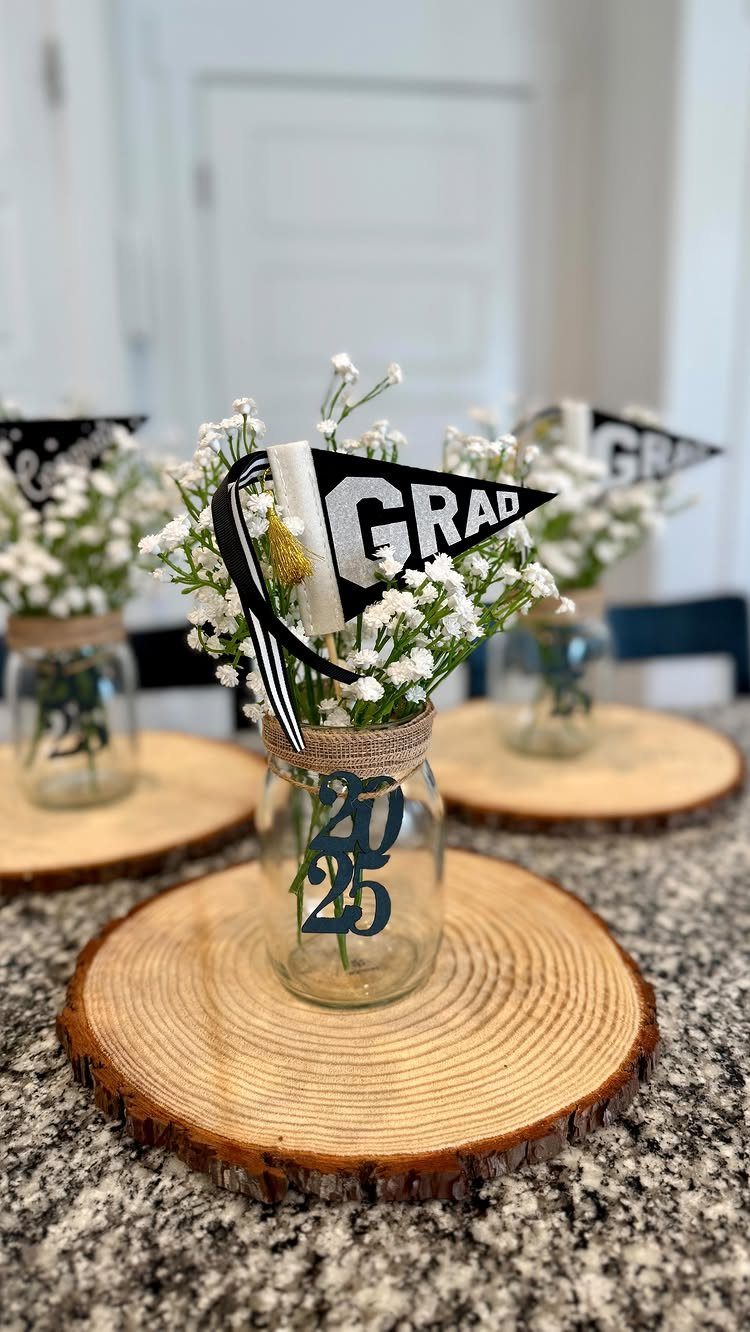
Baby’s breath is the right flower for a mason jar centerpiece: it costs little, fills a jar fast, and looks full even with a small bunch. Keep the arrangement plain and let the jar carry the message.
A "GRAD" flag tucked in each jar and the year on the glass say everything the table needs.
Set each jar on a wood slice so it sits on something rather than bare table. 3 jars to a table is enough.
2. Cupcake Tower Displays
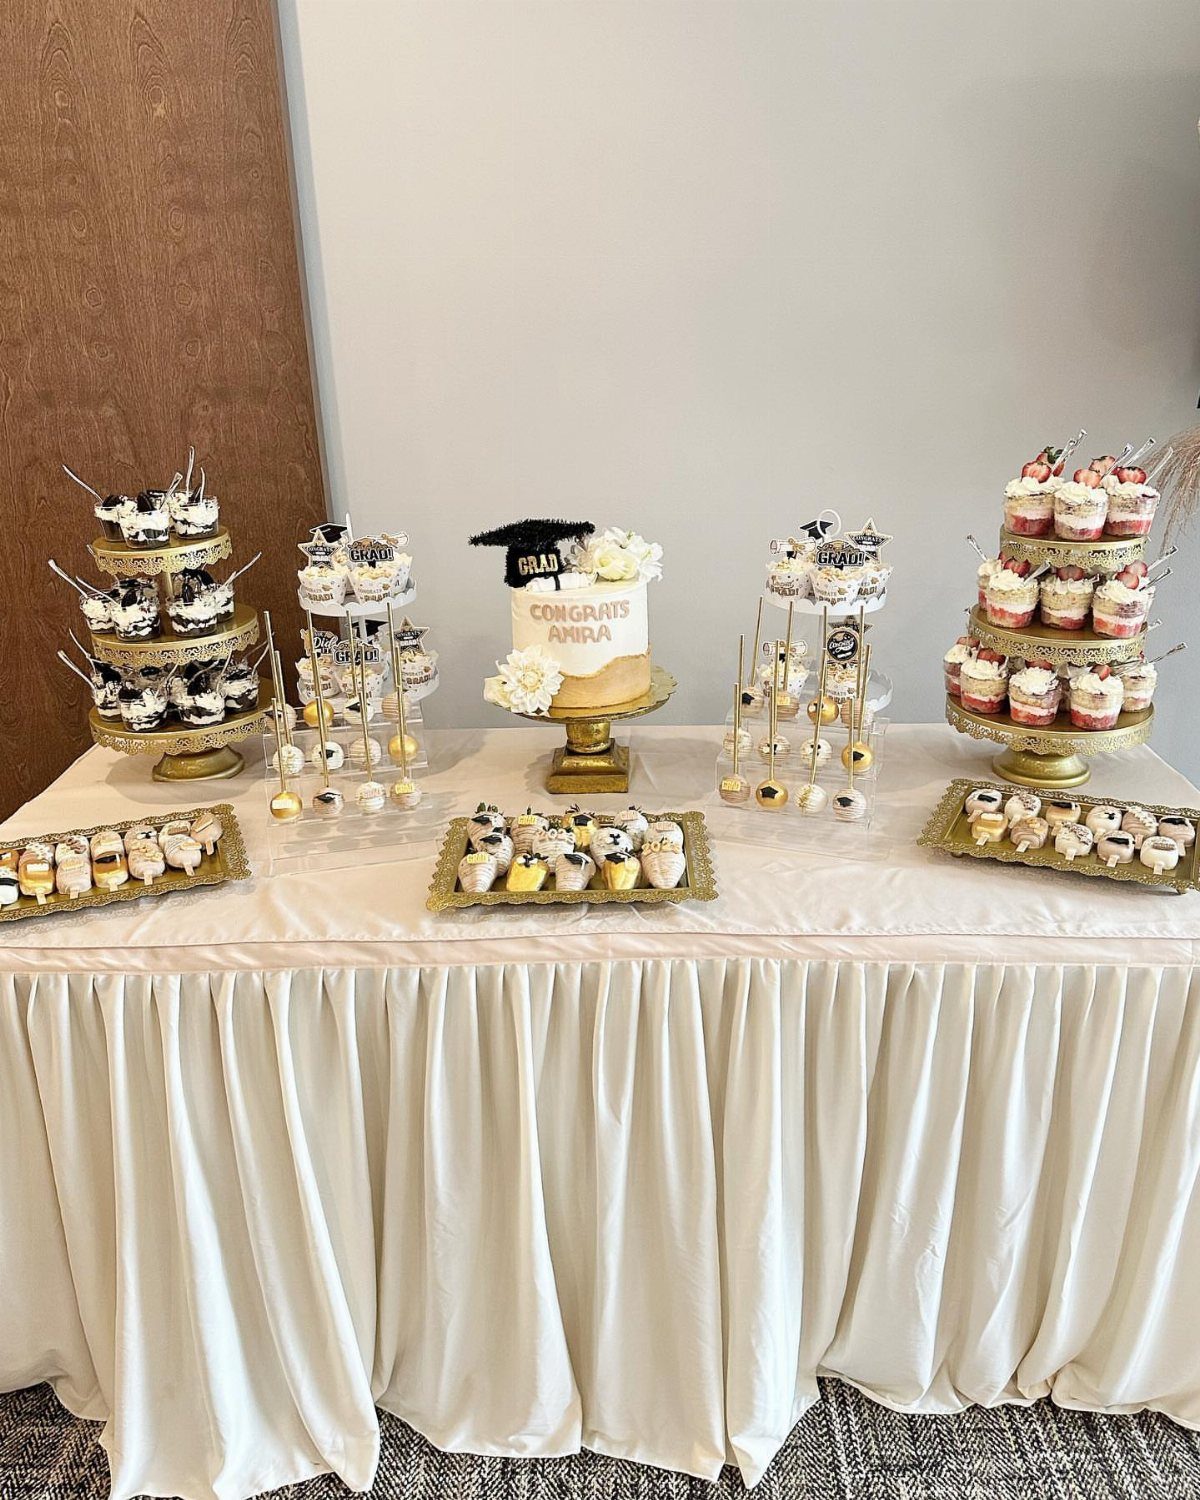
Flat trays make cupcakes look like an afterthought. Tiered stands fix that by adding height, and a dessert table with height reads as a centerpiece without any flowers.
Gold stands lift the display and pair well with white linens. Put the cake on the table beside the stands, and fill any gaps with small treats so no spot looks empty.
I would pick tiered stands over a bigger cake every time. They hold more food and cost less effort.
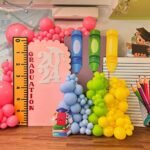
3. School Colors Balloon Bouquet
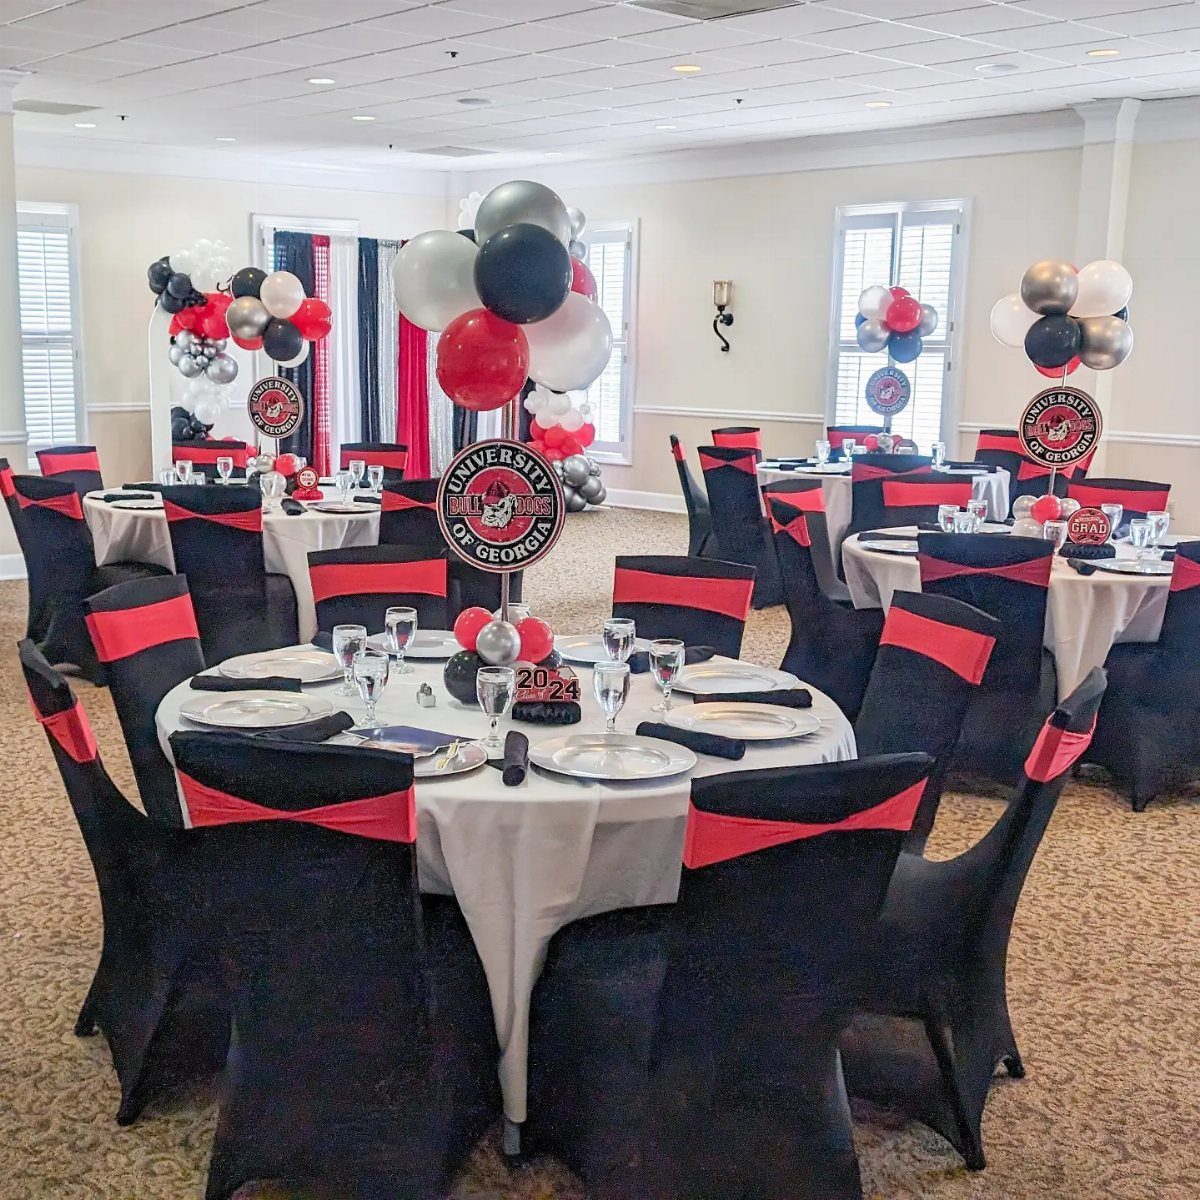
School color balloons identify the school without needing signs or banners. Matching your school’s colors is the cheapest way to make a table feel like it belongs to one specific graduate.
Group the balloons into a bouquet at each table instead of scattering them. Add a year marker and a school sign at the base so the display reads as intentional.
Pick 3 colors at most. A fourth starts to look messy.
4. Cardstock Graduation Cap Centerpiece
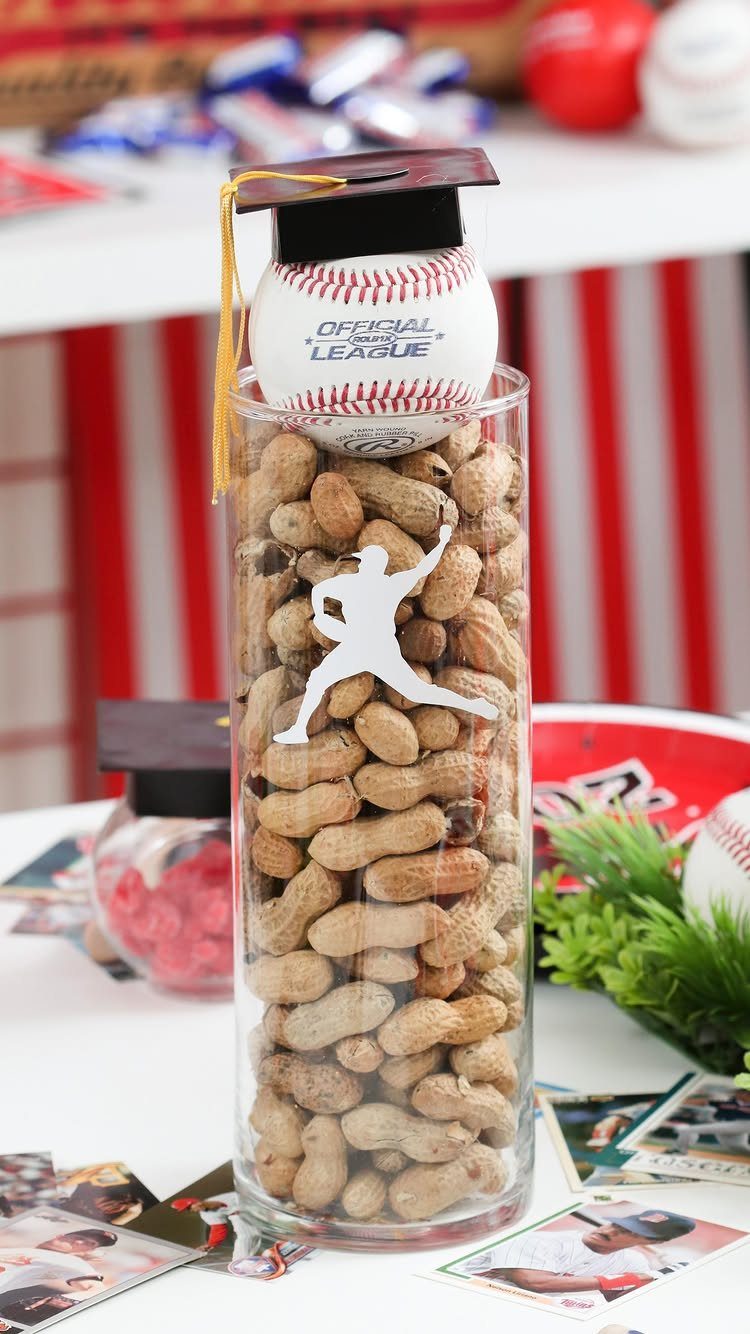
A baseball in a small cardstock graduation cap works for an athlete and takes almost no time to make. Black cardstock, a pair of scissors and tape get you a cap in minutes.
Choose a cap made for the ball’s size, so it stays put.
5. Floral Arrangements with Graduation Caps
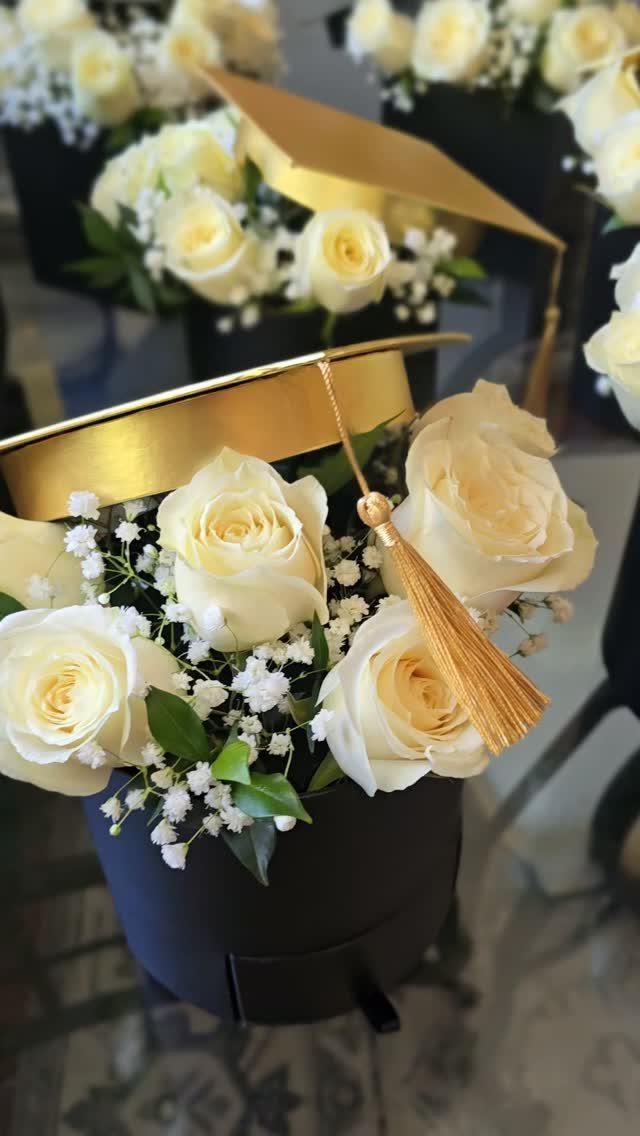
White roses with baby’s breath look polished in a black cylindrical box, and a gold cap with a tassel on top turns them into a graduation piece. The neutral base lets the gold pop.
Make several matching arrangements instead of one large one. Repeating them down a table looks planned and gives every guest something to look at.
Fresh roses cost more than baby’s breath alone, so use roses sparingly and fill around them.
6. Trophy Cup Florals
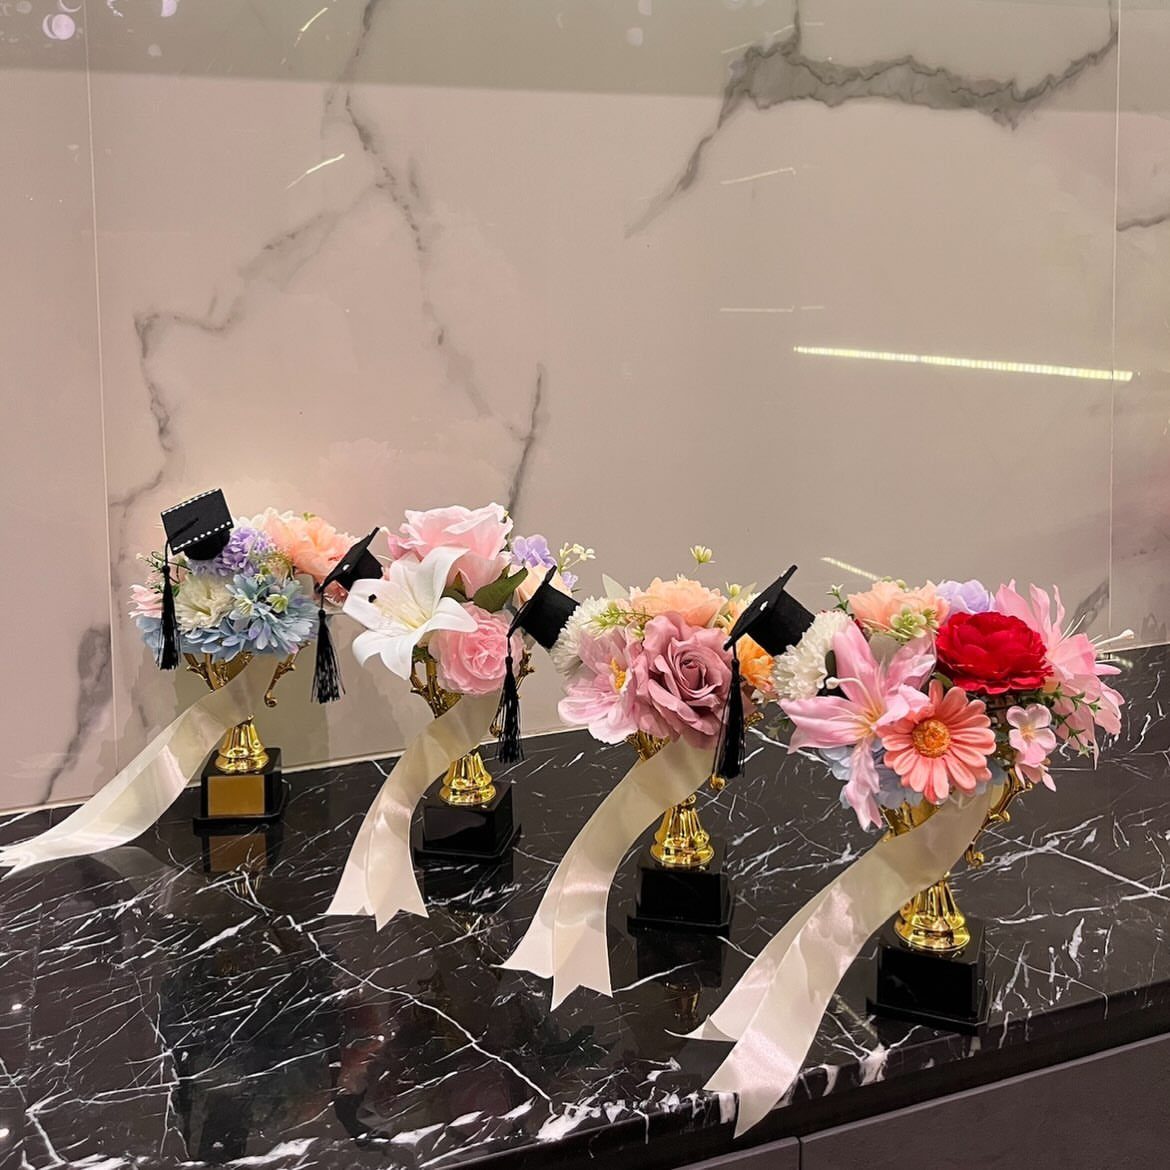
Gold trophy cups hold flowers well and say "achievement" without a word. Filling them with artificial flowers means you can assemble them days ahead, and they will not wilt on party day.
Top each cup with a miniature black graduation cap and tie on a white ribbon. Matching cups look better than mismatched ones, though the flowers can be mixed.
I prefer a cluster of cups to a single one. A cluster looks like a display.
7. Glitter Graduation Hats
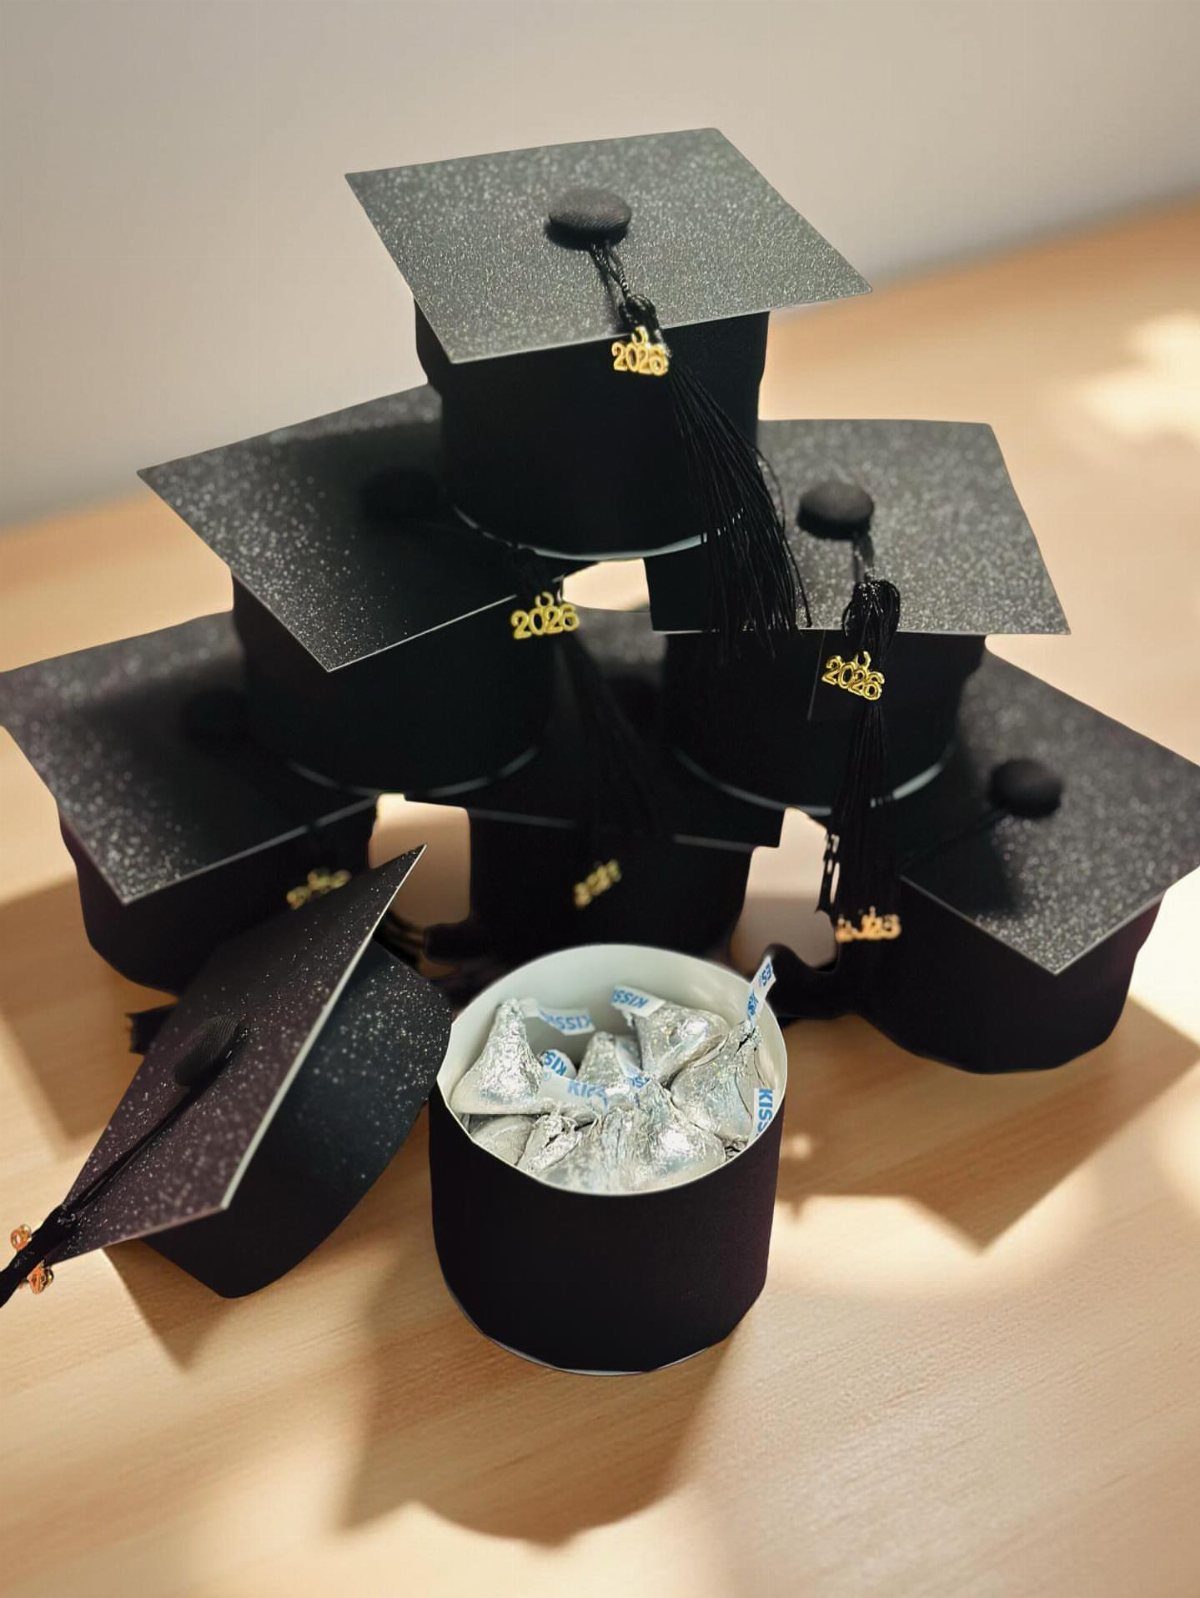
Glitter-topped cap boxes double as centerpiece and party favor, since each one opens to hold candy. Silver wrapped chocolates fit the black and sparkle well, and a "2026" charm on each box puts the year where guests can see it.
Stack a small pile of boxes instead of spreading them out. Keep one lid open so guests know they can take a treat.
Refill the open box during the party, because an empty one looks sad fast.
8. Law Scales Floral Centerpiece
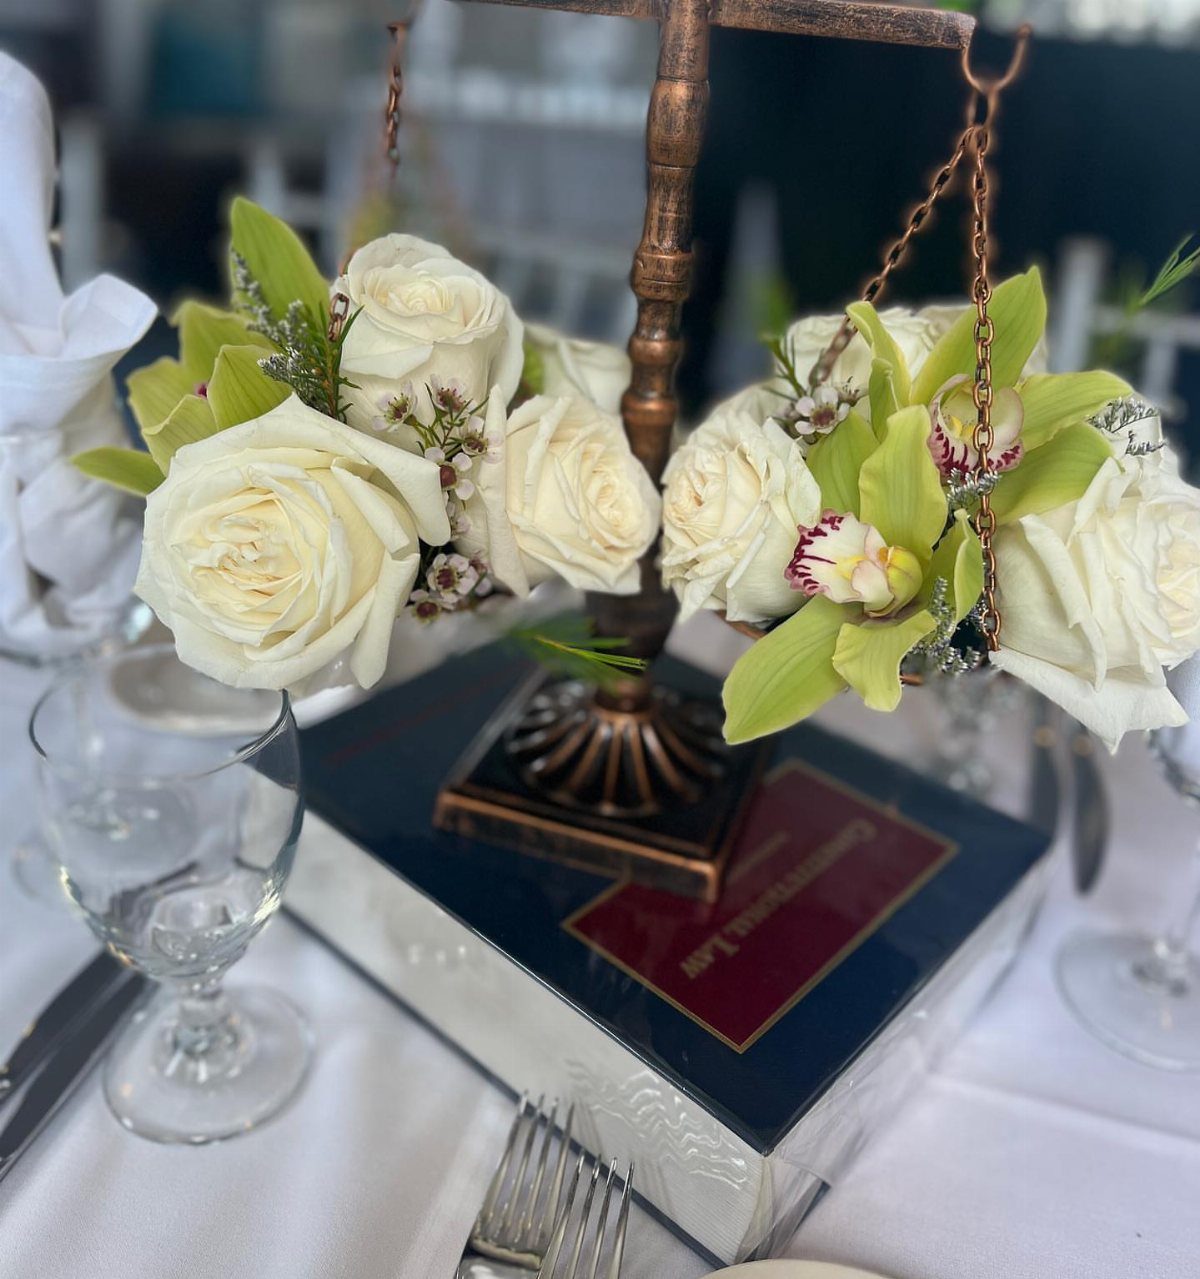
A bronze balance scale holding white roses and green orchids suits a future lawyer better than any generic vase. Set it on a law textbook and the scale has a base, a height boost and a message in one move.
Pick a book with a title that fits the graduate’s field. I like white and green flowers here because they keep the bronze looking formal.
Fresh orchids and roses cost more than filler flowers, so use a few stems and keep the scale pans small and full.
9. Open Book Flower Arrangement
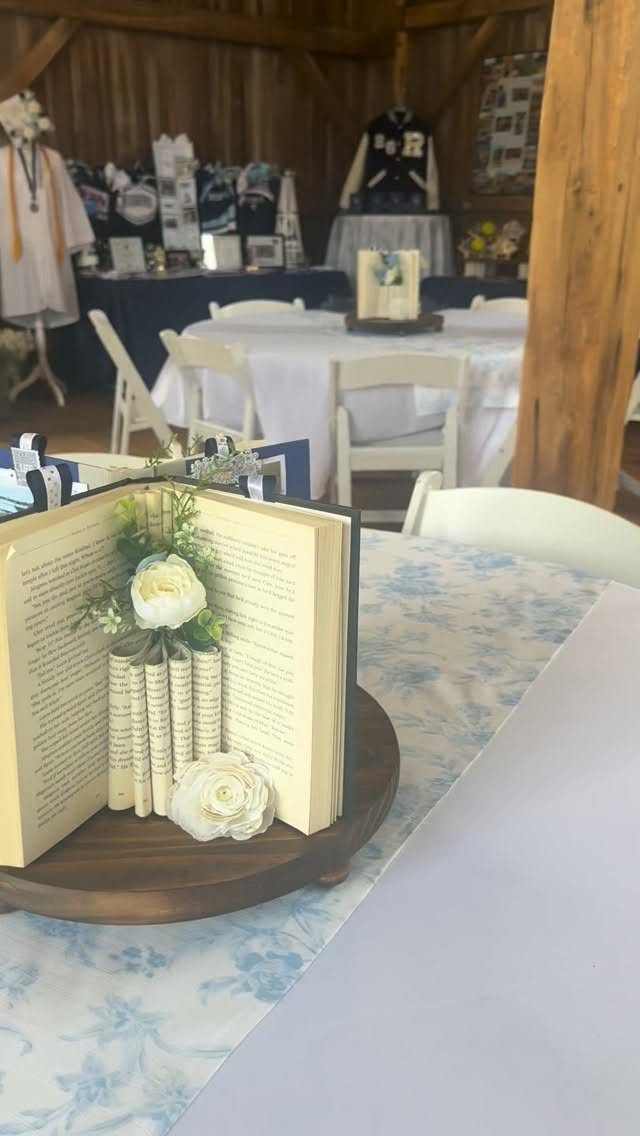
Rolled paper scrolls tucked into an open book stand in for diplomas, and a few white flowers keep the whole thing soft. An old, worn book looks best, since a glossy new one fights the rustic feel.
Set the book on a dark wood slice so it has a base. Roll the pages loosely and tie nothing, which looks relaxed.
Keep the flowers delicate and few. Too many hide the book, and the book is the point.
10. Confetti Bottle with Mortarboard
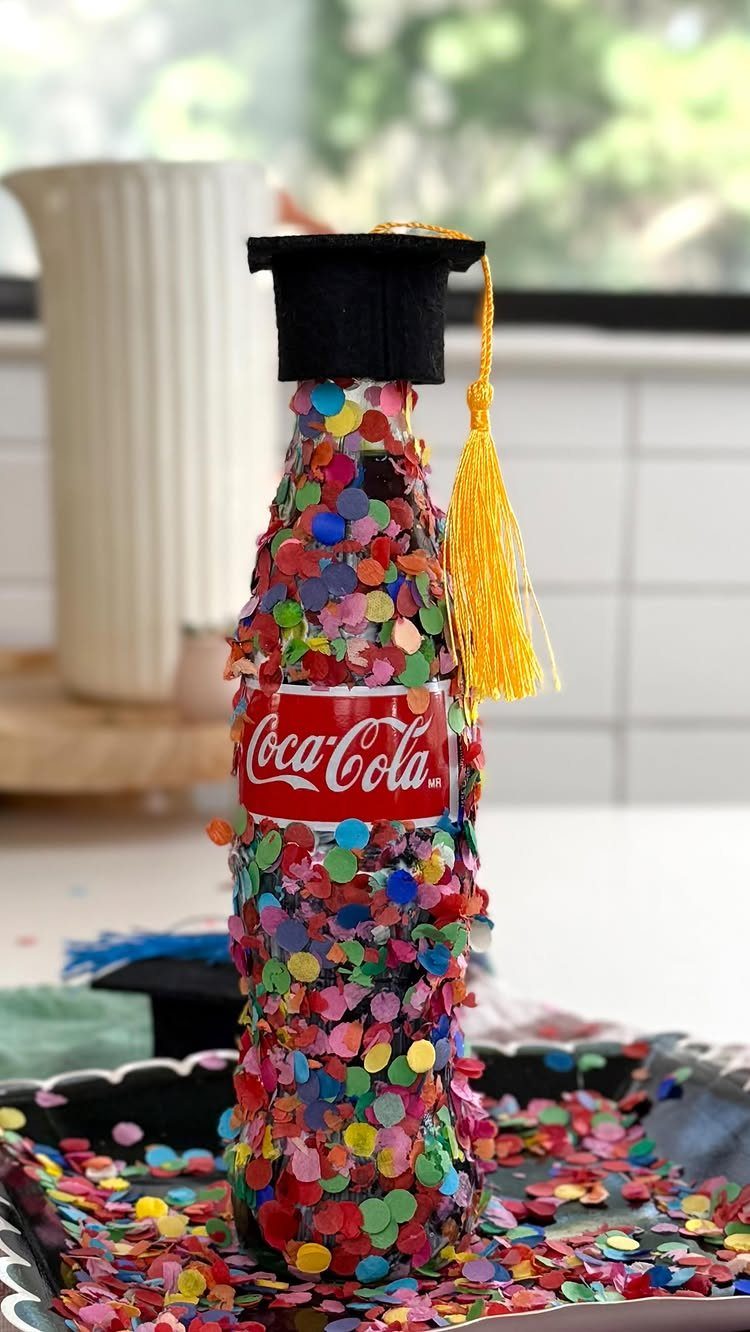
A soda bottle covered in confetti costs almost nothing and reads as pure party. Glue or tape confetti onto the bottle, then top it with a tiny black cap and a yellow tassel.
Put the bottle on a tray of matching confetti so the colors repeat. Match the confetti to your school colors and the bottle picks up whatever palette you already committed to.
I would make one per table. It is a small piece, so it works as an accent beside bigger displays.
11. Stacked Books with Graduation Cap
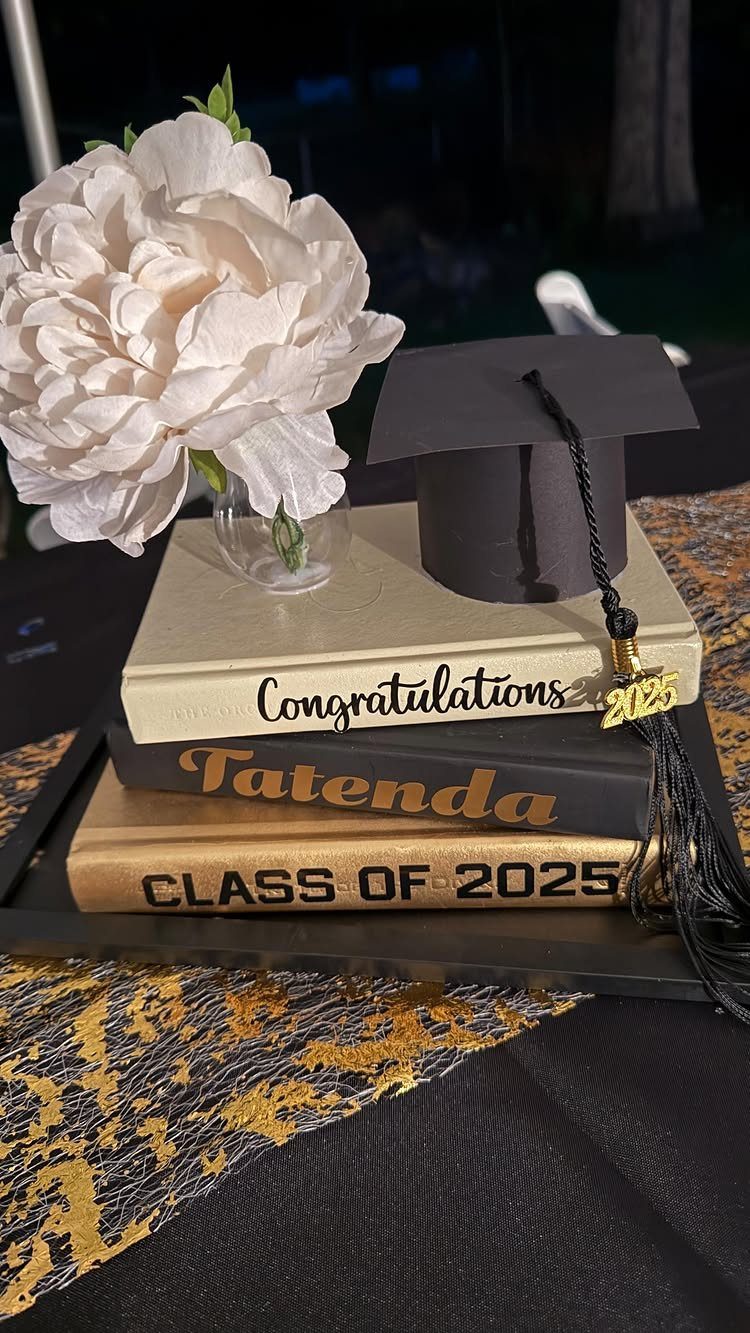
Gold-painted books turn old paperbacks into a personal centerpiece. Paint the covers, then letter a message on each spine or cover: "Congratulations," the graduate’s name and the class year work well.
Stack three, put a mini mortarboard on top, and set a bud vase with a single white flower beside the cap. One peony does more than a bunch of small blooms.
Thrift-store books keep the cost low. Let the paint dry fully before stacking, or the covers will stick.
12. Teddy Bear and Balloon Centerpiece
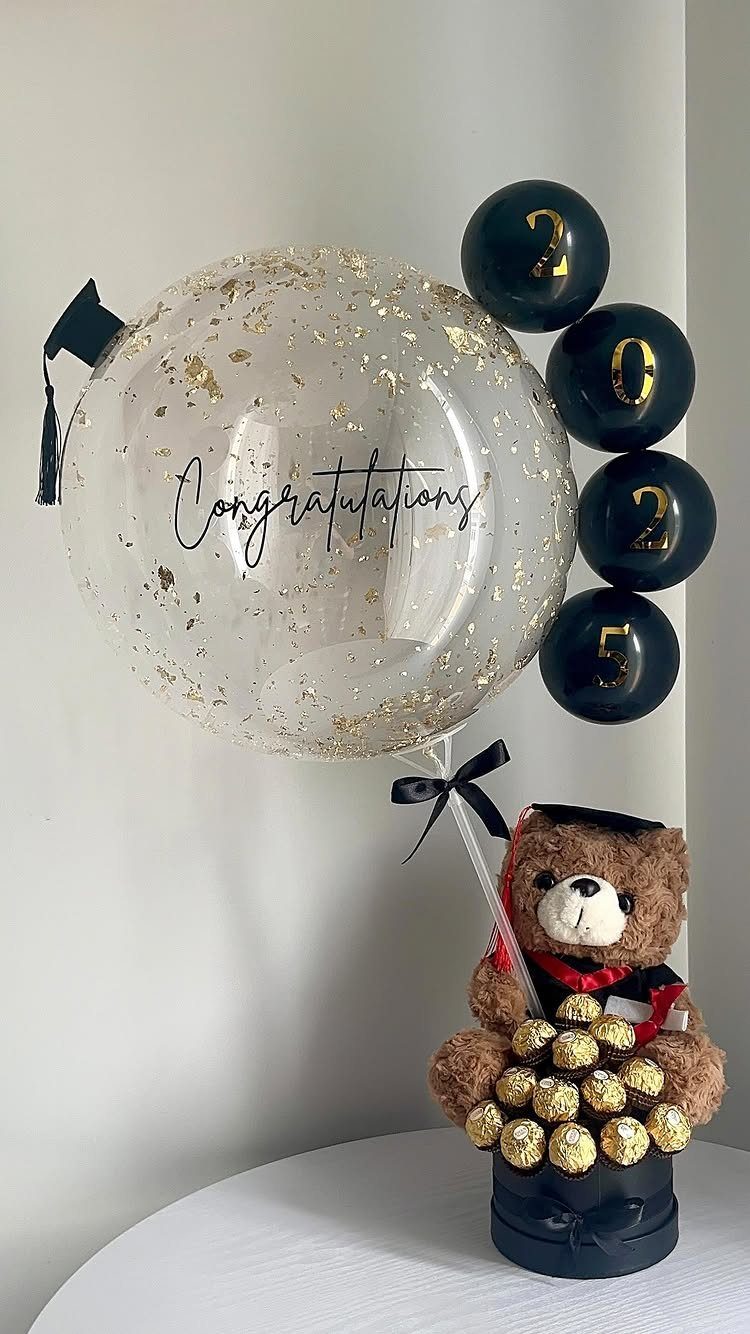
A graduation teddy bear in a cap and gown is the quickest centerpiece to assemble, because the bear is already dressed for the occasion. Tuck chocolates in its arms and group balloons around it.
Black balloons numbered with the year read clearly from across a room. Add a "Congratulations" confetti balloon for color, and keep the rest of the palette plain so the bear stands out.
This one skips crafting entirely, so it suits a tight schedule. Buy everything and set it up in minutes.
13. Graduation Photo Flower Vase
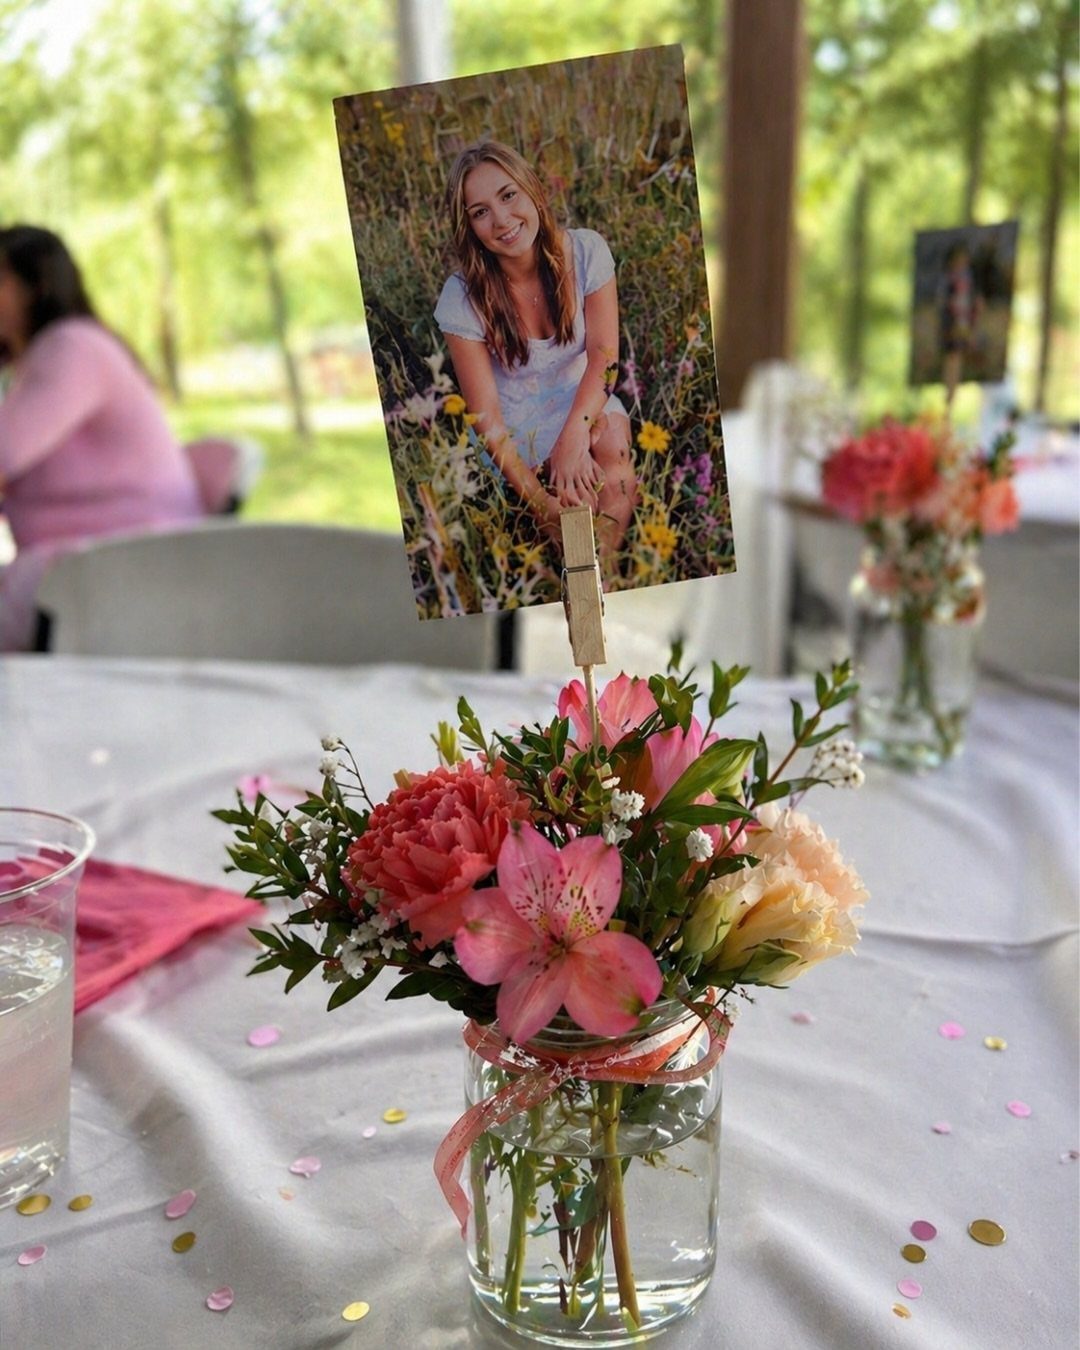
A clipped photo turns an ordinary flower jar into a centerpiece about one person. Pink and peach blooms in a clear glass jar stay soft enough that the face is what guests notice first.
Pick a photo that reads from arm’s length, a clear portrait over a busy group shot. A small clip holds it to the stems, so the print can be swapped later or taken home.
This graduation photo flower vase centerpiece costs almost nothing and ties the whole table together.
14. Floating Candle Cylinder Vases
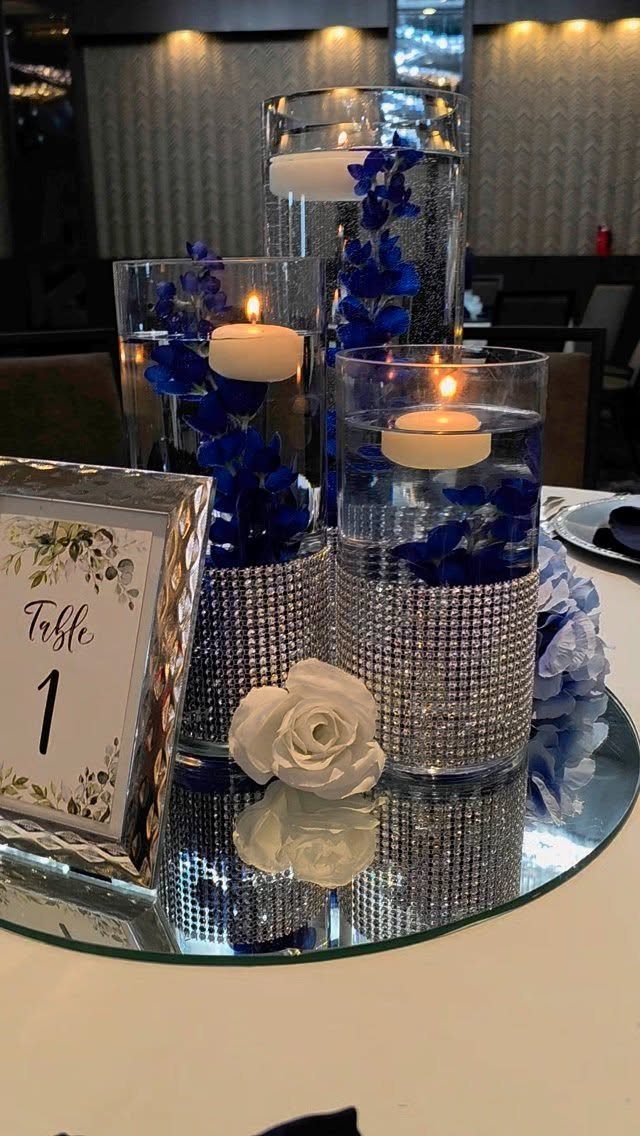
Three clear cylinder vases at staggered heights give a table the layered look of a florist’s work with very little skill. Fill each with water, set blue flowers inside, and float a candle on top.
Stand the vases on a mirrored tray, which doubles the glow and keeps the group reading as one piece. Choose flower colors that match your school and the water carries the palette.
I like this best for an evening party, when the candles show up. Trim the stems short enough that each flower sits fully underwater, well below the floating candle.
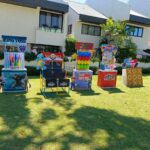
15. Sports-Themed Photo Cutout Centerpiece
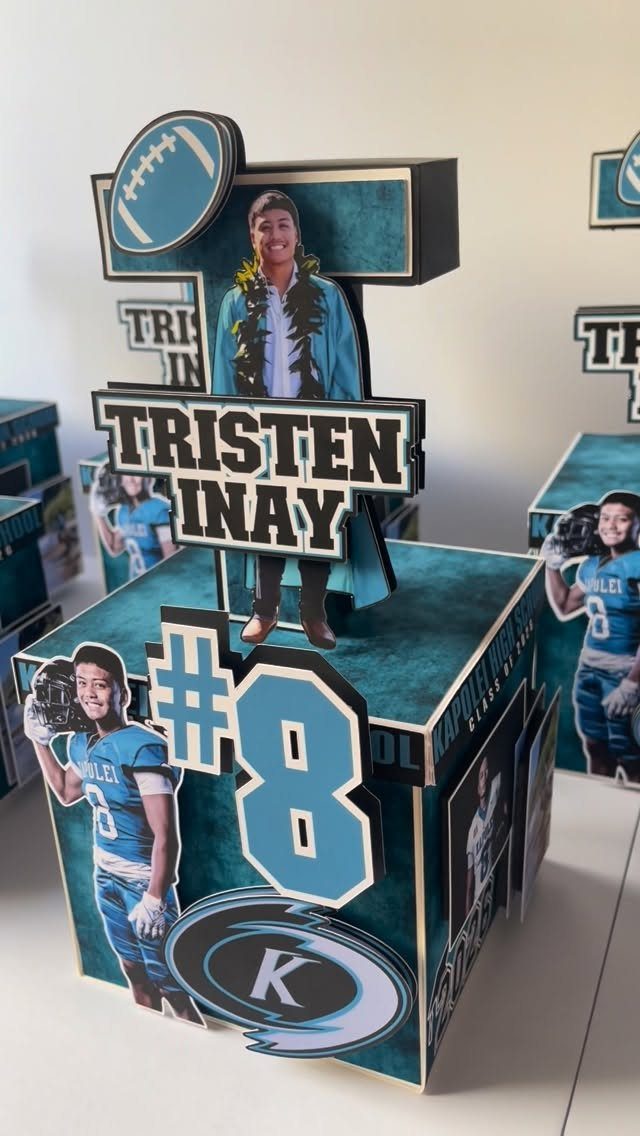
Cutouts of the graduate in action, a jersey number and a name on a cube base make a centerpiece no store sells.
Print the photos at a copy shop, cut them out, and glue them to the cube’s faces. Add the jersey number and a sport icon so the theme reads from the far side of the yard or gym.
Use action shots with clean edges, because they are easier to cut and look sharper. Keep the lettering large enough to read at a glance.
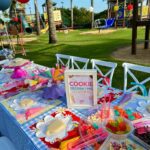
16. Graduation Candy Buffet Display
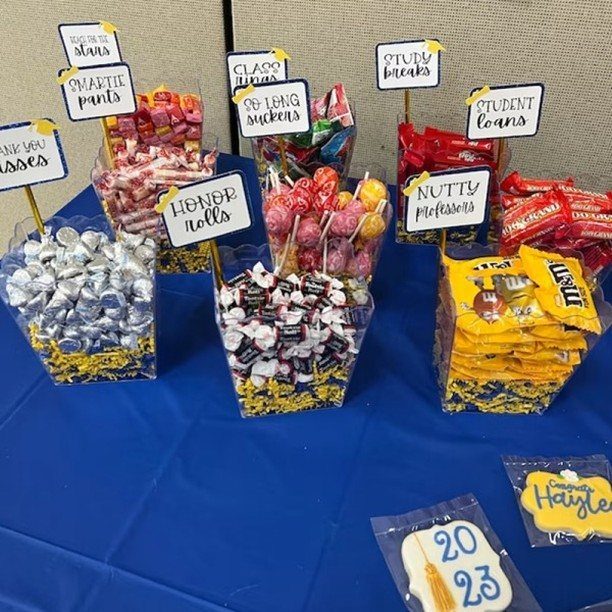
Punny labels do the decorating on a candy buffet: "Smartie pants," "Honor rolls" and "Student loans" get a laugh before anyone picks up a scoop.
Clear containers let the candy colors show, and a blue table cloth makes them stand out.
Write one label per dish and match each to a candy that fits the joke. A cookie marked with the year adds a finishing touch.
I would choose this over flowers for a tight budget, since the candy is both decor and food. Buy in bulk and refill the dishes as the party goes.
Budget-Friendly Materials
Mason jars, cardstock and flowers from a local store or your own garden are the cheapest base for any table.
Three centerpieces cost me less than $5 each to price out: a painted mason jar, a cardstock grad cap glued to a dowel, or a fan of printed wallet-size photos.
A dollar store run for bulk supplies saves the most money, and building every centerpiece in a single afternoon keeps the mess in one place. Batching saves money and time, and the pieces come out matching.
Most of what you need is at a local craft store. For anything they lack, Amazon and Etsy fill the gaps.
Personalization Tips
A name, a favorite team or a baby photo is what makes a table read as one graduate’s. Use the name, the school colors and photos, and let each one show up at least once per table.
Choose photos the graduate loves: friends, favorite teachers, a match or a competition. Set them in frames with flowers in the middle, and the frame becomes the centerpiece.
For a school logo, buy college stickers and stick them to white heavy cardboard.
Glue the cutout to a stick or skewer, then push it in among a mix of colorful flowers and tie on a ribbon if you want a little more polish.
Color Coordination
Limit the palette to 2 main colors plus 1 accent. School colors are the obvious pair, and neutrals like white, gold or kraft paper keep the table from looking busy.
Carry the school colors on just 2–3 items per table, such as painted jars, ribbon wraps or cardstock caps.
Let white tablecloths and clear glassware handle the rest; they stay quiet, so your chosen colors read clearly and the table never feels crowded.
Using one style on some tables and a second on others also keeps the room interesting, and it adds almost no work.}
Frequently Asked Questions
What are easy DIY graduation centerpiece ideas?
A mason jar with baby’s breath, a "GRAD" flag and the year on the glass is one of the easiest, and a small cardstock graduation cap takes only minutes with black cardstock, scissors and tape.
A teddy bear in a cap and gown with balloons around it needs no crafting at all. All of them cost little, and a table of 3 jars is plenty.
How do you display photos at a graduation party?
Clip a clear portrait to the stems of a flower jar, or set photos in frames with flowers in the middle so the frame becomes the centerpiece.
A cube base with printed action shots glued to its faces works well for athletes. Pick photos that read from arm’s length, and print them at a copy shop or one-hour lab.