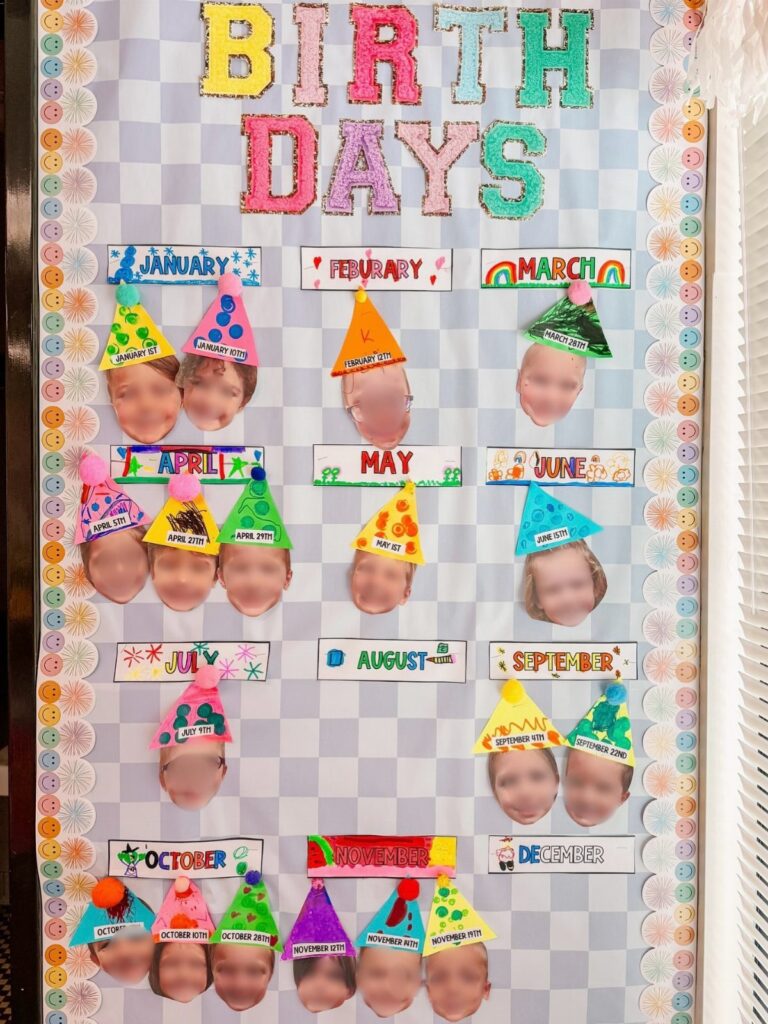
Every board in this list answers the same question: how does a name get on it, and how easily does it come off?
Month columns with removable cards, a Rainbow Birthday Chart, bee cutouts, student pictures, and the underwater, ice cream cone, balloon and cupcake boards all depend on the same choice, and a new student who arrives mid-year is easy to add only when each name sits on its own piece.
If your class roster shifts during the year, pick a board where every name has its own holder, such as the student pictures chart or the cupcake board.
If the roster stays fixed, names written onto the board can work, and the ideas range from the one-set Birthday Bulletin Board Set to cutouts you make yourself from paper.
1. Birthday Bulletin Board Set
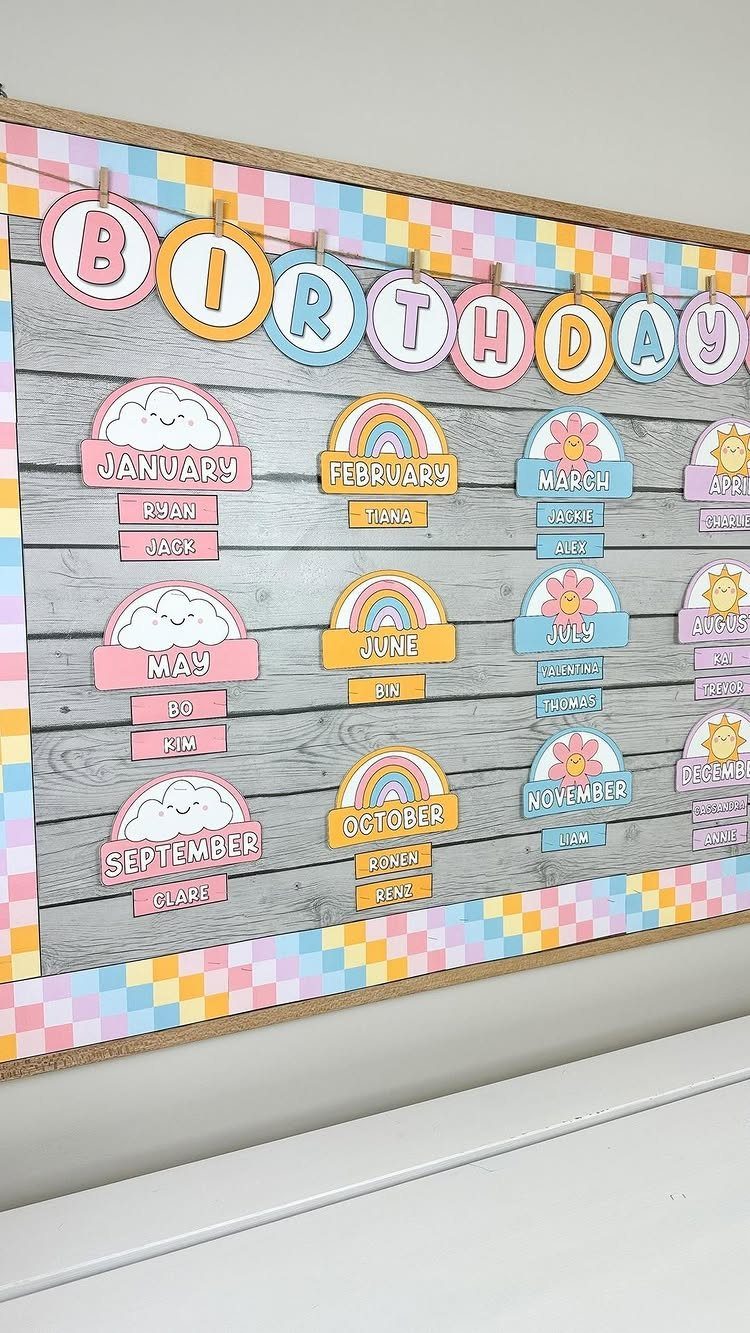
A set like this earns its place because one purchase covers every year.
Month columns under a BIRTHDAY header, with names written on separate cards, mean a student who moves in or out costs you one card, not a whole board.
I’d write names on removable cards or sticky labels, not directly on the paper. That way the same set returns in August with nothing but new names to fill in.
The wood-grain backing and checkered border do the decorating, so you can skip extra cutouts.
2. Rainbow Birthday Chart
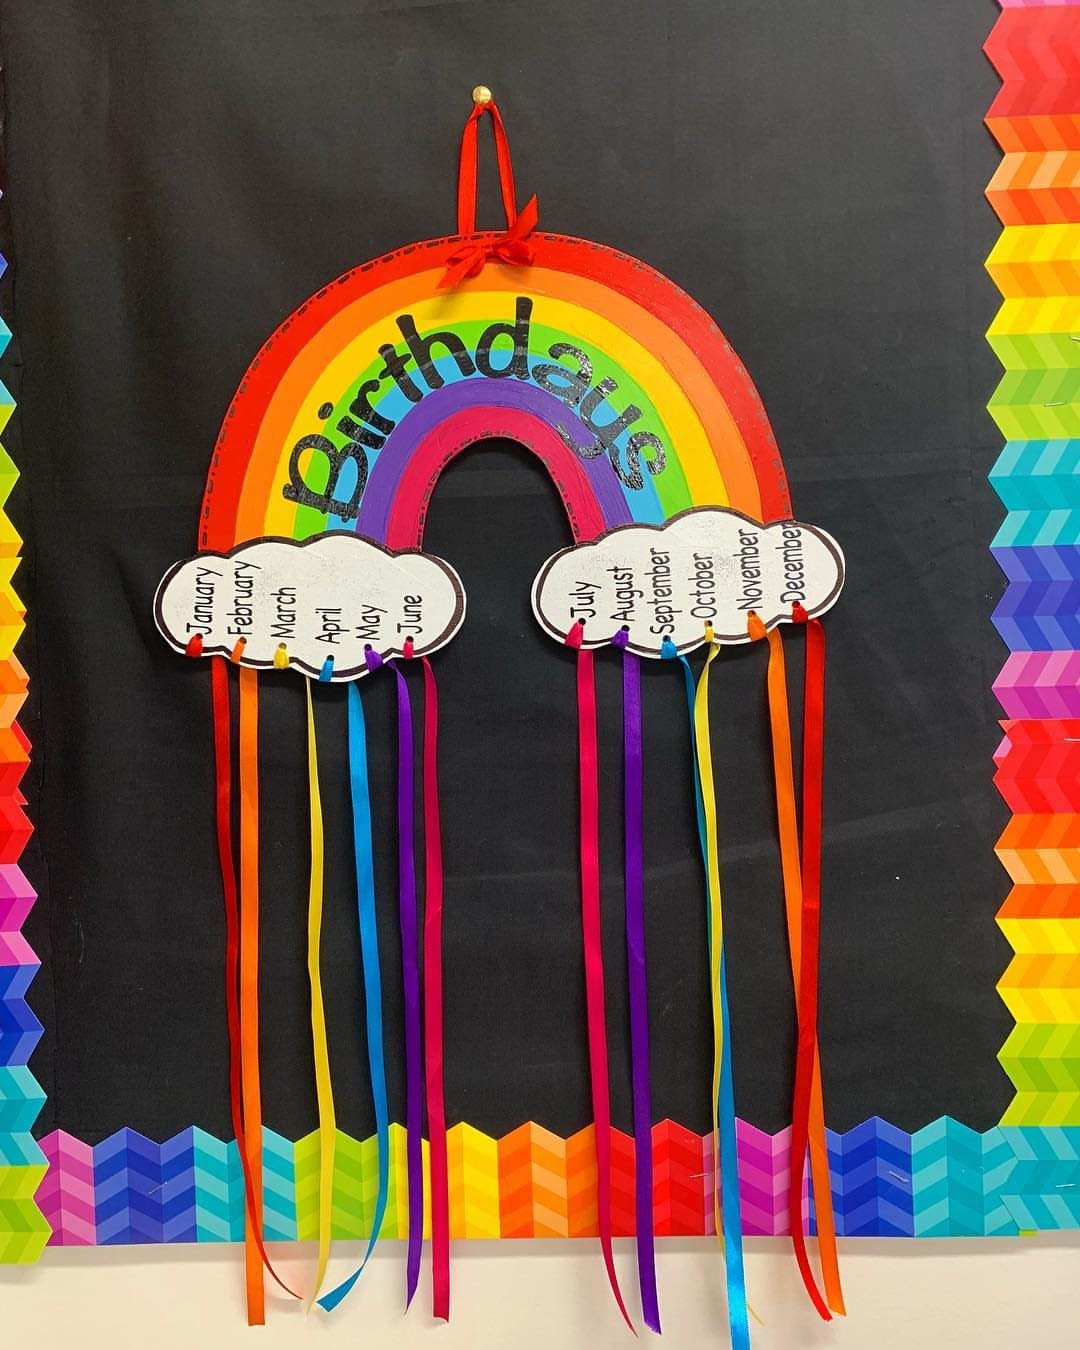
Hanging ribbons from month clouds gives a rainbow chart something most flat boards lack: a place to attach each name without redrawing anything.
A black background makes the rainbow colors stand out, and it costs only a roll of paper if your board isn’t already dark.
Pin one ribbon per student under the right cloud, with the name and date written on the tail. Cut ribbons longer than you think you need, because crowded months will need staggered lengths.
Cardstock covers the clouds and arches cheaply.
3. Birthday Bees Display
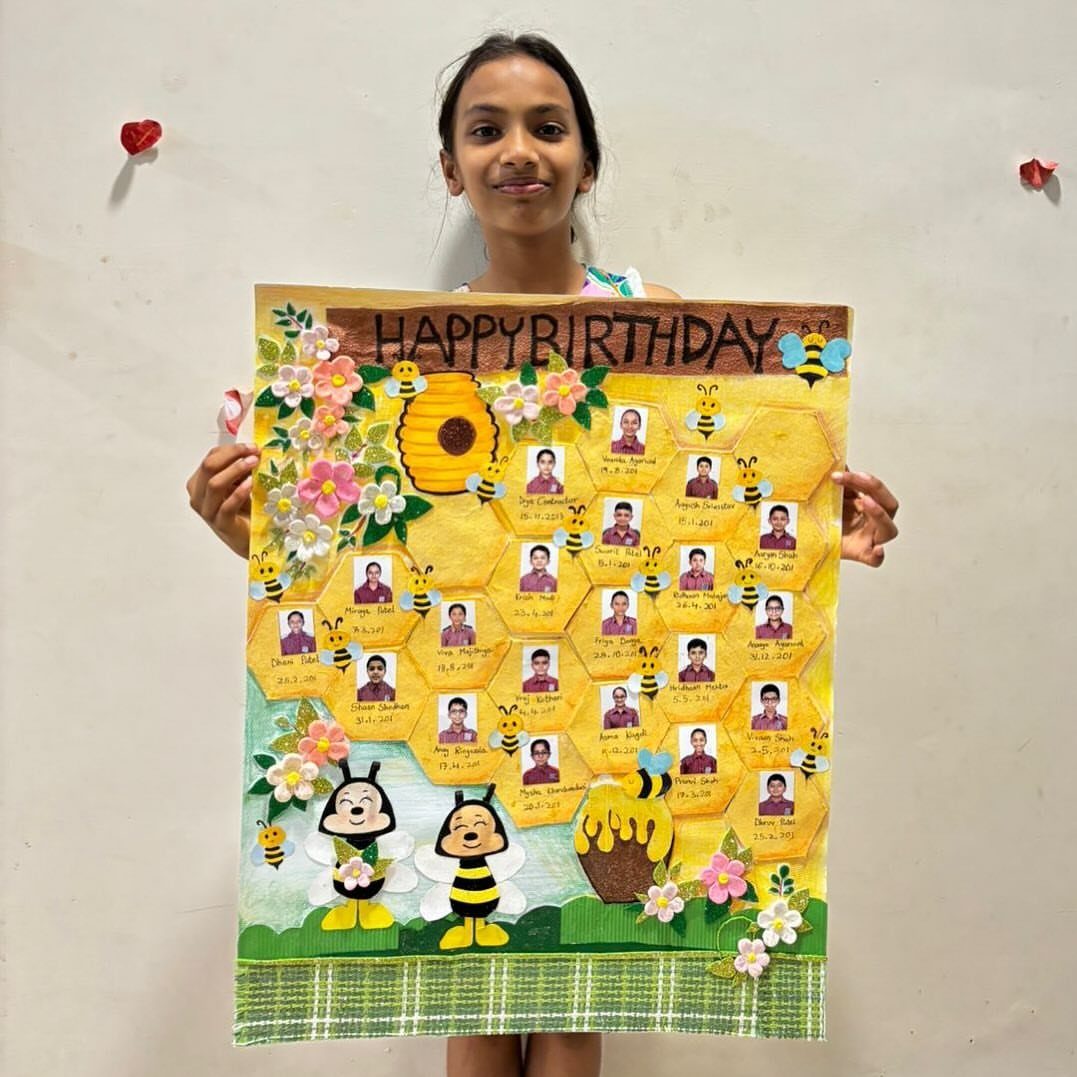
Honeycomb cells are a smart container for a birthday: each hexagon holds one student’s photo and date, and the bees do the decorating.
Cut the hexagons from yellow cardstock, add a small bee to each, then tuck paper flowers around the edges to fill the gaps.
For a poster-size version, a "HAPPY BIRTHDAY" banner across the top keeps the theme obvious from the doorway.
I like that new students just get a new cell, so the display never looks unfinished.
4. Birthday Chart with Student Pictures
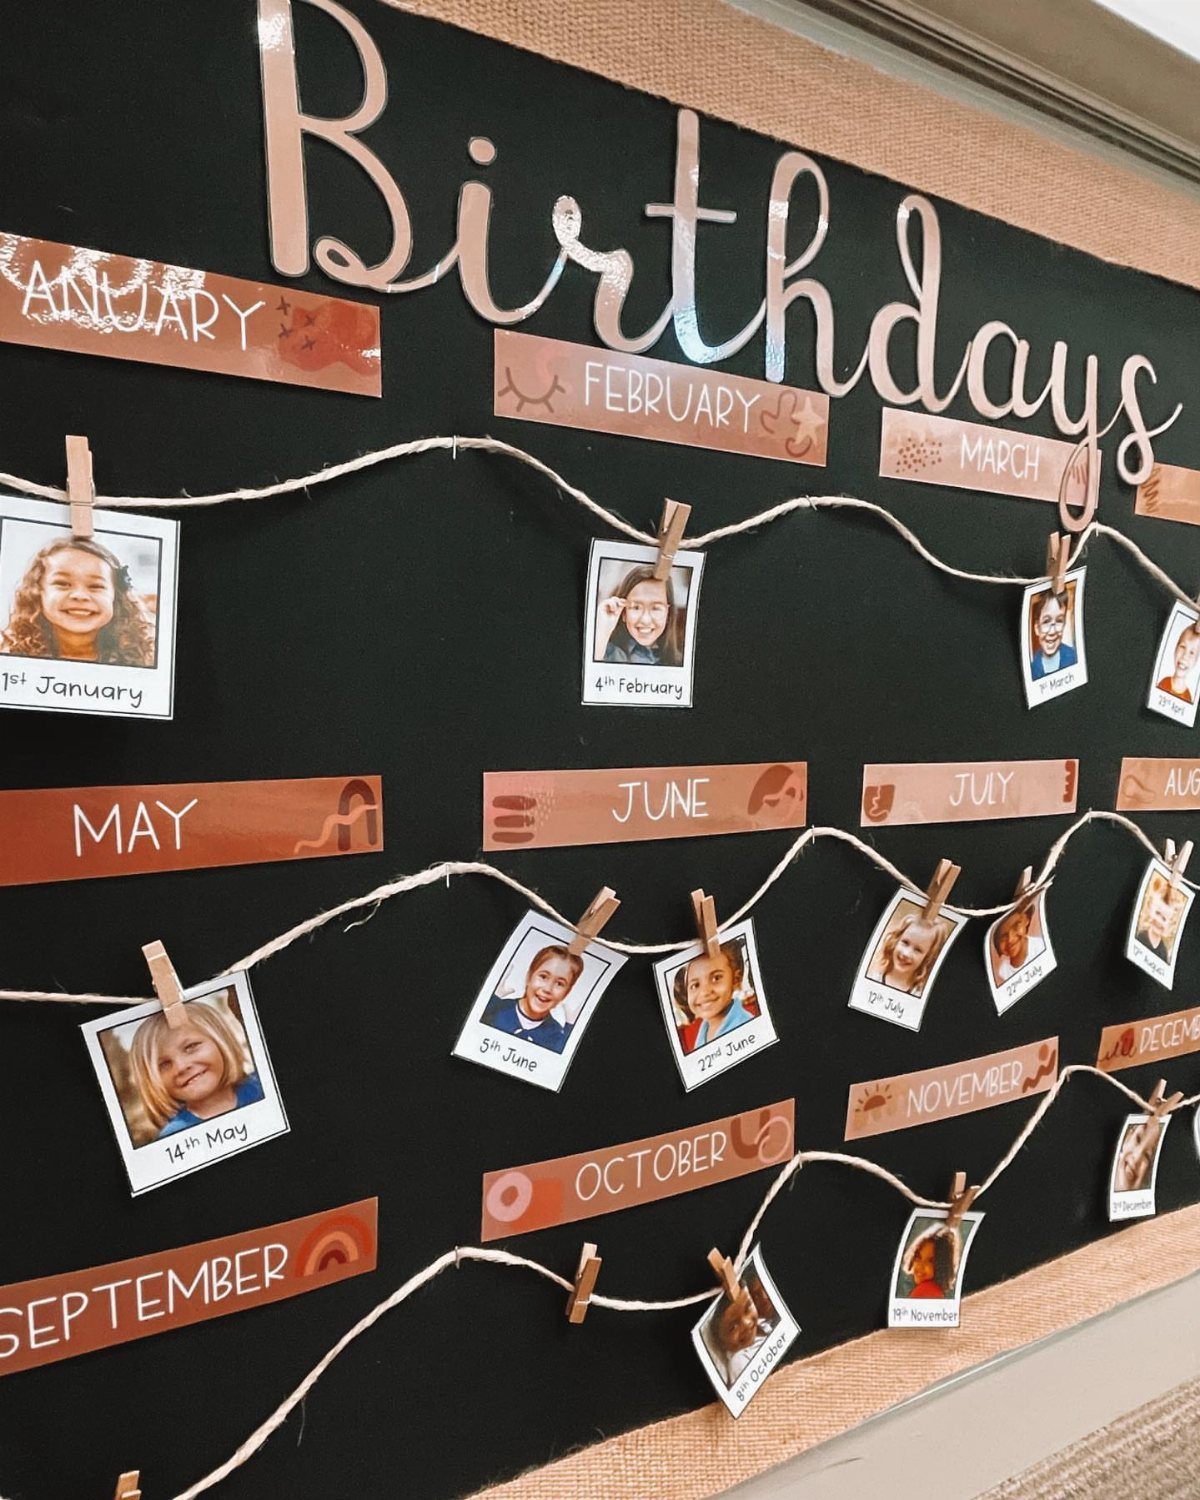
Clipping photos to twine means no one has to staple, cut or redo a thing when a student’s picture changes.
Write the date on a small card under each picture.
Since the sample uses a day-first style like "4th February", pick one date format and stay with it across the board. American classrooms usually go month first.
Black paper keeps the photos looking bright, and a printed class set is the main cost.
5. Underwater Themed Birthday Board
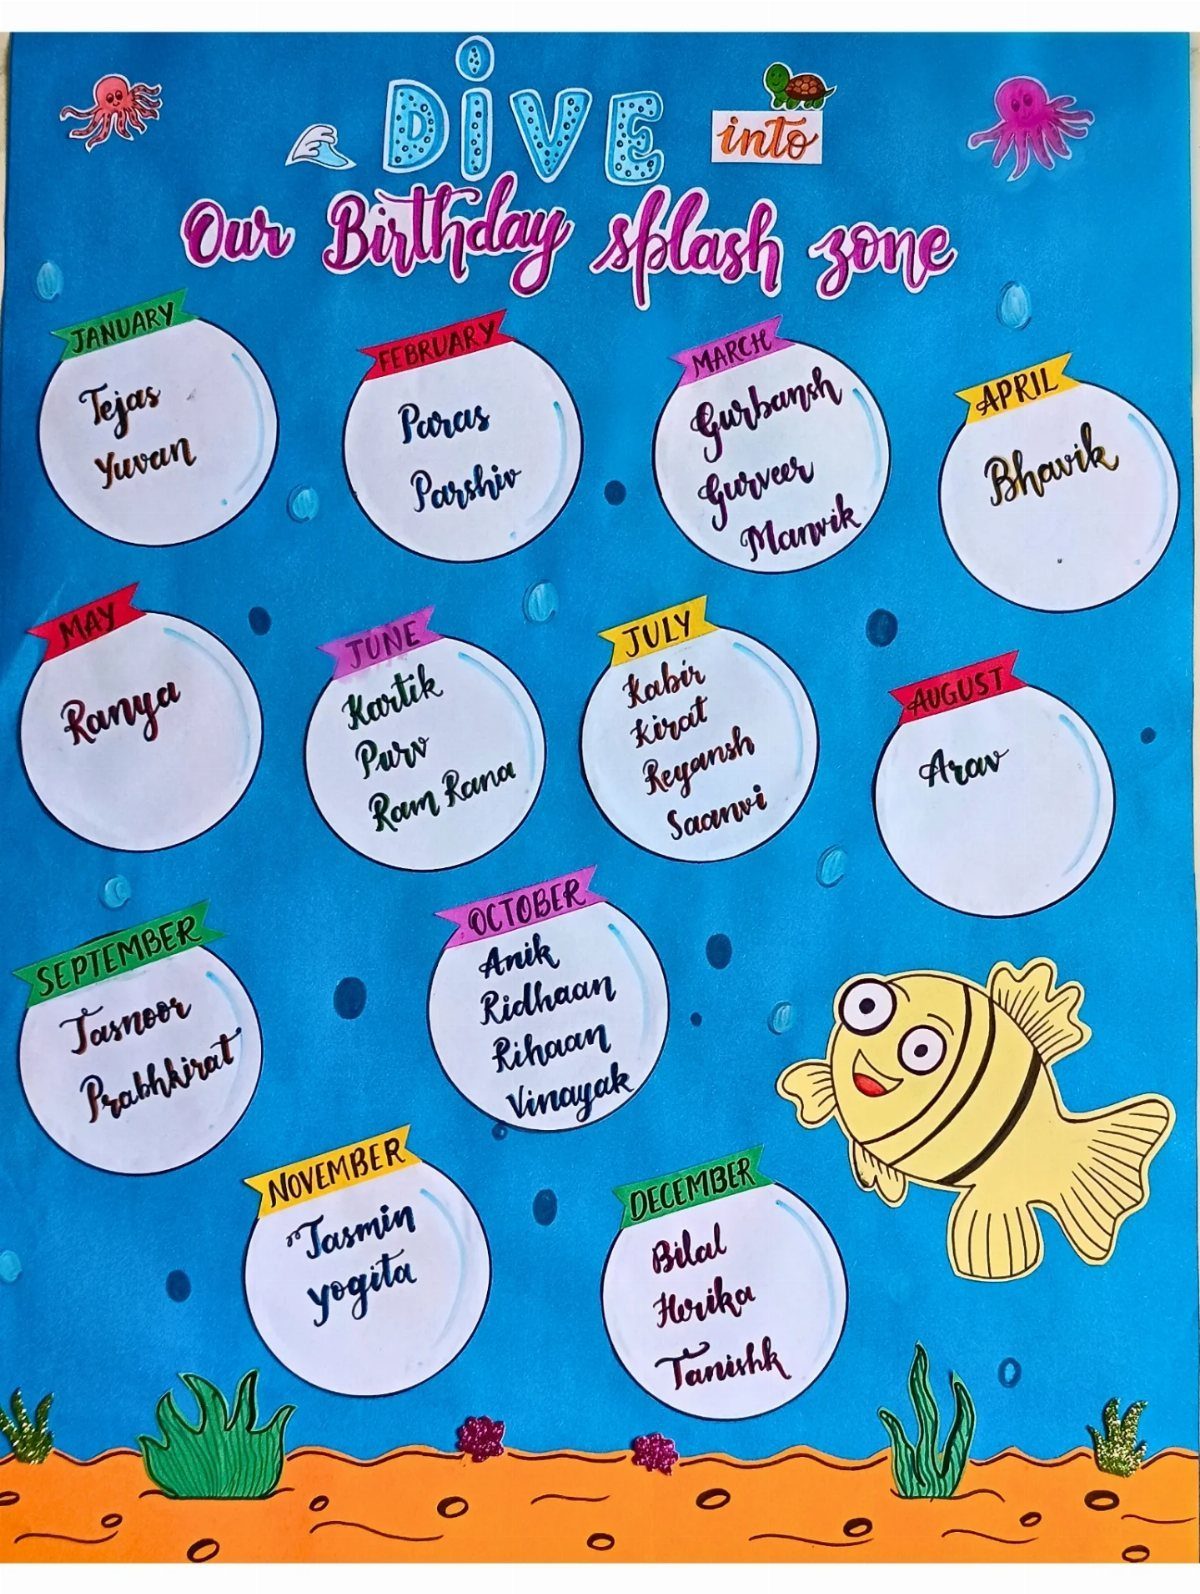
Bubbles make perfect name holders: twelve white circles, one per month, sit on blue paper like they were always meant to float there.
Cut them from white cardstock and write names in marker, so a month with many birthdays just gets a longer list inside.
A pun in the title, like "Make a Splash, It’s Birthday Time," is half the charm.
Fish, an octopus and seaweed fill the empty blue, and I’d keep them in a few bold colors so the white bubbles still read first.
6. Ice Cream Cone Birthday Board
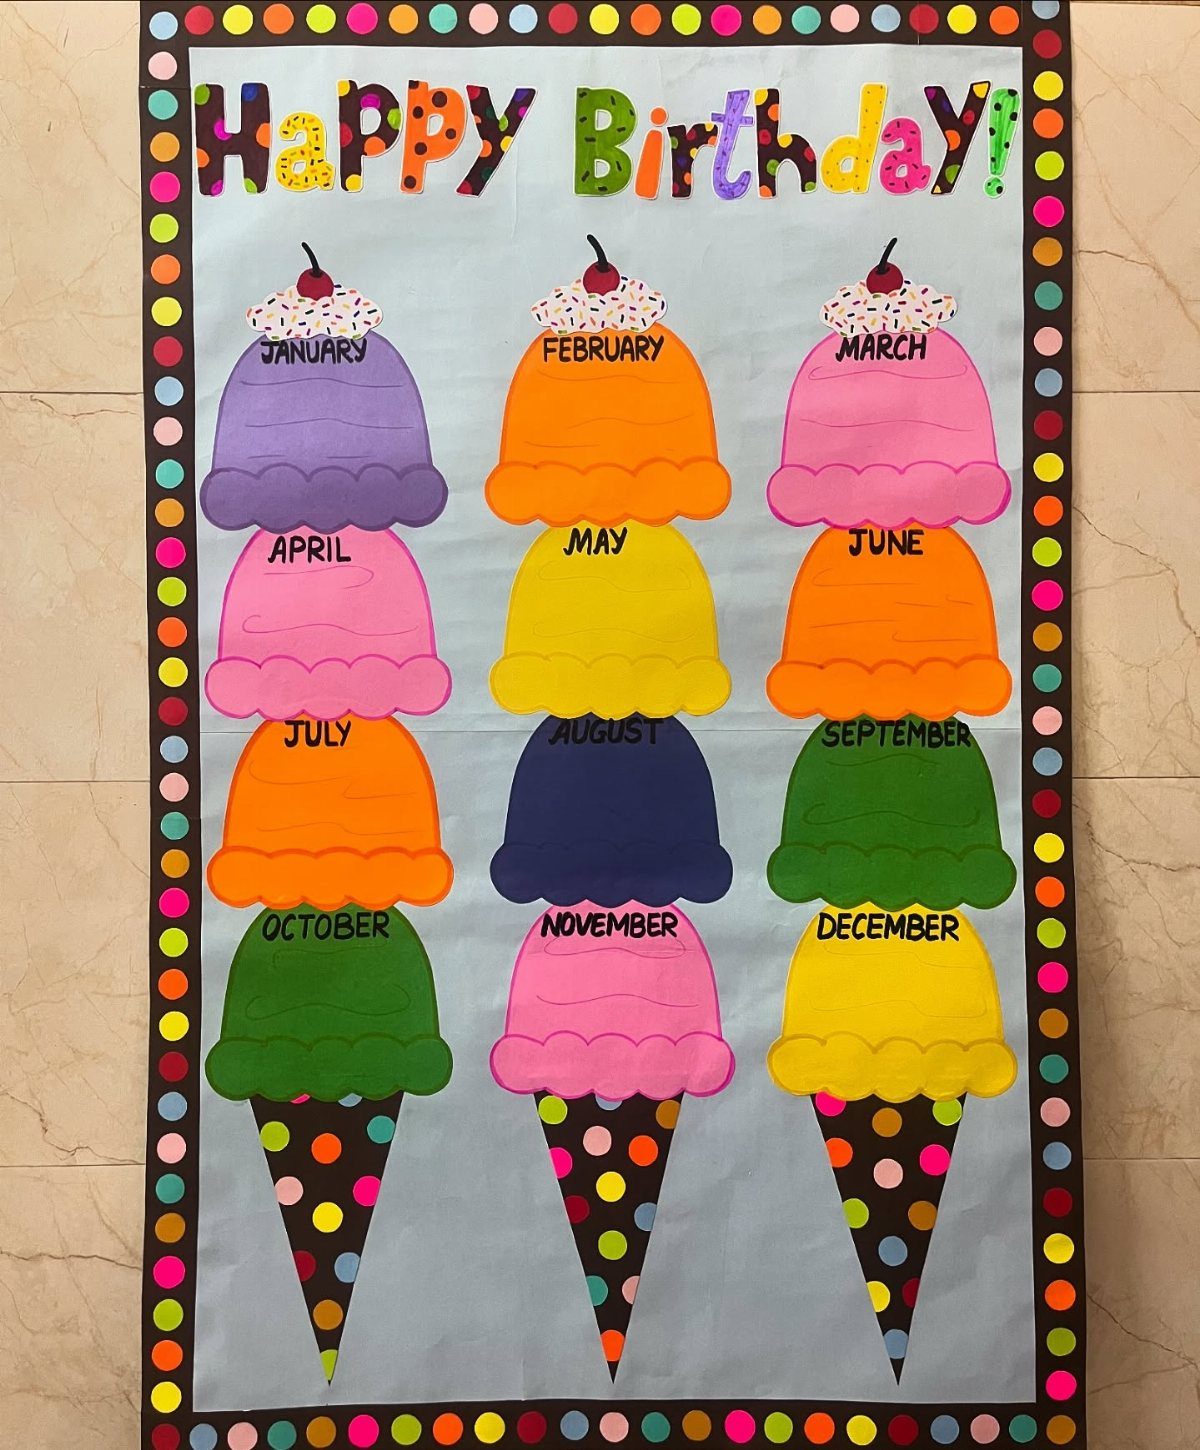
3 cones stacked with scoops is a neat way to sort a year: split the months evenly across the cones, with each scoop labeled with a month.
Cut scoops in different colors so the months are easy to spot from across the room.
Add "Happy Birthday!" in large letters across the top.
Write names on small strips and tuck them under the right scoop, so you can update the list without remaking any pieces.
7. Balloon Themed Birthday Board
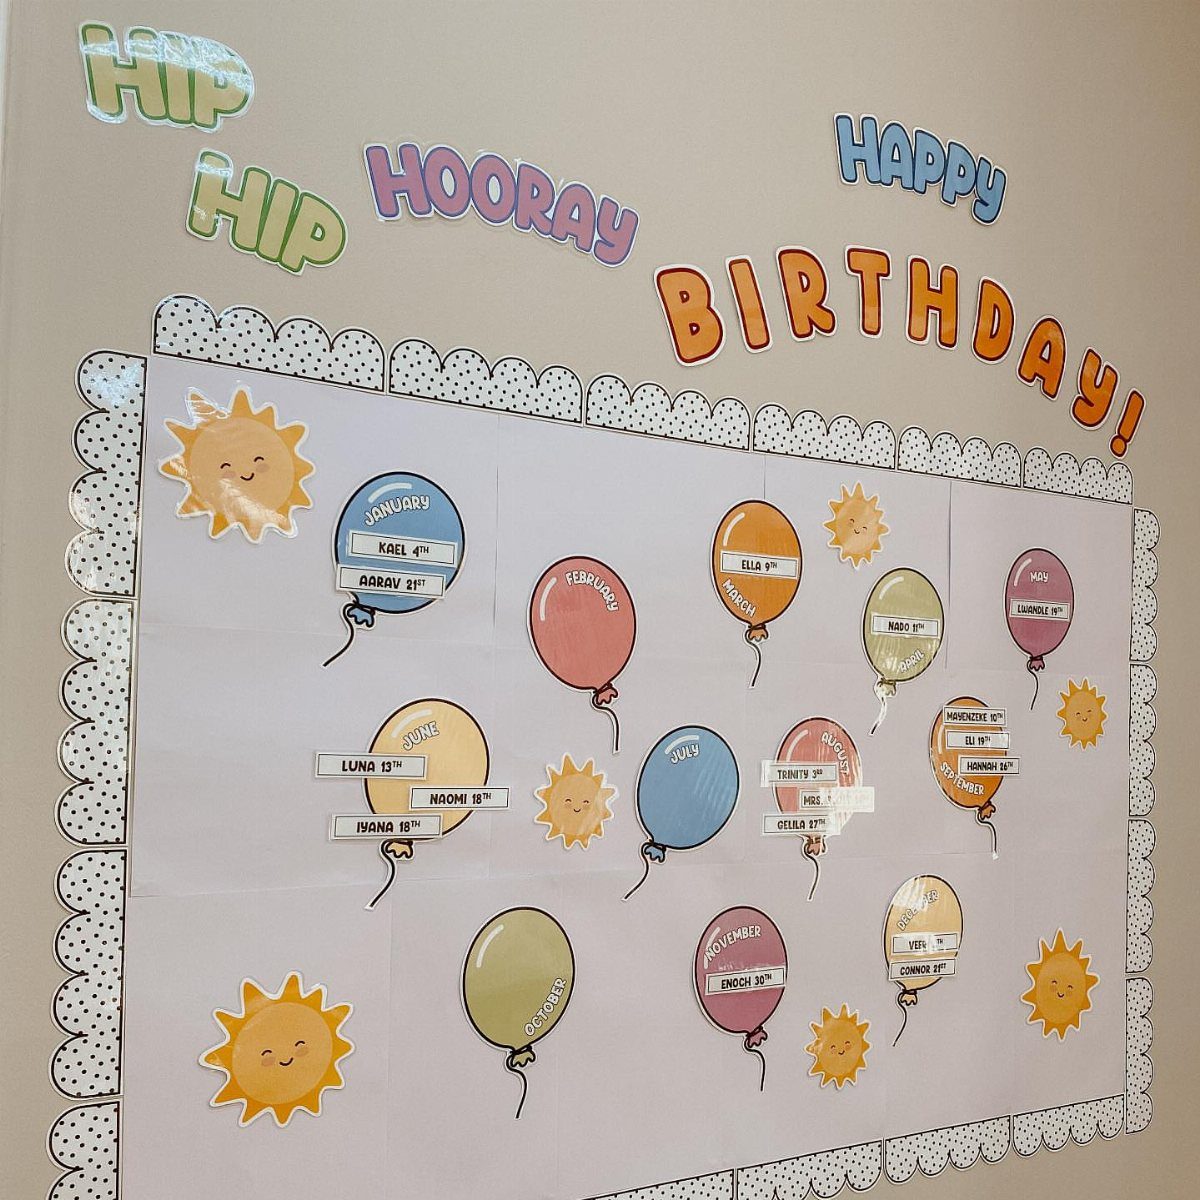
Paper balloons make a roomy place for a name and a date, and a balloon can stretch to fit a long name that a small card would crowd.
Cut them from colored cardstock and group them by month, so the board reads as a year at a glance.
Yellow sun cutouts on white fill the gaps between groups, and a title like "HIP HIP HOORAY HAPPY BIRTHDAY!" gives the board a clear header.
I’d write names in marker on the balloons themselves, since a student who joins mid-year only needs one more balloon.
Keep the dates in one format across every balloon.
8. Cupcake Themed Birthday Board
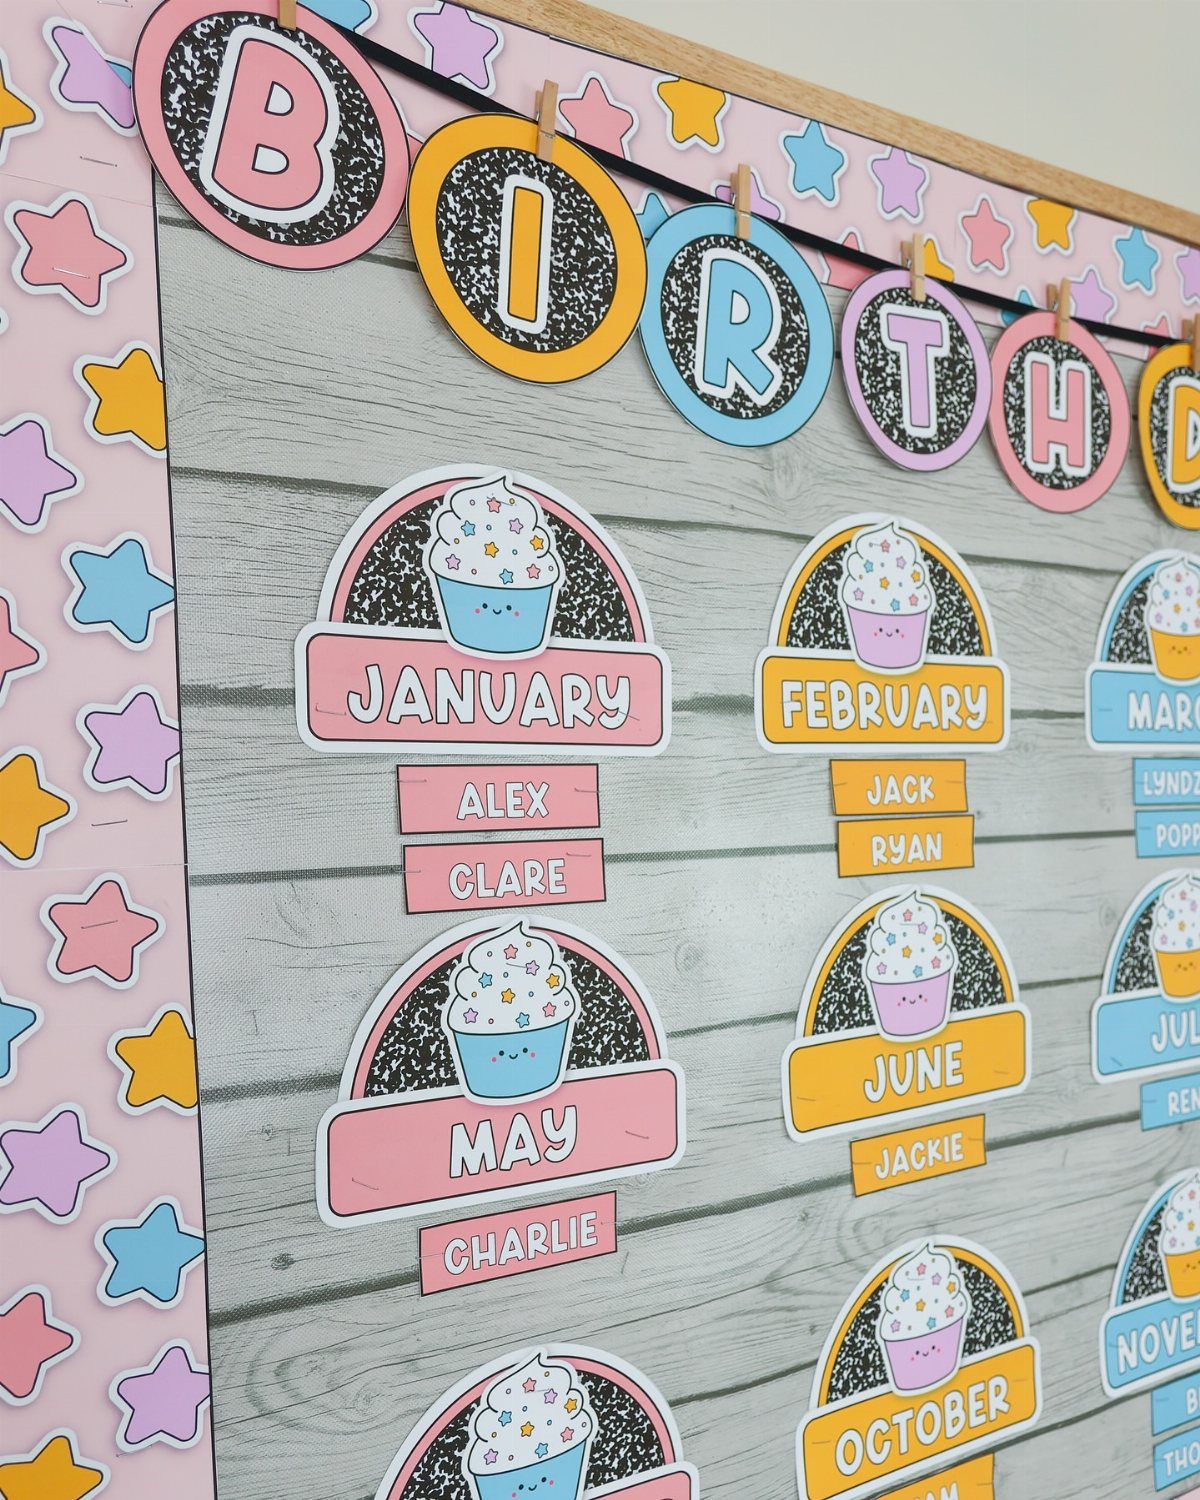
One cupcake per month, with name tags beneath, turns a plain wood-grain board into something a class will check every week.
Give each month its own cardstock color, and a student can find their cupcake at a glance from across the room.
Colorful letters spelling BIRTHDAY across the top are worth the extra cutting, because they name the board from the doorway.
Write each name on a small tag and tuck it under the right cupcake, so a new student means one new tag.
With that wood grain showing behind everything, extra borders would only crowd the board, so I’d leave them off.
Importance of Birthday Boards
A birthday board works because students see their own name up where everyone can read it. That small act of being remembered builds belonging, and it nudges kids to notice and celebrate each other.
Use it for teaching too. At the start of each month, gather the class at the board and talk through which birthdays fall in that month, how many days are left, and what comes next.
That turns a decoration into a calendar routine that practices time, days and months.
If you want a second layer, tie the look of the board to a subject you teach.
Materials for Birthday Boards
Pick materials that can take a year of handling. I use gloss-laminated paper because it holds up and lets me write with dry erase markers without the ink bleeding through.
Laminate your birthday sheets, then write names and dates with dry erase markers. When summer ends, wipe the sheets and start fresh, with no reprinting and no recutting.
Reusing one set year after year saves both time and money, so spend the extra effort on lamination once.
Celebration Ideas
A name on the wall is a start, but the day itself should feel different. Birthday crowns and certificates give the student something to wear and something to take home.
A small privilege chosen by the birthday student makes the day feel special without disrupting the classroom. Decide the list before school starts and keep every option minor, so each child gets the same kind of treat.
Treat these as a set routine, repeated for every student, so no birthday feels bigger or smaller than another.
Frequently Asked Questions
What’s a creative way to display birthdays in my classroom?
Hang ribbons from month shapes such as clouds or buttons, then pin one ribbon per student with the name and date on the tail.
Each name gets its own spot, so nothing has to be redrawn. Cut every ribbon 2–3 inches longer than looks necessary; months with 5 or 6 birthdays need staggered lengths so the names don’t stack on top of each other.
Can you suggest some DIY birthday chart designs for students?
A cupcake board works well: one cardstock cupcake per month, each in its own color, with a name tag tucked underneath.
Gift bags decorated for each month and pinned to the board also work, with names and dates slipped inside. Either way, a new student costs you one tag or one slip, not a remade board.
Any tips on setting up a birthday board that’s both educational and fun?
On the first school day of each month, I’d bring the class up to the board and read through who has a birthday coming, count the days left together, and peek at the next month.
Done every month, that short huddle becomes a calendar routine, and kids pick up months, days and counting without a separate lesson.
What materials hold up best for a classroom birthday board?
Gloss-laminated paper is my pick, because it survives a year of handling and takes dry erase marker without bleeding.
Write names and dates on the laminated sheets, then wipe them clean in the fall. You laminate once and skip the reprinting and recutting.
How do I keep a birthday board easy to update when students join or leave?
Write each name on a card, tag, paper strip or sticky label that peels off, so the backing paper stays clean when the roster changes.
A student who moves in or out then costs one card, and the same board returns next August with only new names to fill in. Pick one date format, month first for most American classrooms, and use it everywhere.