The wall you have to fill decides which of these banners is yours: a narrow strip between cabinets and windows wants the vertical stripes, a bare stretch above storage cubbies suits a printed set, and a big open wall can take butcher paper or brown craft paper painted by hand.
Options range from a printable that costs only ink and paper to paint-and-paper projects where students add their own flowers and book spines.
1. Back to School Banner
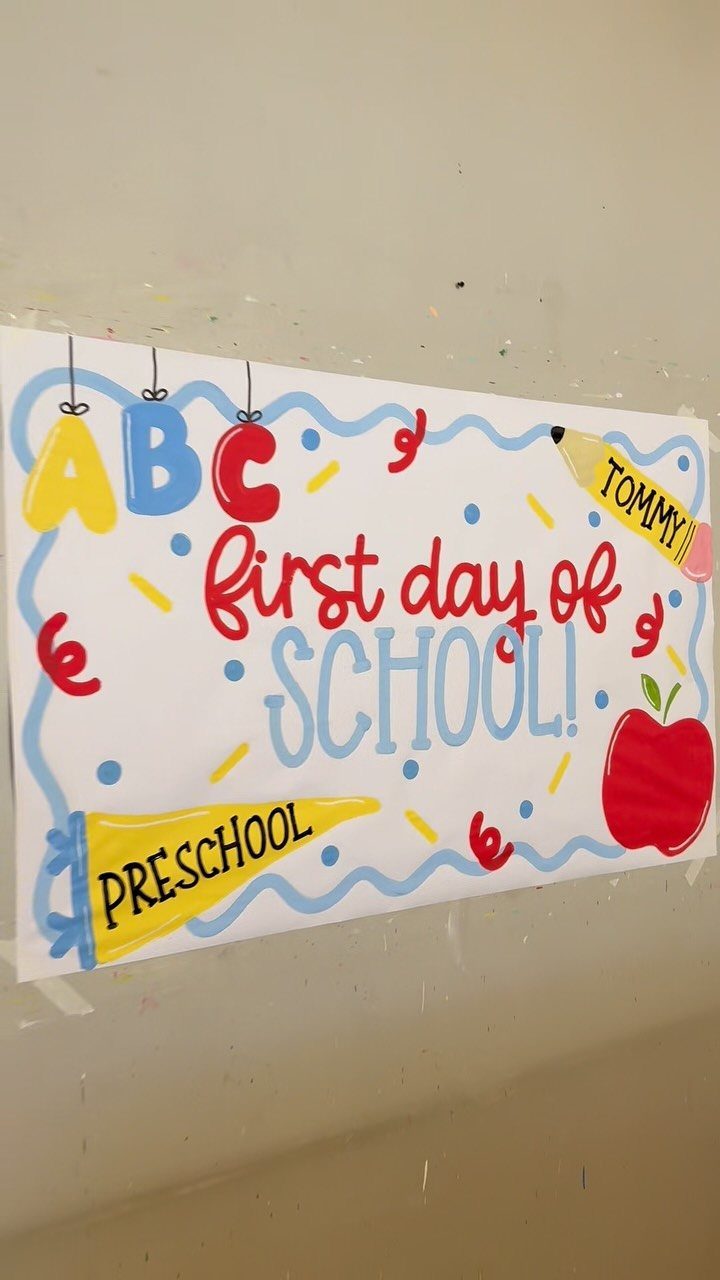
A first-day banner works best when it carries the child’s name and grade level, the way this one says "TOMMY" and "PRESCHOOL" beneath a big "first day of SCHOOL!"
Kids hold it for the photo, so it does double duty as décor and keepsake.
Pencil, apple and megaphone drawings give a young child something to point at and name. I would keep the lettering bold and in a few bright colors so it reads from across a hallway.
Make one blank version and write each name on a separate strip you can swap in.
2. Fall Seasonal Banner
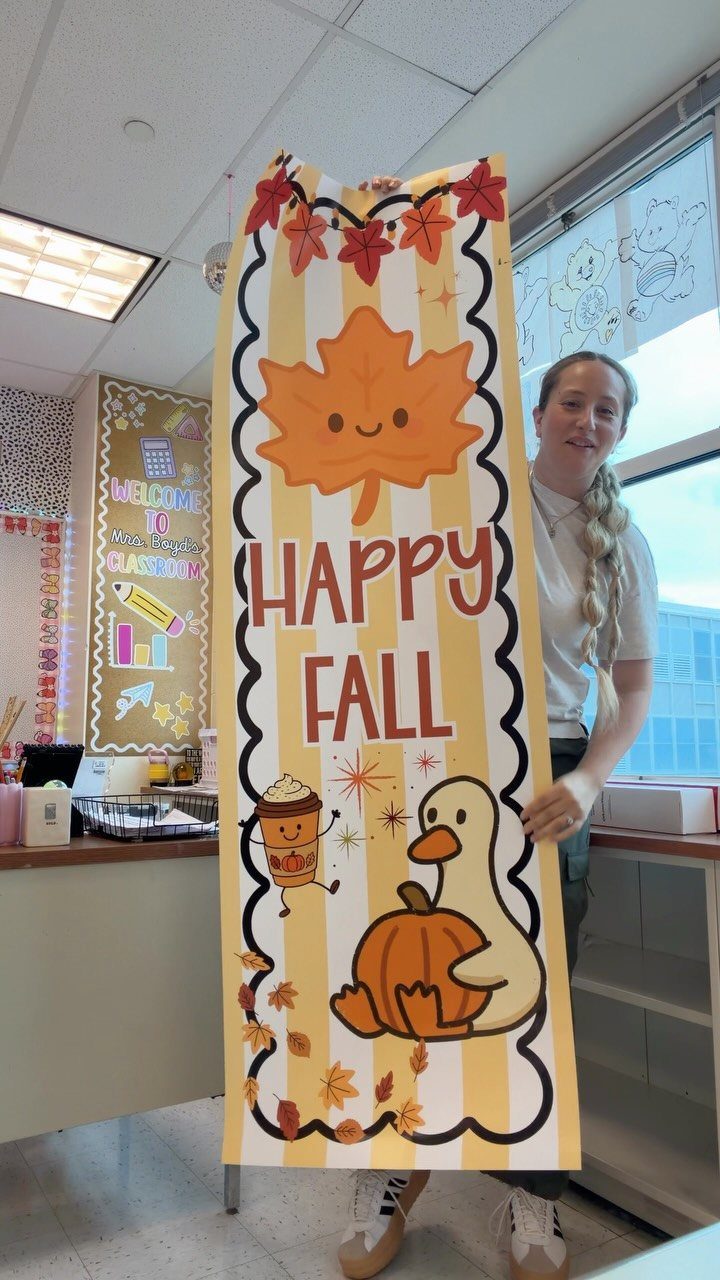
Hung vertically, a long striped banner uses wall height instead of width, which helps in a classroom with little open space between cabinets and windows.
Yellow and white stripes hold the letters with small autumn drawings in between, giving you seasonal color without bringing real leaves into the room.
I like this format for a door or a narrow strip beside the board. Keep the lettering large so it reads from the back row.
Since it is a seasonal piece, roll it up after October and it comes back out next year.
3. Calm Down Corner Banner
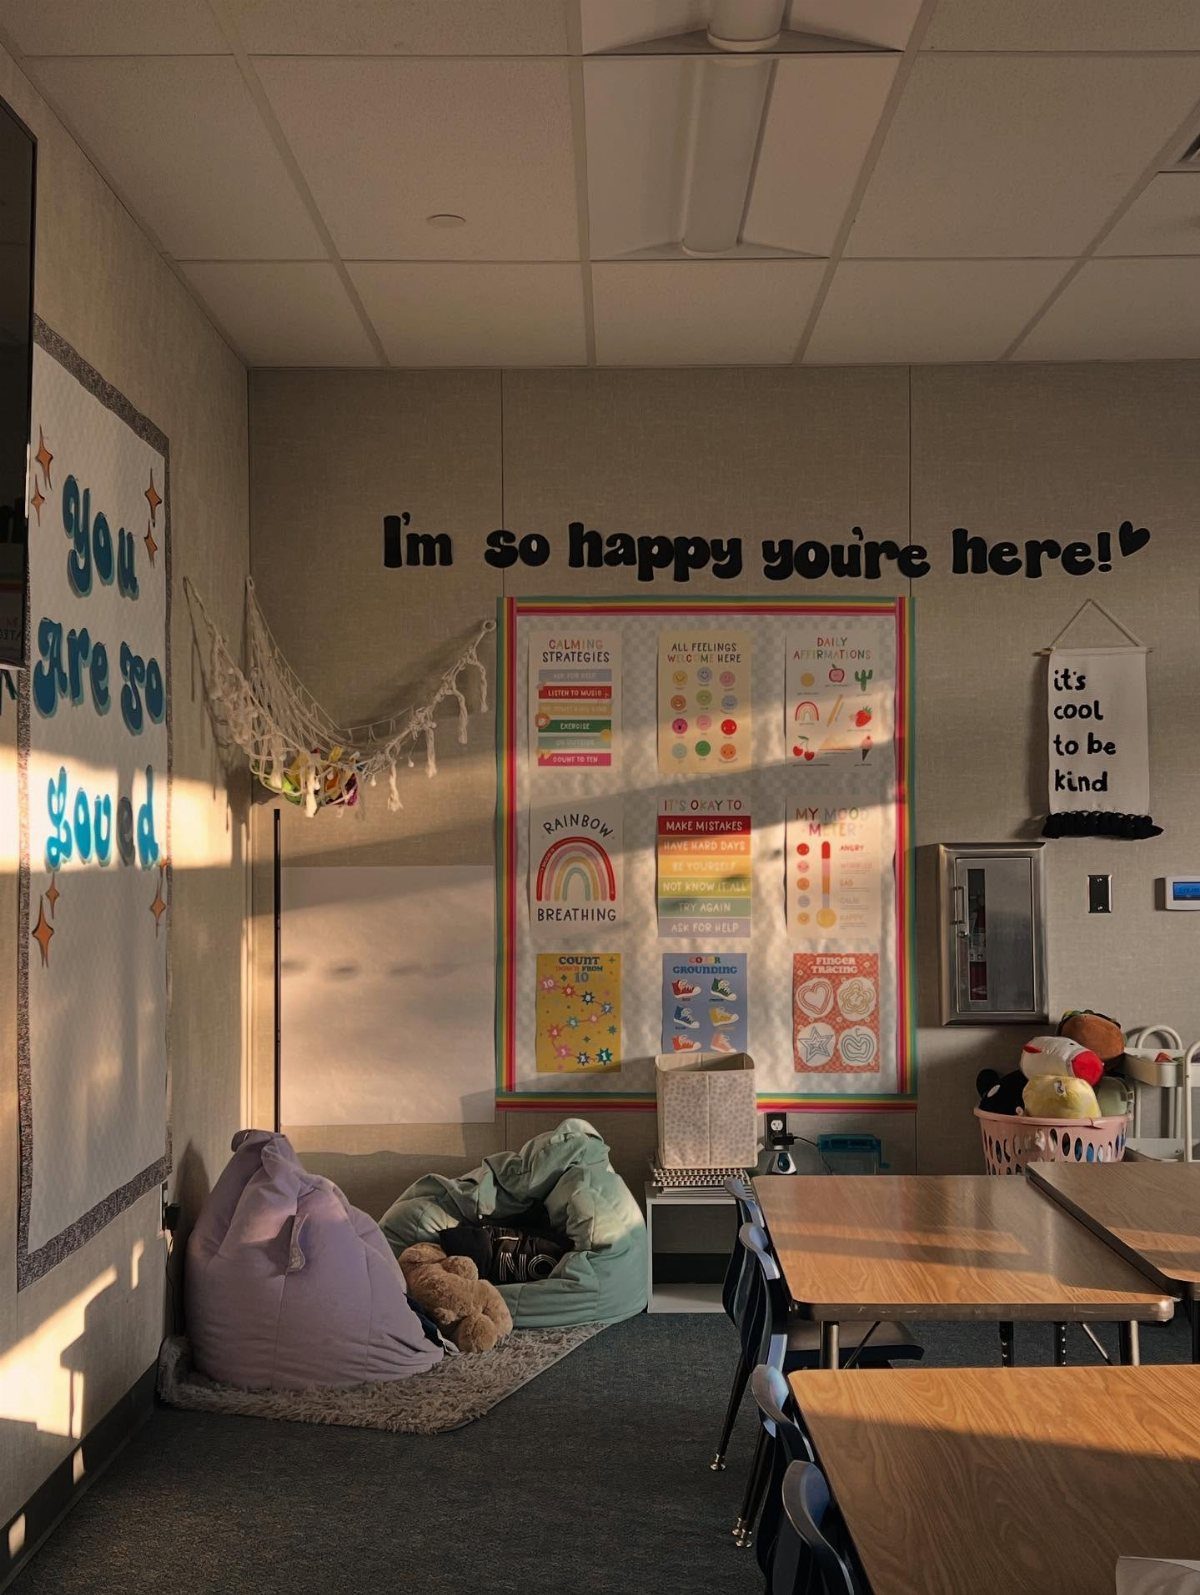
A single warm sentence on the wall does a lot of work in a calm down corner. "I’m so happy you’re here!" tells a child who is upset that the space is a welcome, not a punishment.
Hang it above the beanbags where a seated child will see it, and pair it with a strategies poster so the message and the tools sit together.
I would pick soft colors and plain lettering here; busy patterns work against a space meant for settling.
4. Welcome Sign Banner
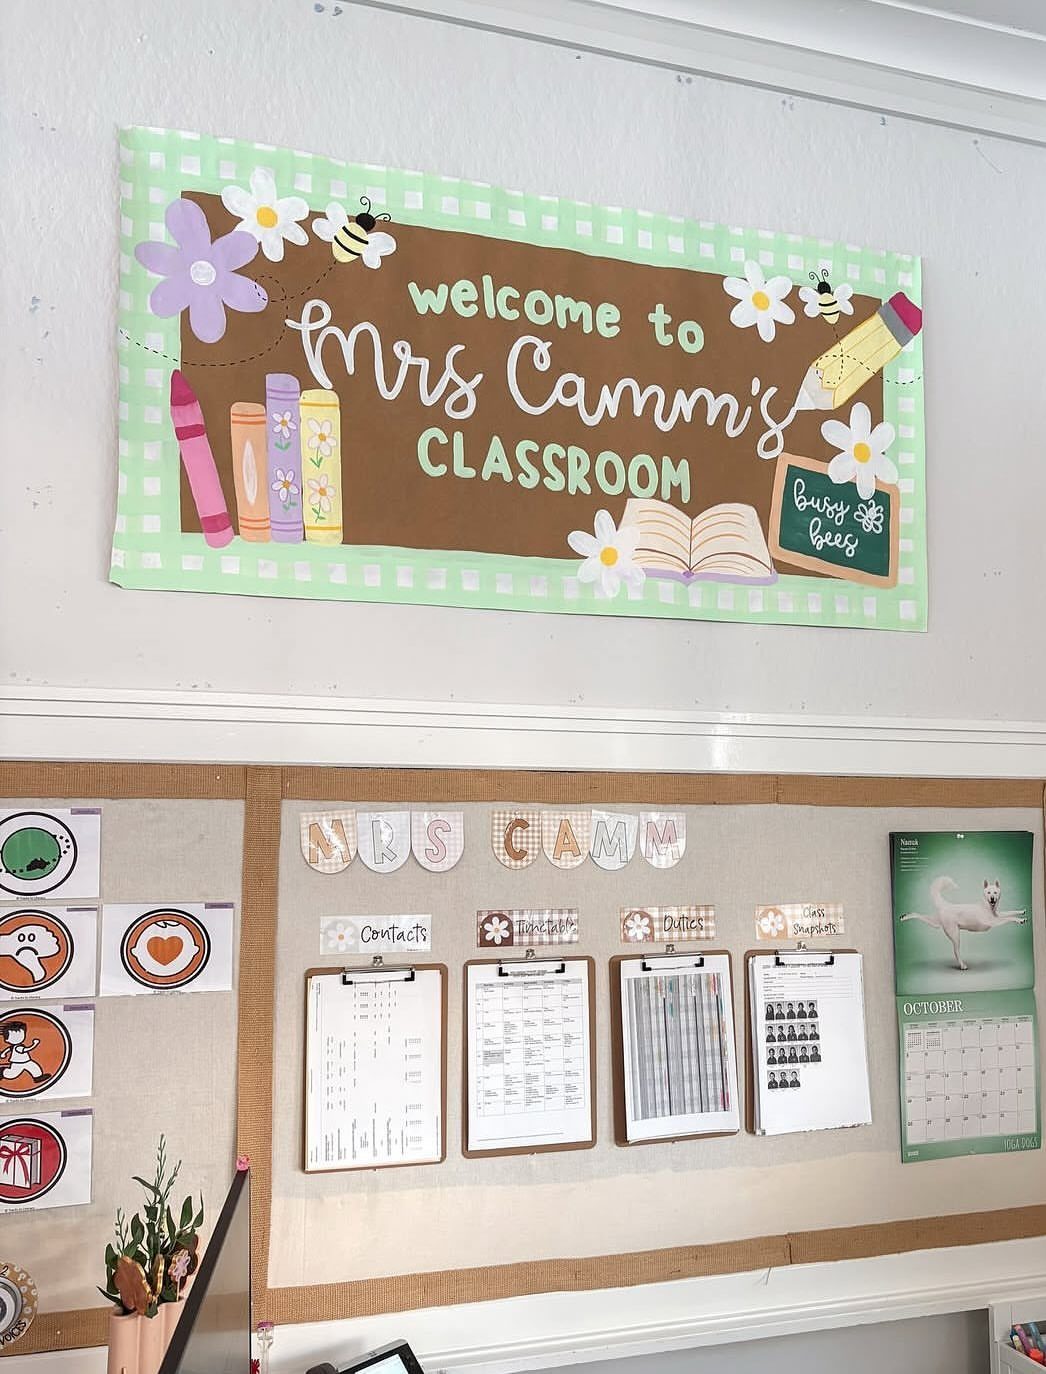
Mrs Camm’s banner puts the teacher’s name right in the greeting, "welcome to Mrs Camm’s CLASSROOM," and that small personal touch is what I’d copy. Students and families see whose room they are walking into before they reach the door.
Bees and flowers keep it cheerful without much cost: a few cut shapes around the letters go a long way. Hang it high on the wall behind the corkboard so clipboards and the calendar stay clear and readable below.
5. One Bright Bunch Pennant Banner
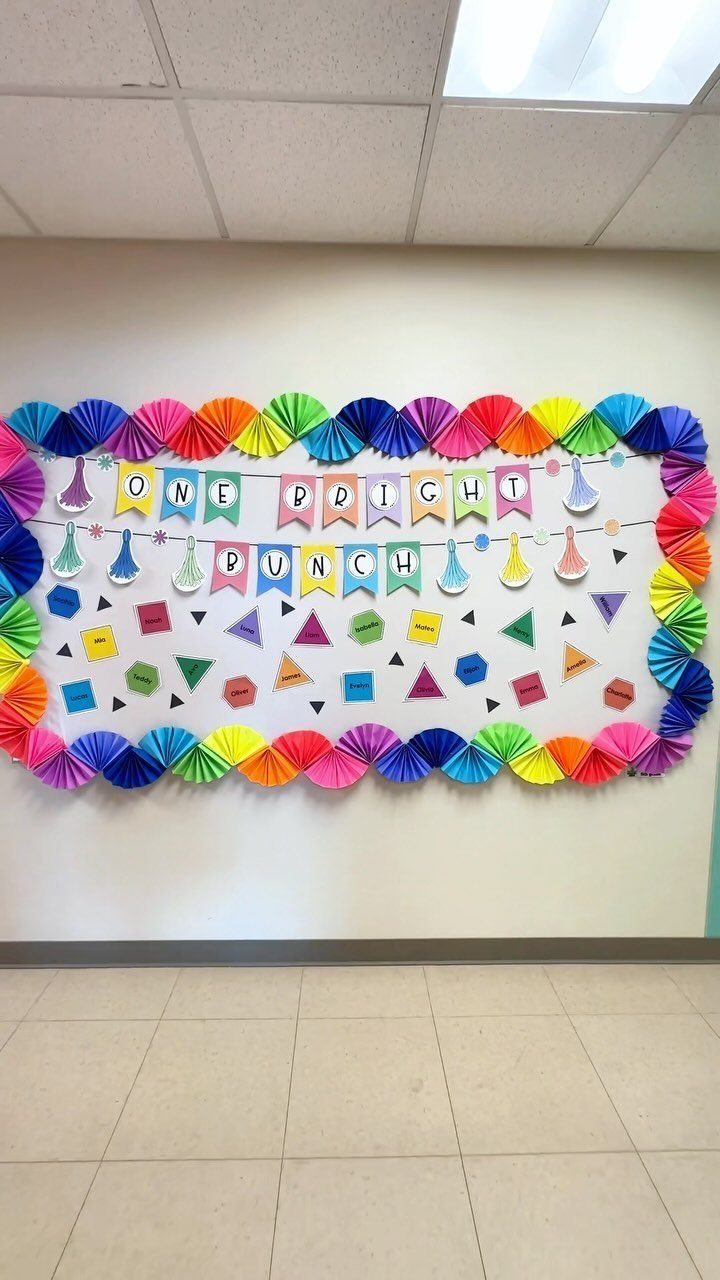
Paper fans around a banner turn a flat wall into a display with depth, and "ONE BRIGHT BUNCH" gives the whole group a shared name. Small pennants carrying student names let every child see themselves on the wall.
I would cut the pennants from colored cardstock, one per student, and string them in a row below the main banner. Making the fans takes the most time, so fold them ahead of the first week.
6. Reading Corner Affirmation Banner
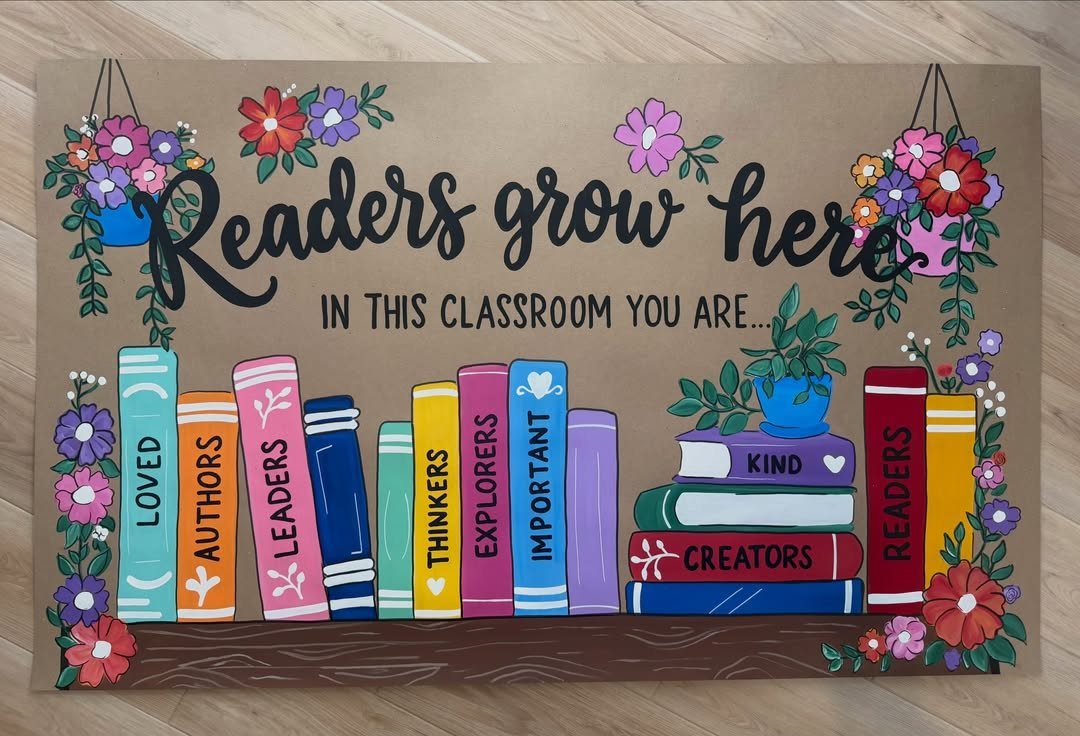
Butcher paper is the budget move here: a big sheet, paint or markers, and you have a banner with real hand-made charm.
"Readers grow here" works as the headline, and "IN THIS CLASSROOM YOU ARE…" leads into books labeled with affirming traits.
I like letting students add their own book spines or flowers, which makes the wall theirs.
Paint the lettering first, then fill in the illustrations around it. It lies flat on a floor while you work, and tape holds it to the wall.
7. Hispanic Heritage Month Banner
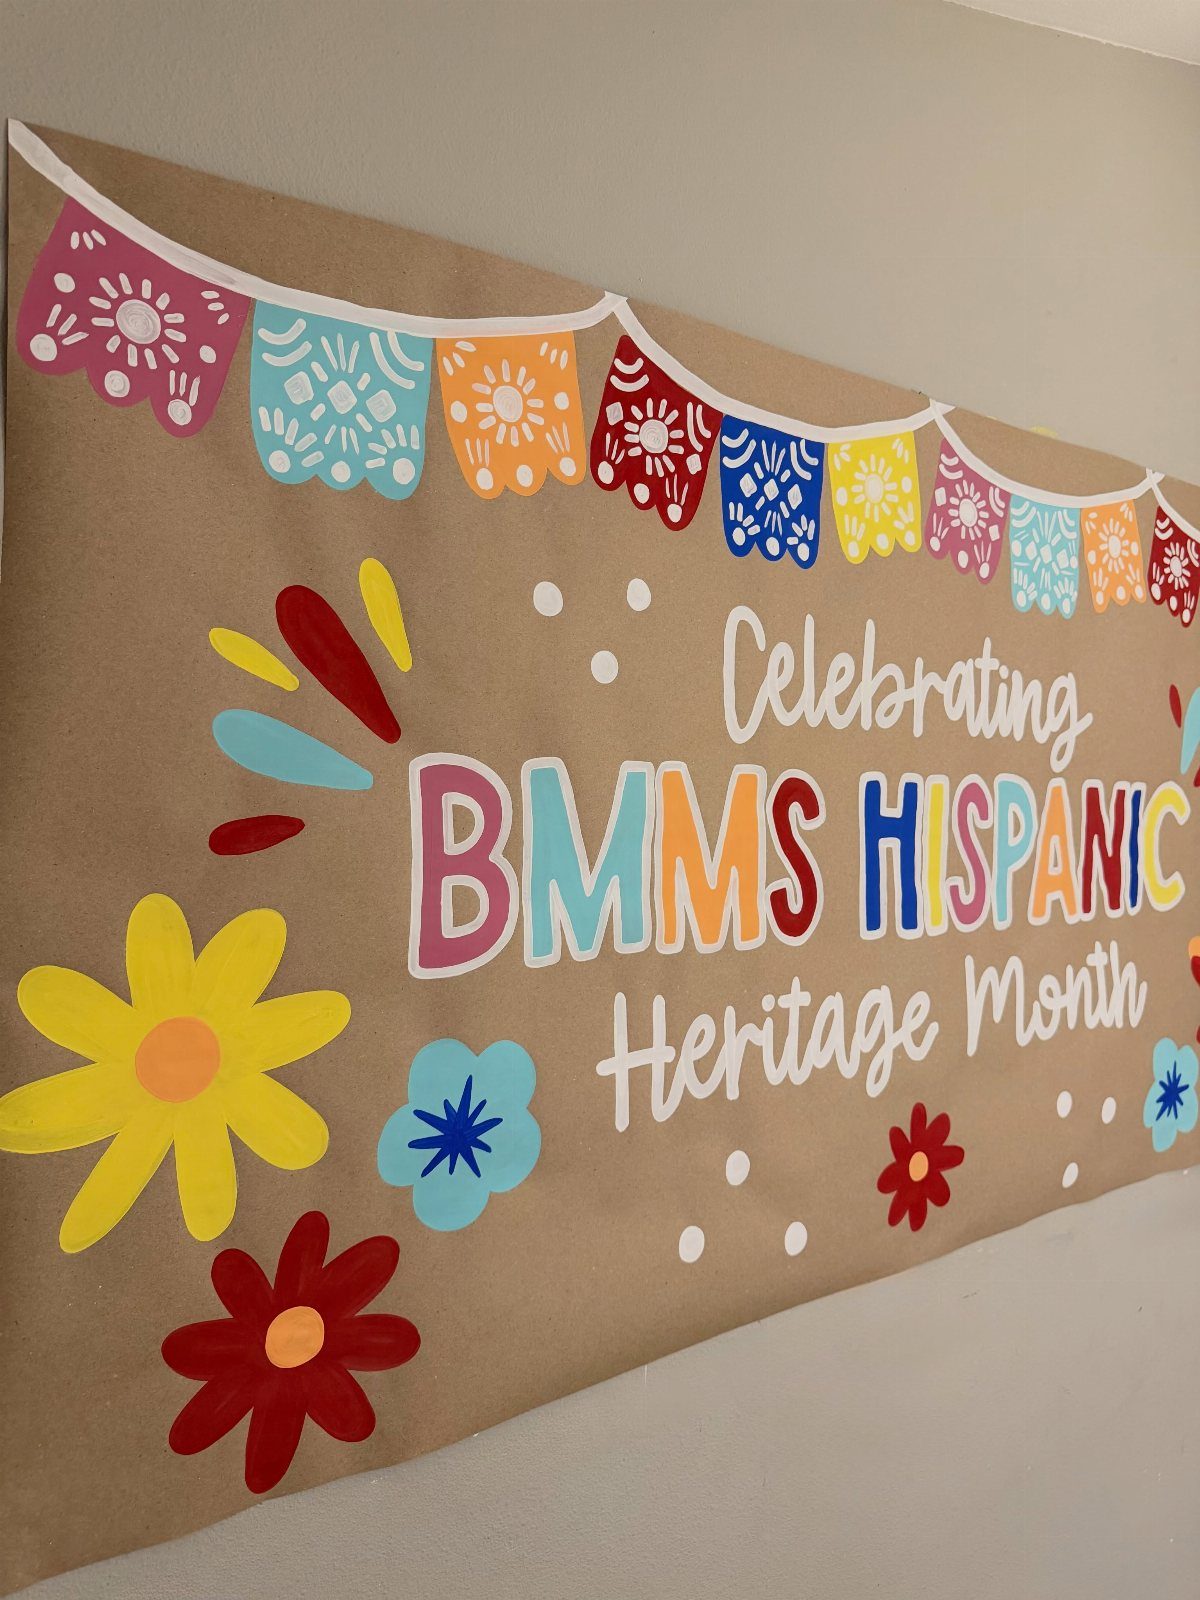
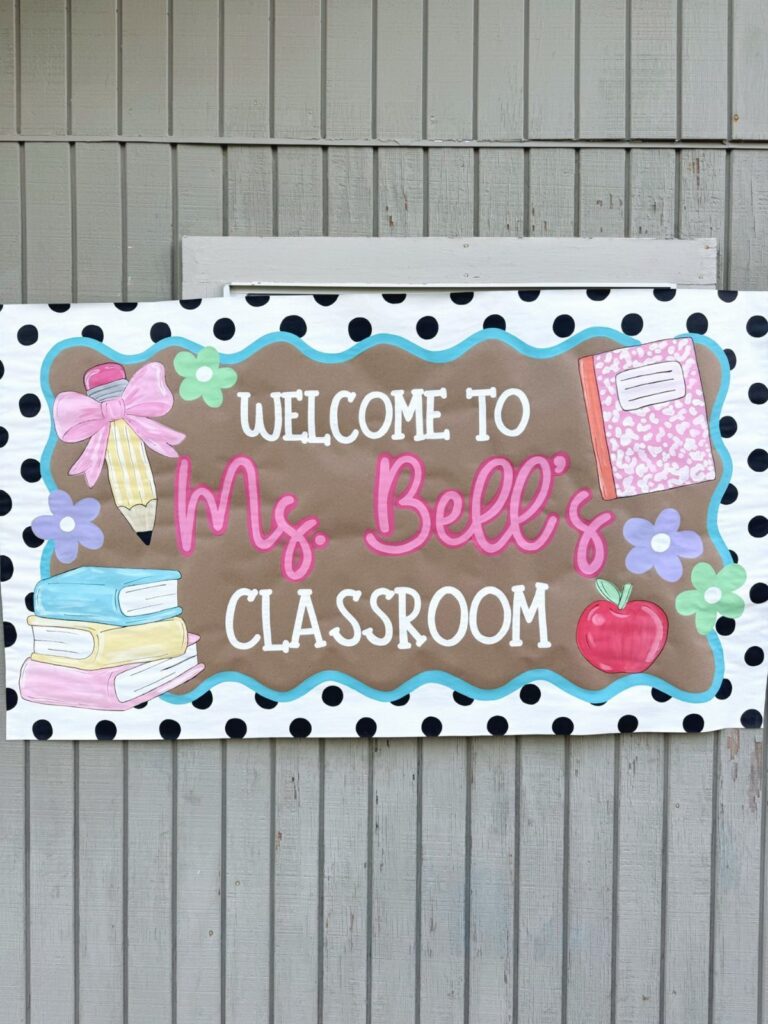
Brown craft paper does a lot for a Hispanic Heritage Month banner: the warm tan background makes painted flowers and bright flags stand out without any extra backing.
Lettering the school or class name into the title, the way "BMMS" appears here, makes the wall feel like it belongs to your students.
Paint the title first, then add the flowers around it and tape small bunting along the top or bottom edge. Let students paint a flower each, so the banner becomes a class project.
8. Printable Display Banners
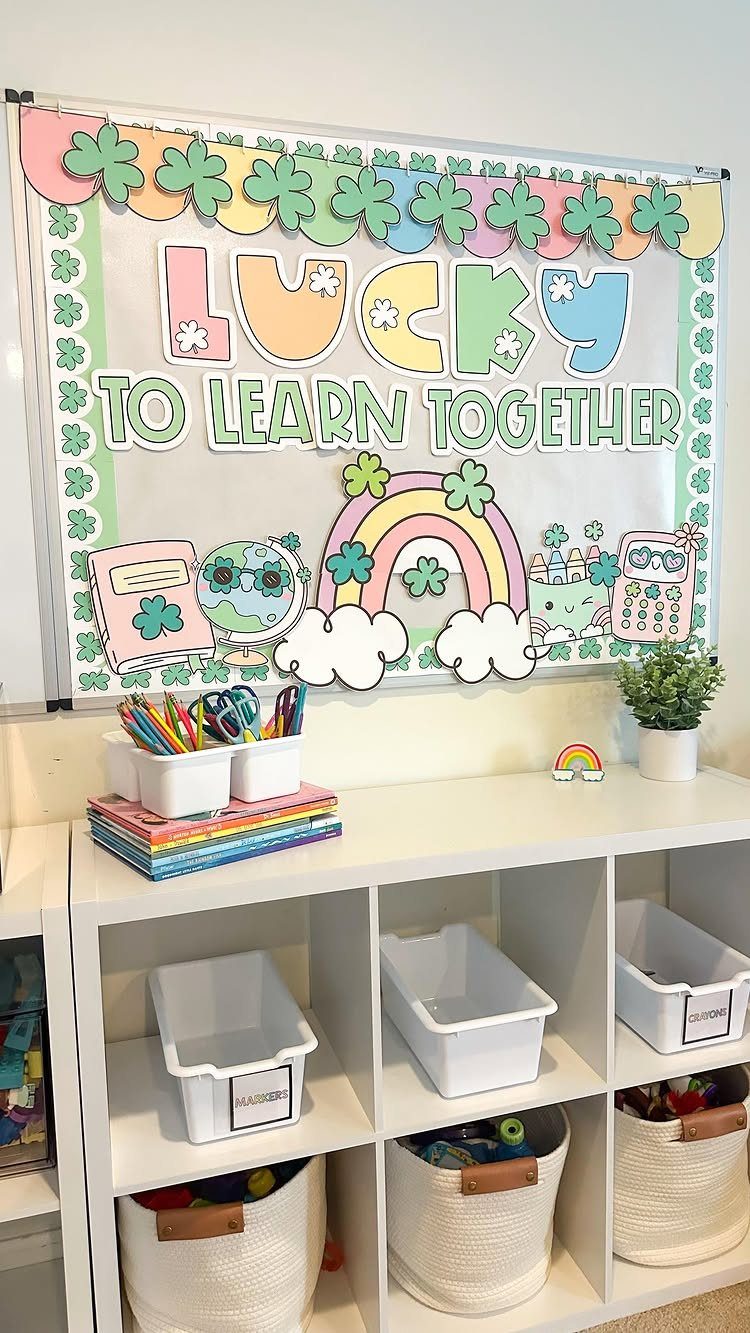
A printable banner saves the most time: you print, cut and hang, with no lettering to draw. "LUCKY TO LEARN TOGETHER" suits a March shelf, and the shamrocks and rainbow can be printed as separate shapes.
I would hang it above storage cubbies like these, where the wall is bare and the shelf below keeps the display grounded. Cardstock holds up better than copy paper if you want to reuse the pieces next March.
Printing costs only ink and paper, so this is the cheapest idea here.
Benefits of Editable Banners
Editable banners fix the problem a prepackaged set always has: it comes with one design and a fixed set of letters.
If you need a name or phrase the pack doesn’t cover, you end up buying a second pack just for a few letters. With an editable file, you type what you need and print it.
Repairs are the other advantage.
Banners get torn, and a missing letter on a store-bought set means a gap you can’t fill. With a file, you reprint that one piece and tape it back in.
With an editable kit, the flags, lettering and layout are yours to adjust, so a banner can match the room’s size and the colors you already own.
Pennants, bunting flags and rectangles all work, so you can match the banner to the wall you have. Some free editable bunting sets include hundreds of pennants, and that is plenty for names, titles and spares.
Store-bought banners under $5 are tempting, and they work for a single use. For anything you want to change or reuse, I would go with the editable file.