How long the banner needs to last decides which one you make.
A reusable fabric banner, with a loop sewn to each flag, comes out of the box every year and can swap a name for an age, while a paper banner and a painted butcher paper backdrop are one-party pieces.
Between those sit felt letters, pipe cleaner shapes and a fabric pennant banner on a dowel, and your sewing skill, from none to a basic straight stitch, narrows the choice further.
1. Reusable Fabric Banner
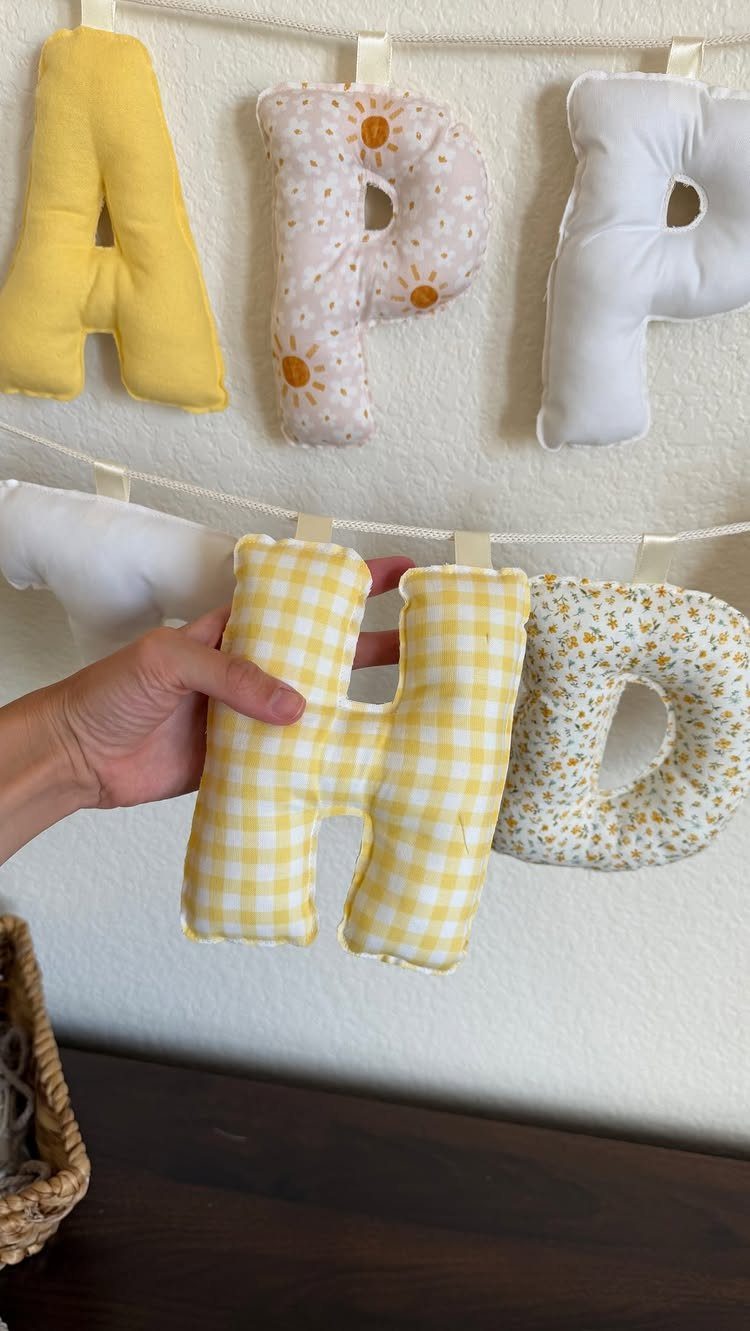
Stuffed fabric letters strung on a cord make the banner you pull out of a box every year instead of tossing after one party. Cotton scraps in checks and florals work well because they hold a shape once filled.
Stitch each letter as a front and back pair, leave a gap, stuff lightly, then close.
Sew letters from fabric, string them on a cord, and you have a banner that can spell out any name or age you need. I would pick this over paper any time the banner needs to last.
2. Mixing Fabric Patterns
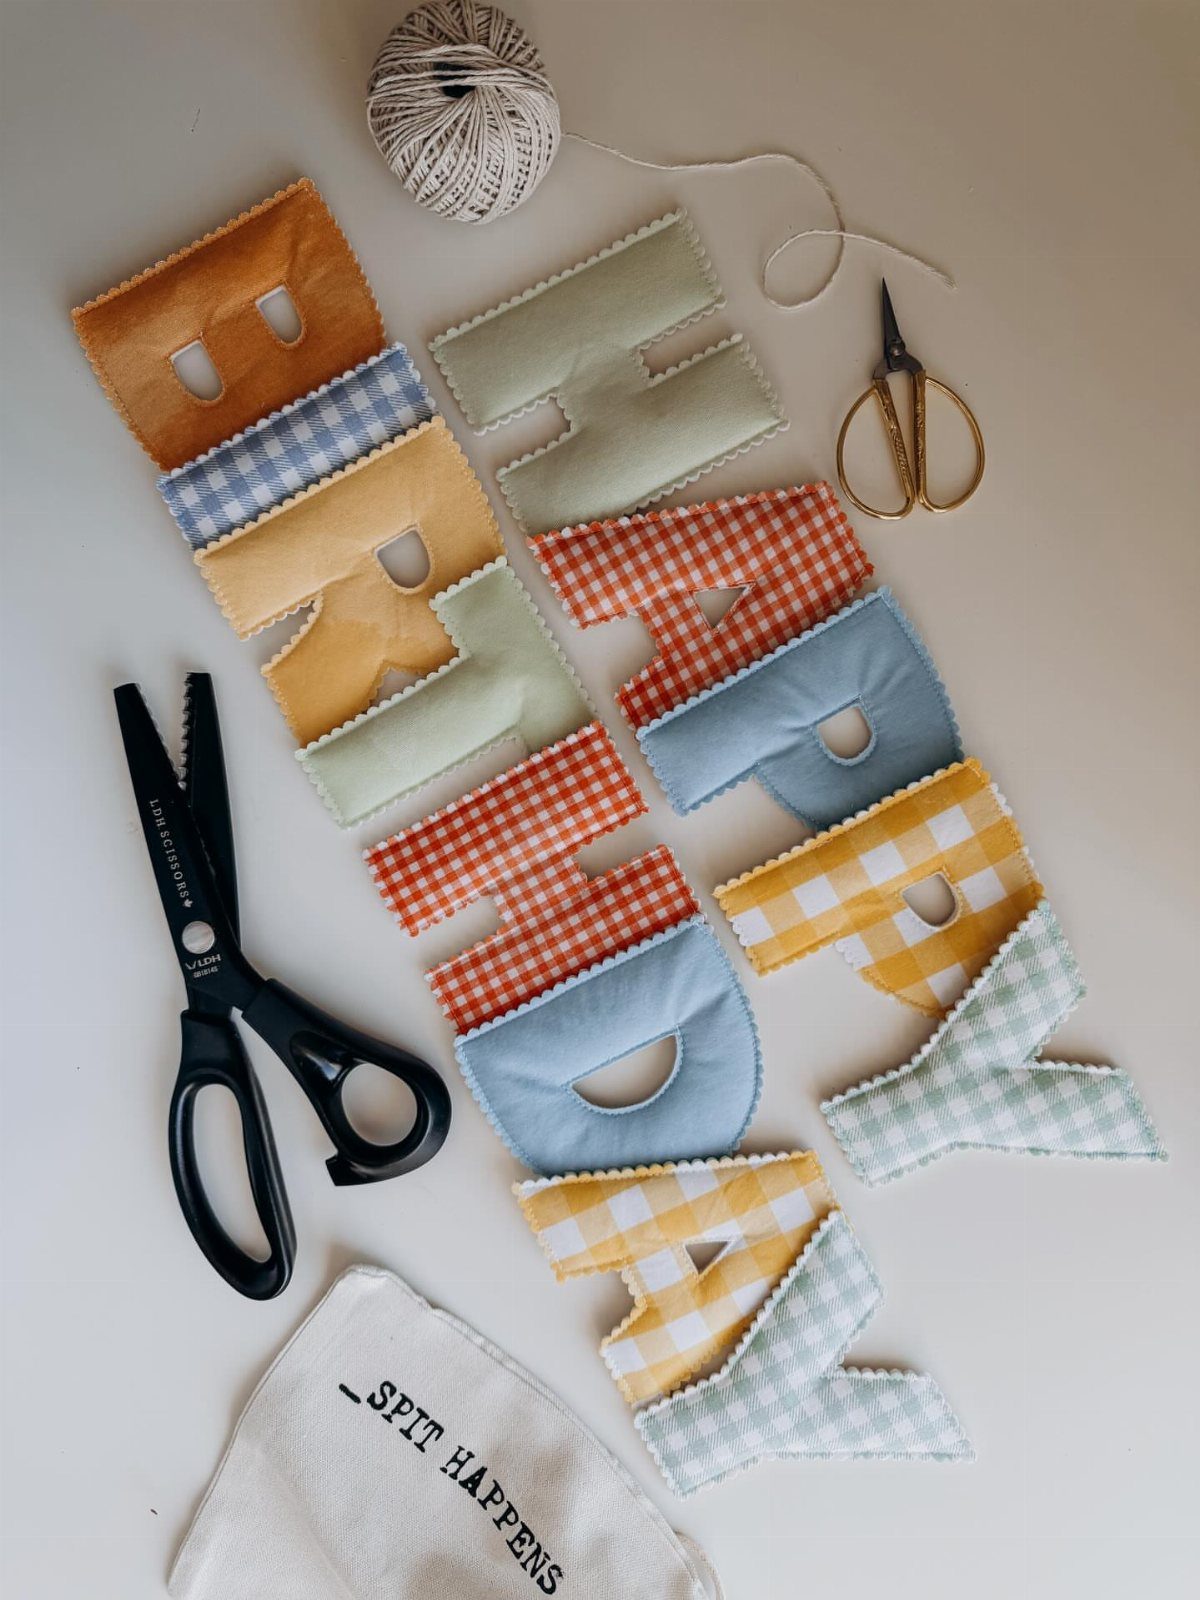
A mismatched pile of cotton scraps beats buying one matching bolt, and it costs next to nothing if you already sew. Give every letter its own print and the banner looks planned instead of messy.
I keep a loose rule: let a couple of solids sit between busy prints so the eye can rest.
Cut the letters from a paper template so they come out the same size, and the different patterns do the talking. Cheap, forgiving, and a good fit for sewers who are still learning.
3. Paper Banner
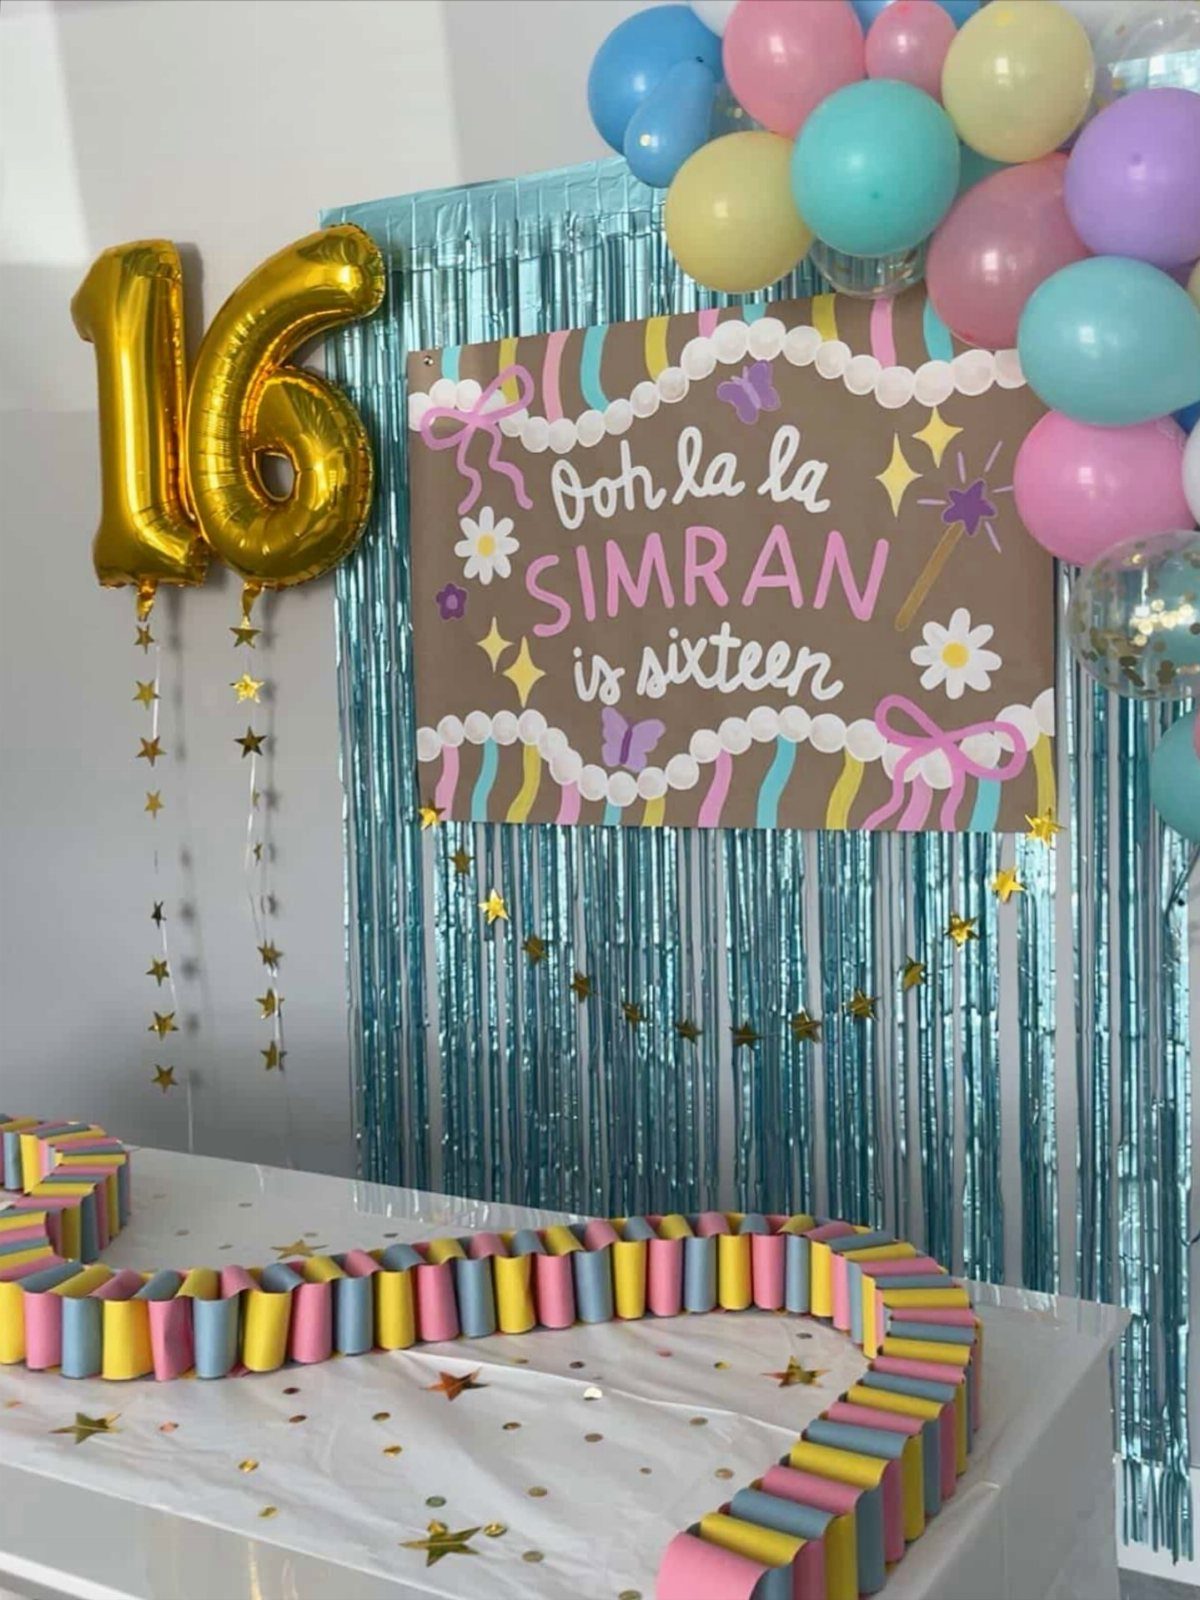
Brown kraft paper is cheap, and a marker is all it takes to turn a sheet into a custom banner.
Writing a full phrase, like a name plus the age, gives you far more personality than a set of stock letters.
Pencil the lettering first, then trace over it with a marker. Print the message on a single sheet, cut around the edges, and hang it with string threaded through holes punched at each end.
It will not survive many parties, so I treat it as a one-time banner and save the fabric options for keepers.
4. Sewing Flags Together
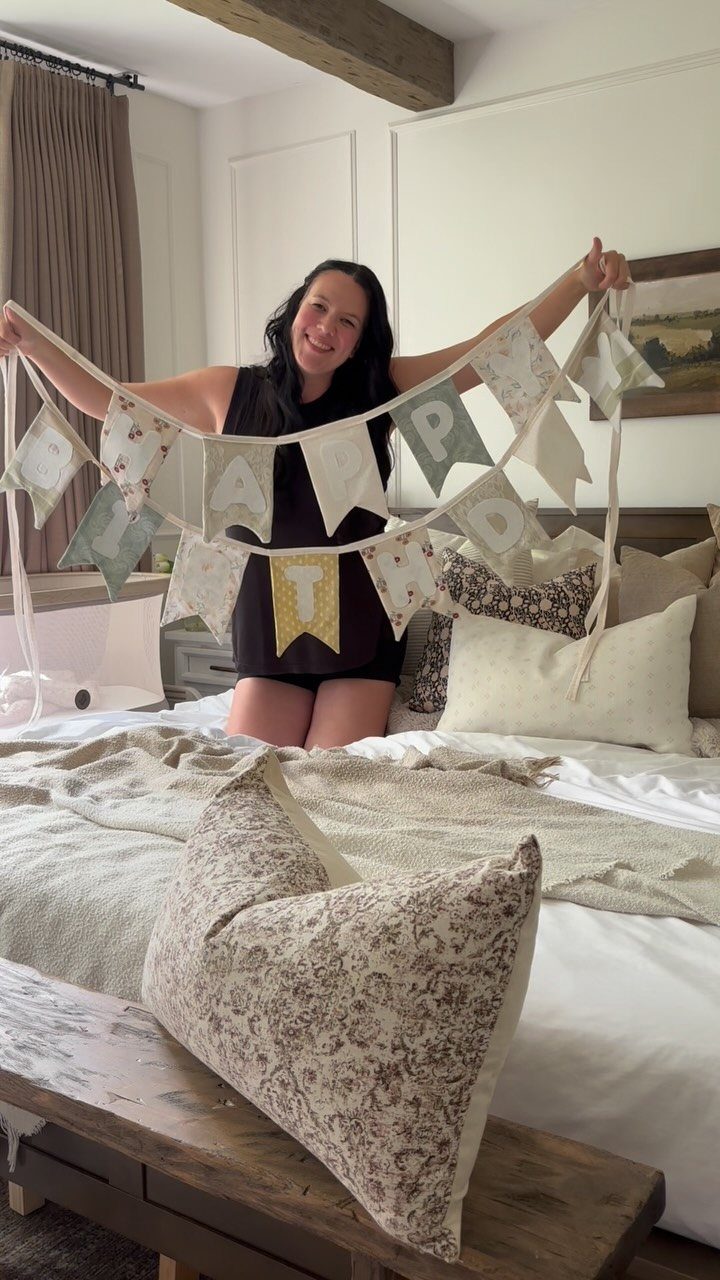
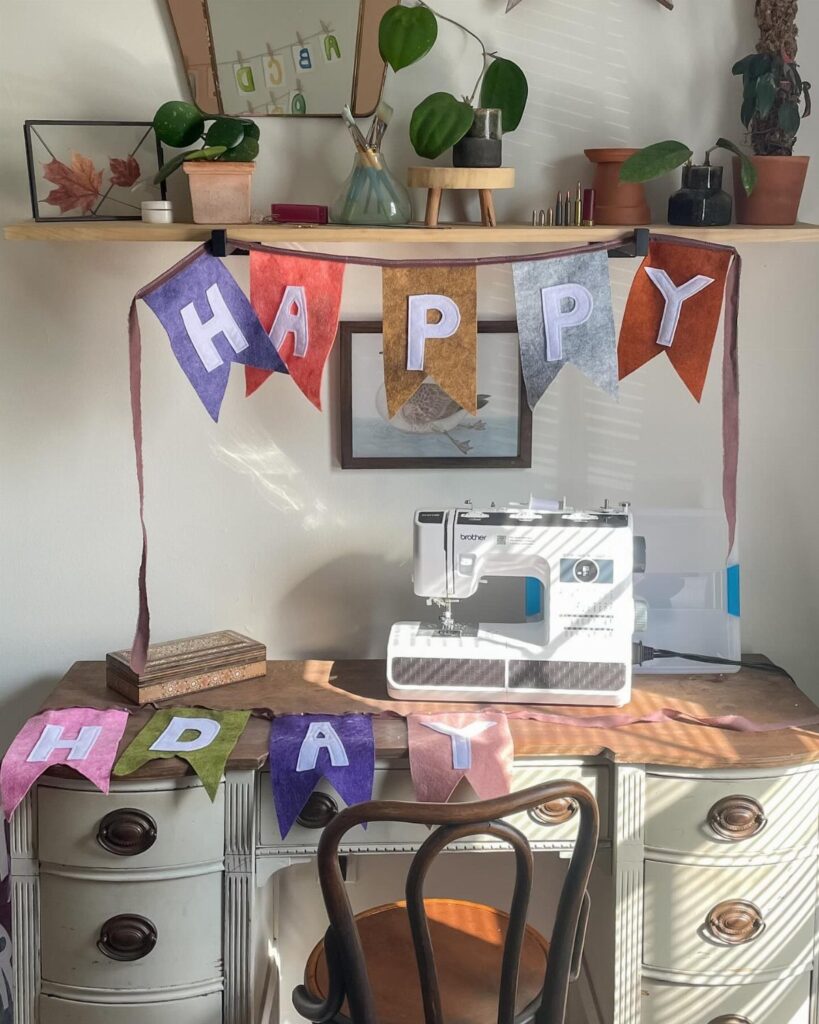
A sewing machine makes quick work of triangle flags: stitch them to a length of ribbon or bias tape and the whole banner comes together in an evening.
Floral prints in matching sizes look tidy hanging over a bed or a mantel.
Cut every flag from one cardboard template so the points line up.
Sewing the flags in a single line along the tape, one after another, is faster than hand-tacking each one. Basic straight stitching is all you need, which suits beginners well.
5. Using Felt for Letters
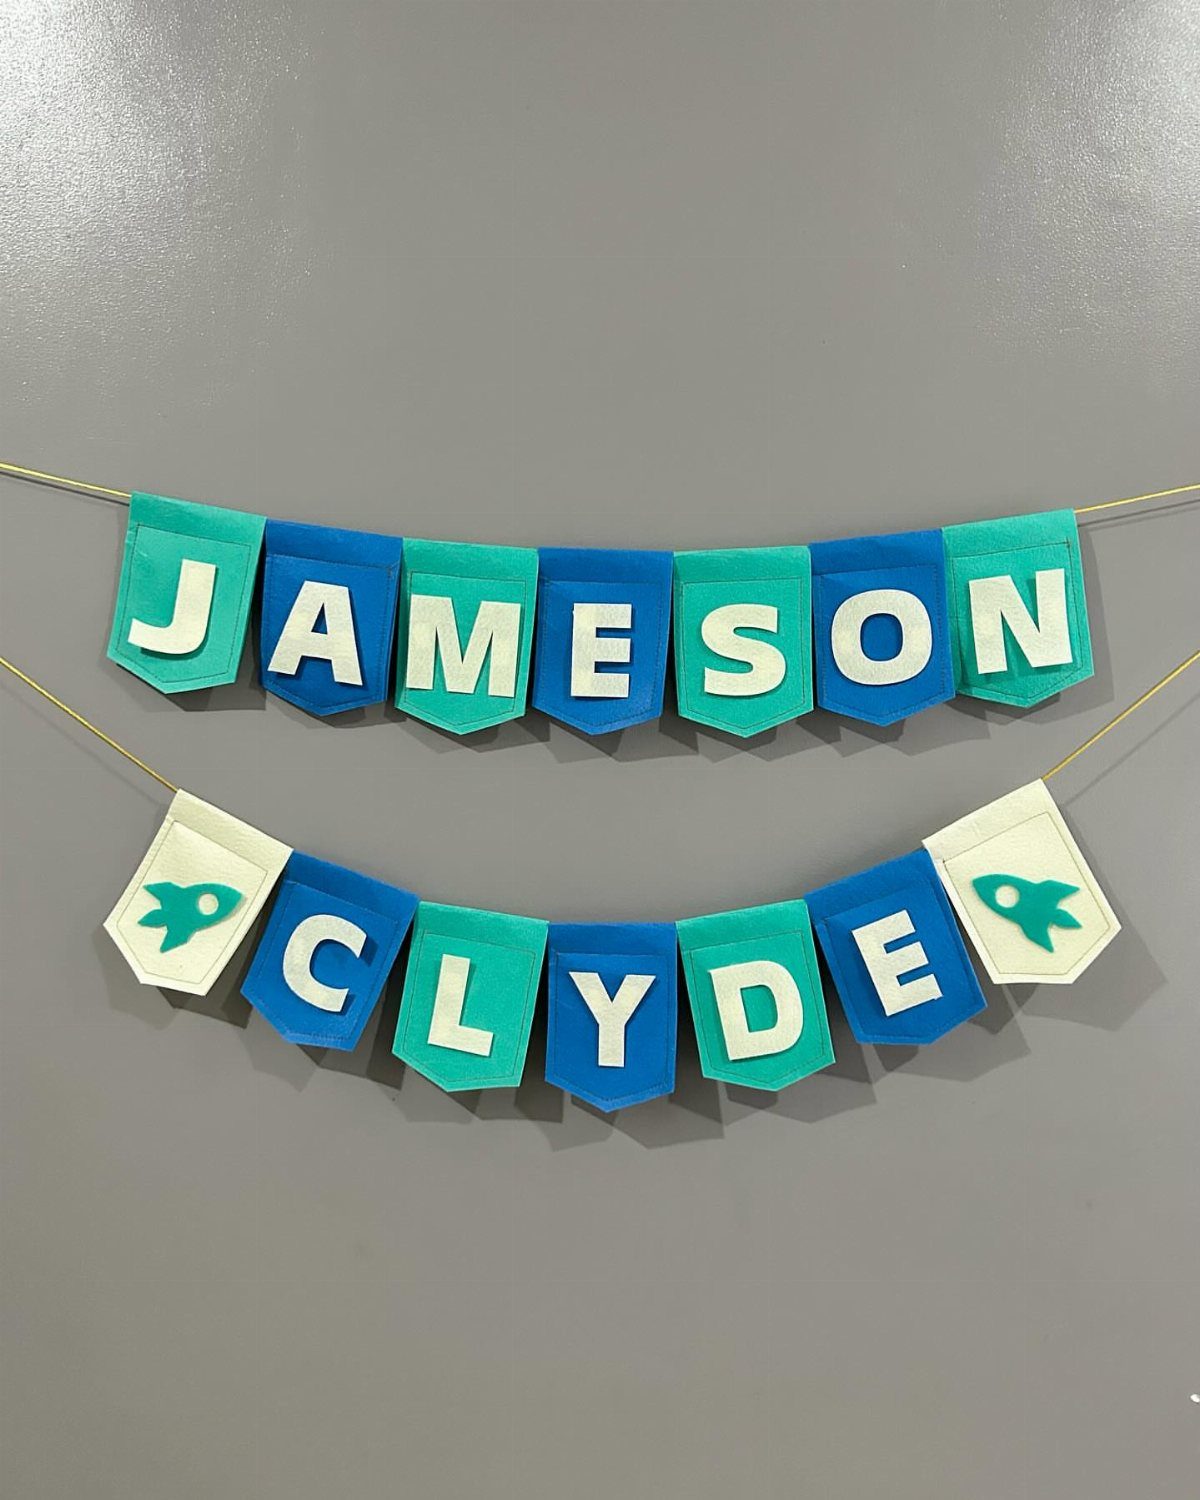
Felt cuts clean and does not fray, so cutting letters needs no hemming at all. White letters on solid blue and teal flags stay easy to read from across a room.
For felt letters, draw them on paper first, cut out that pattern, and use it as the template to trace onto the felt.
Fabric glue gets the letters onto the flags quickly, and stitching around the edges keeps them there for years.
A second row works well for a long name, and small shapes like rockets can match the party theme. Felt costs little and a child can help with the gluing.
6. Painted Butcher Paper Backdrop Banner
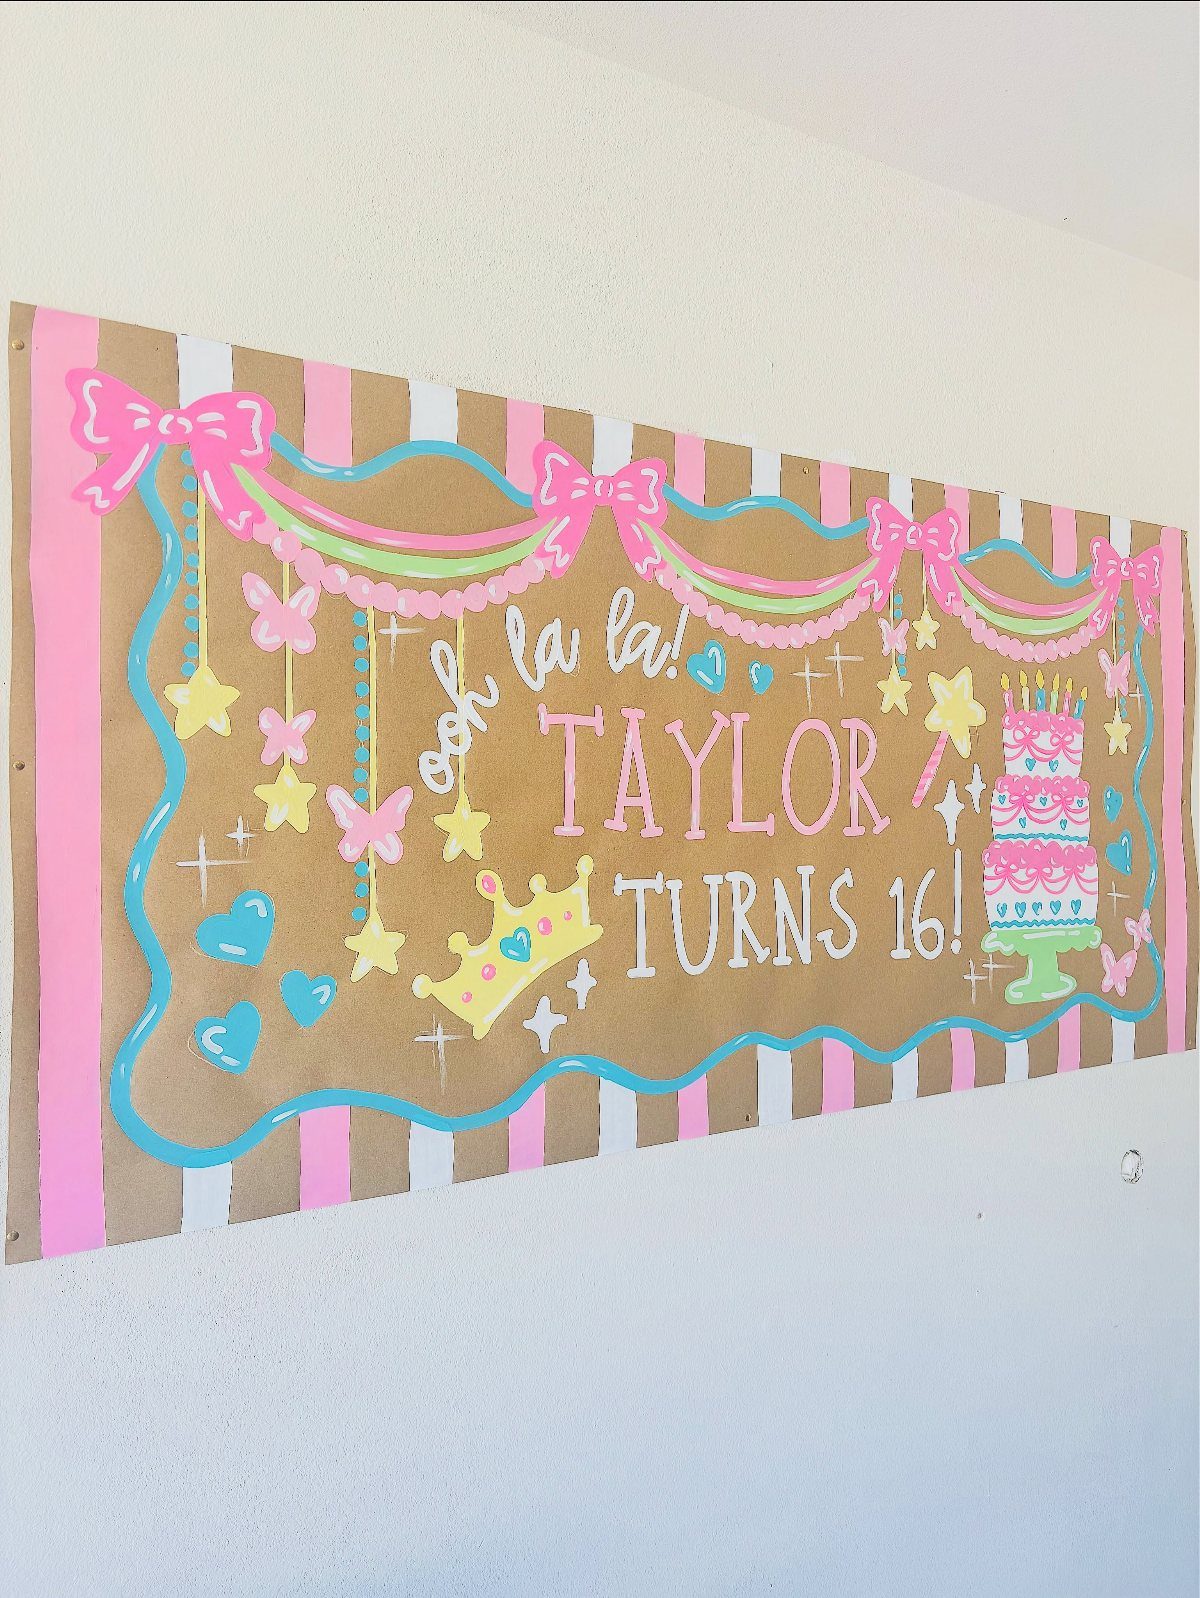
Butcher paper gives you a surface big enough to paint an entire scene, with room left over for lettering, a border, and small drawings. Brown paper makes bright paint stand out.
Sketch the layout in pencil before any paint touches it, because mistakes on a large sheet are hard to hide. Letters go in first, then the drawings, then the border.
Let it dry flat before hanging it on a wall with tape. It will not store well, so think of it as a backdrop for photos and not an heirloom.
7. Pipe Cleaner Letters and Shapes
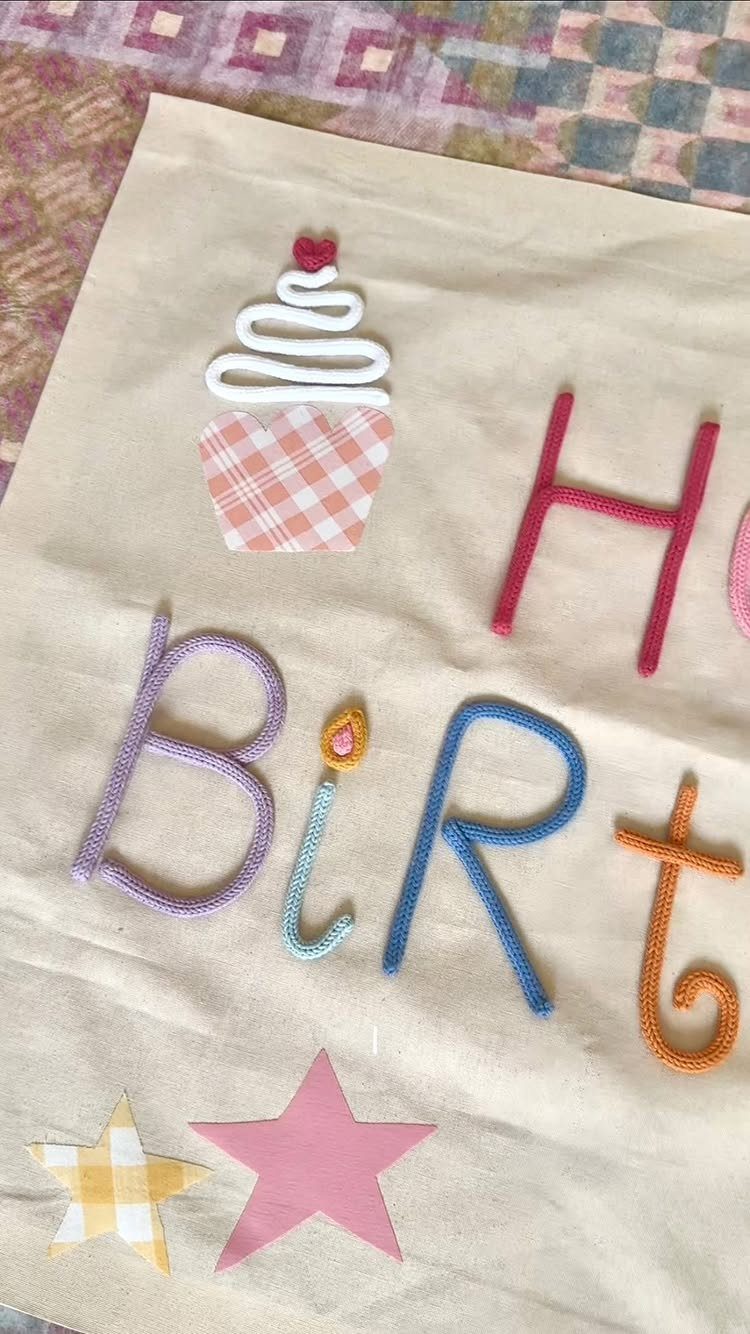
Pipe cleaners bend into letters without any sewing, gluing or cutting, which makes this the fastest banner on the list for a child to build.
Twist each letter by hand, then add small shapes like a cupcake or a star to fill out the word.
Stitch or glue the finished pieces onto a strip of neutral fabric so the bright colors stand out.
A plain backing keeps the look tidy even when the lettering wobbles. Bending a word from a single piece of pipe cleaner takes practice, so I would sketch each letter on paper first and shape the wire over it.
8. Fabric Pennant Banner on Dowel
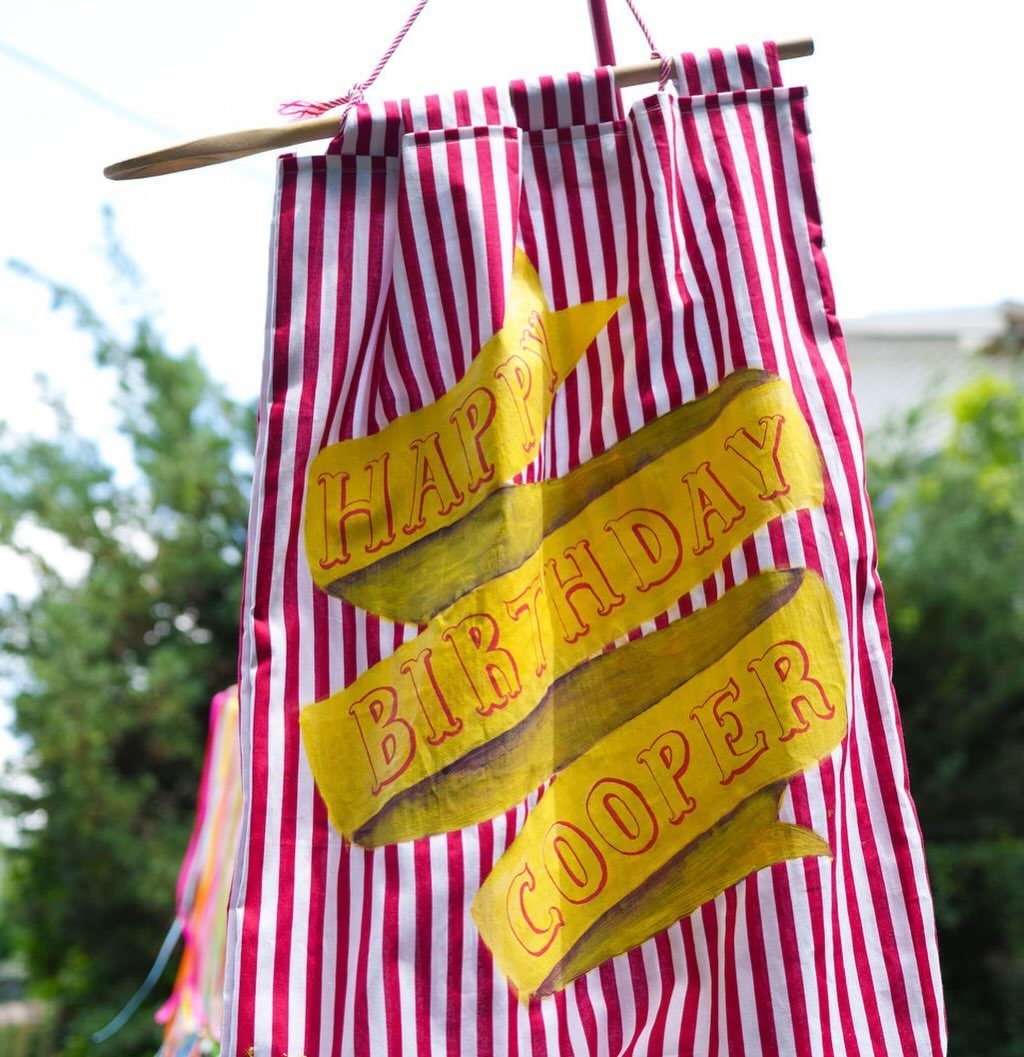
A wooden dowel gives a fabric banner a straight top edge and a single point to hang from, so one nail or hook holds the whole thing.
Striped fabric already looks festive, which leaves the lettering as the only extra work.
Paint the name on ribbon strips and sew or glue them across the stripes.
Putting a name like Cooper on its own ribbon makes the banner personal without redoing the whole piece. I like this one for a doorway or a fence, where the dowel keeps it from sagging in the middle.
Choosing Fabric Colors
Pick two or three colors that sit well together and let every print draw from that group. A palette keeps a pile of different fabrics looking like a set.
Solids do real work here. A plain fabric behind a patterned letter, or a solid letter on a busy flag, makes the word readable from across the room.
Test the combination before cutting anything: lay the letter fabric on the flag fabric and step back a few feet. If you have to squint to read it, swap one for a solid.
Sewing Techniques
Pin every layer before the machine touches the fabric. Fabric slides on the bottom layer as you stitch, so pin each letter to its flag before it goes under the needle.
Use the machine to stitch letters onto flags, running along the edges of each letter. A light spritz of water removes the marker afterward.
Pinking shears give a neat zigzag edge, but cutting through 3 layers is hard on the hands.
Sew one letter, cut it, then move to the next so your hands get a break. For holes in letters like A or R, snip the opening with sharp scissors first, then finish the outline with the pinking shears.
Planning Layout
Lay every piece out on a table or the floor before sewing or gluing a single thing. Laying everything out first exposes uneven gaps early, and banners with an odd count of letters or flags show it most.
It also tells you the finished size of the banner. Measure the spot where it will hang and compare, so you do not end up with a banner that is far too wide for the wall.
Trim the base fabric only after the layout looks right. If you print a flag template, print it at 100% scale so the pieces match the size you planned; changing the print percentage resizes them.
Frequently Asked Questions
Is it cheaper to DIY or buy a banner?
DIY usually costs less, especially when you already sew and have scraps on hand.
Scrap-bin cotton in mixed prints costs less than a single matching bolt, and felt or a roll of kraft paper keeps the price down just as well.
A fabric banner also gets reused every year, so its cost spreads across many parties.
How can I make a DIY happy birthday banner at home?
Trace a letter and flag template onto your material, cut out each piece, and sew or glue them along a strip of ribbon or bias tape. Scraps of cotton work well, and one template keeps every piece the same size.
Pin each letter to its flag before sewing, and lay everything out on a table first to check spacing and total width. A banner like this comes together in an evening.
What kind of paper to use for a birthday banner?
Kraft paper wins for me on price and on how well it holds marker ink, which leaves room to write a name and an age without worrying about bleed.
For a big backdrop to photograph in front of, butcher paper gives you room to paint a whole scene. Either one holds up for a single party only, so choose fabric if you want to keep the banner.