These 7 caps run from a $0 paper craft to a hand-painted design, but the graduate’s own skill with a brush or glue gun picks the one to make.
The painted lily cap needs comfort with a brush, while stick-on letters or printed graphics work better for a first timer.
1. Graduation Cap Tassel
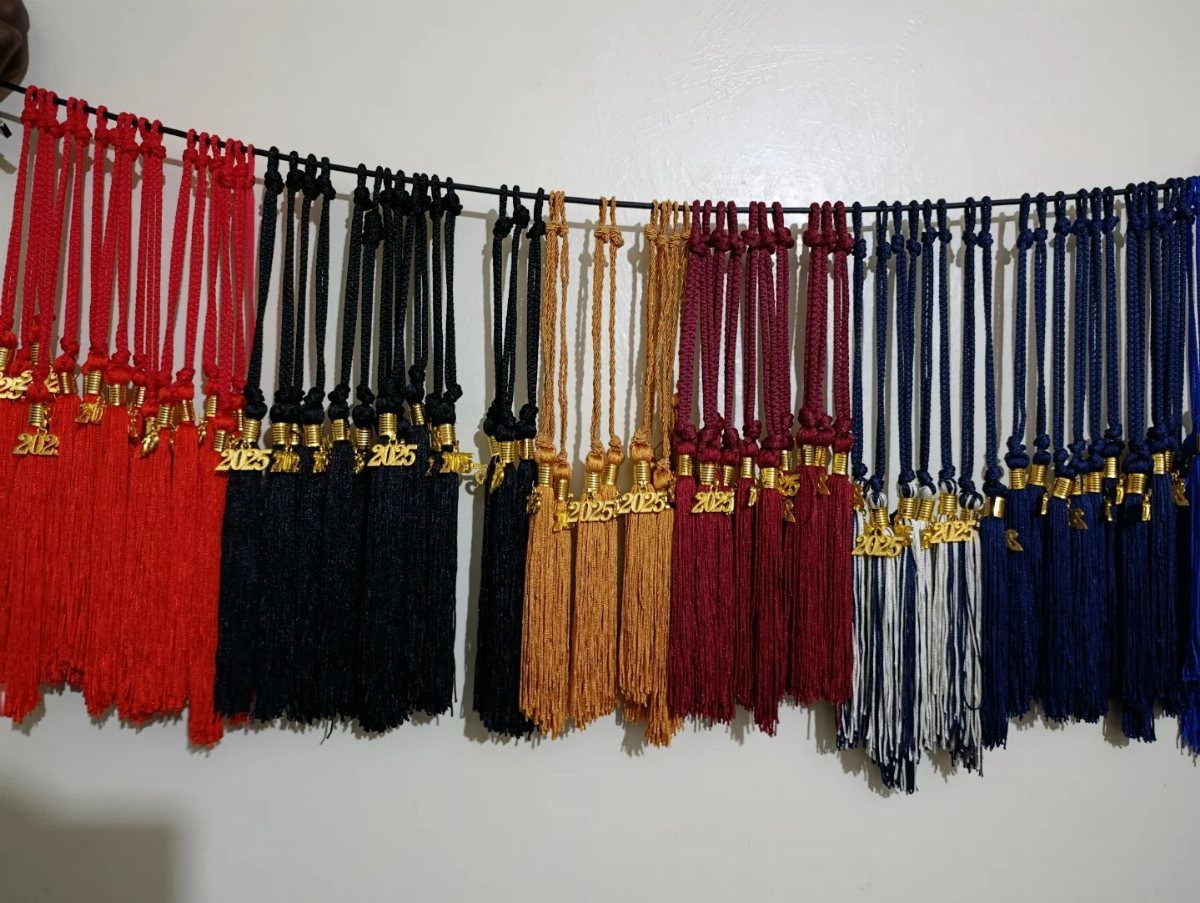
A tassel is the smallest piece of a cap and the easiest to customize. Pick the school color for the tassel, then add a metal year charm in gold or silver so the graduating year hangs right beside it.
Making your own takes one skein of embroidery floss or a handful of yarn, and it fits a short evening.
Buying a plain tassel and swapping in a charm is the faster route, and I’d choose it for anyone short on time.
Keep a spare in a second color. Kids lose them.
2. School Colors Graduation Cap
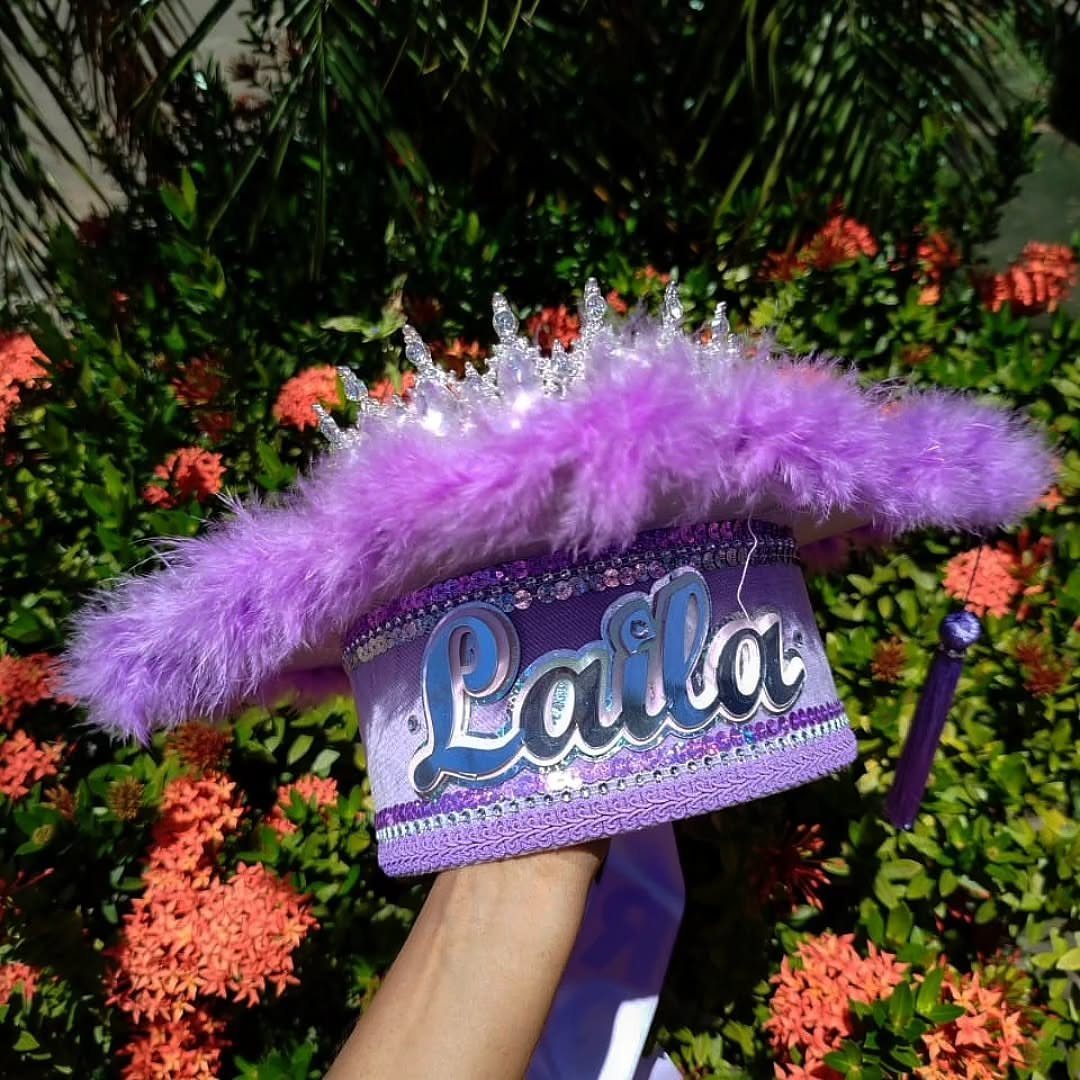
Purple base, purple feathers, a tiara and a name in glitter: school colors work best when one shade carries the whole cap.
Craft-store letter stickers keep a name straight with no drawing skill. Glue feathers and the tiara with a strong craft glue, then lay the cap flat until it dries.
A tiara suits a younger graduate or a photo-first cap. For a plainer look, skip it and leave only the name.
3. Decorated Graduation Cap

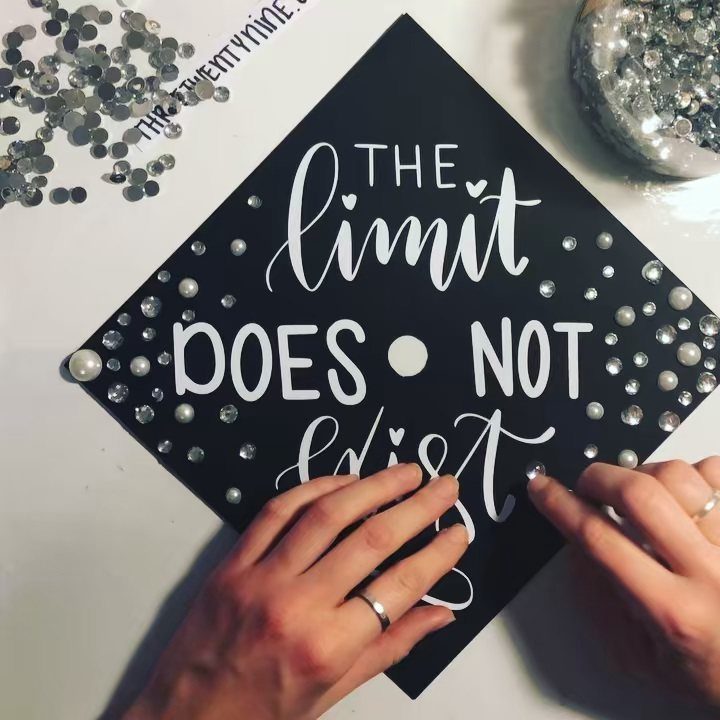
Starting with a plain pre-made cap saves the hardest step, and the flat top is a ready canvas. Logos, sun shapes and bright graphics all work on it.
Sketch the design on paper cut to the size of the top before touching the cap. Cut shapes from cardstock or printed images, arrange them, then glue down.
Printed graphics are friendlier than freehand paint for beginners. I’d choose one bold image over several small ones; it reads better in photos from a distance.
4. Satin Bow Graduation Cap
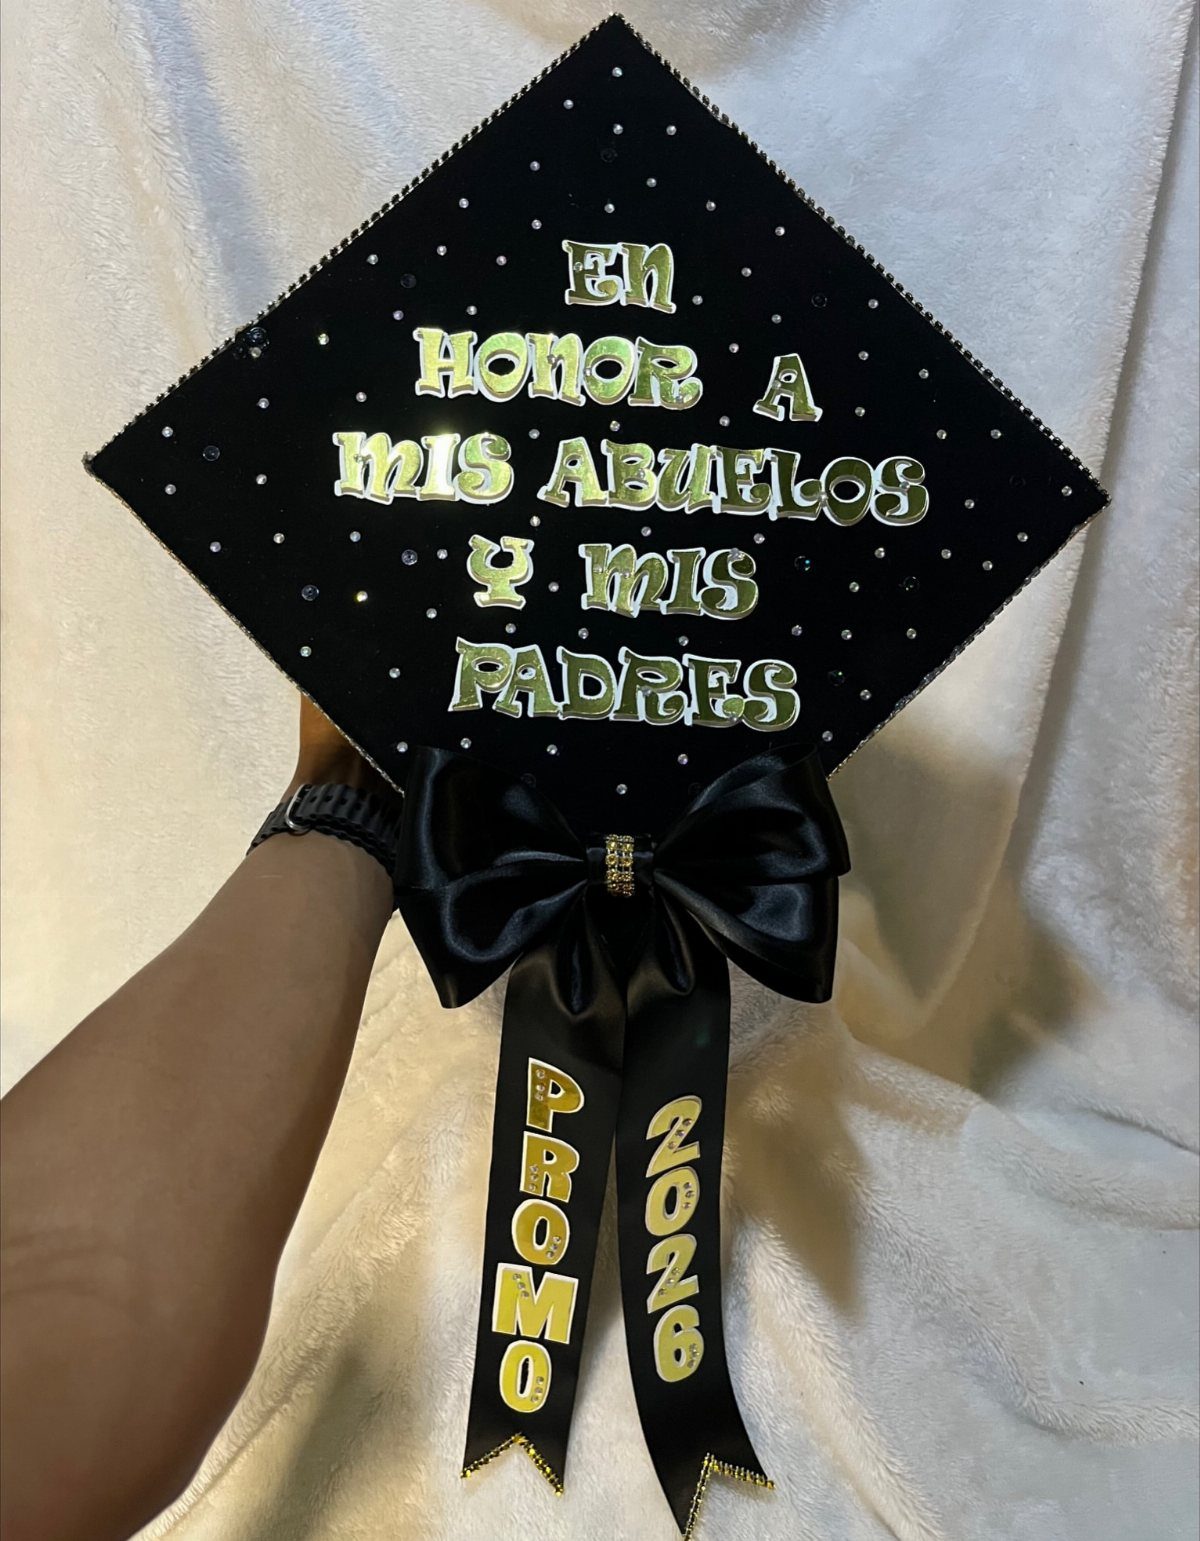
Satin ribbon gives a cap height and movement, and a big black bow does it for very little money. Printing the year on the ribbon tails, as in "PROMO 2026," makes a bow the main message.
Tie a full bow first, then glue it in place. Add rhinestones in a line beside it, and gold lettering across the top, in any language that matters to the graduate.
Choose a ribbon wide enough to hold letters. A skinny one will look fussy.
5. Mini Paper Graduation Cap Craft
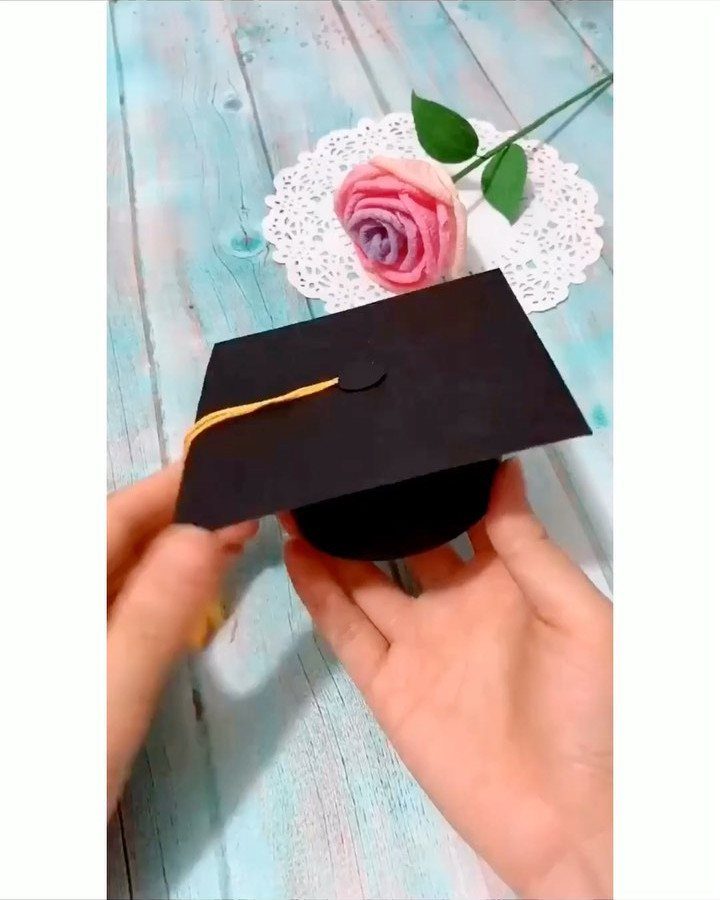
A paper cap in miniature works as a party favor, a cupcake topper or a card decoration. Black cardstock covers the base, and a yellow tassel finishes it.
Cut a small square for the top and a band or cone for the crown, then glue them together.
Embroidery floss makes a quick tassel. Tape one corner of the tassel under the square’s center.
Kids can make these with little help, and the cost is only paper and glue. Make extras, since the first one rarely comes out even.
6. College Major Graduation Cap
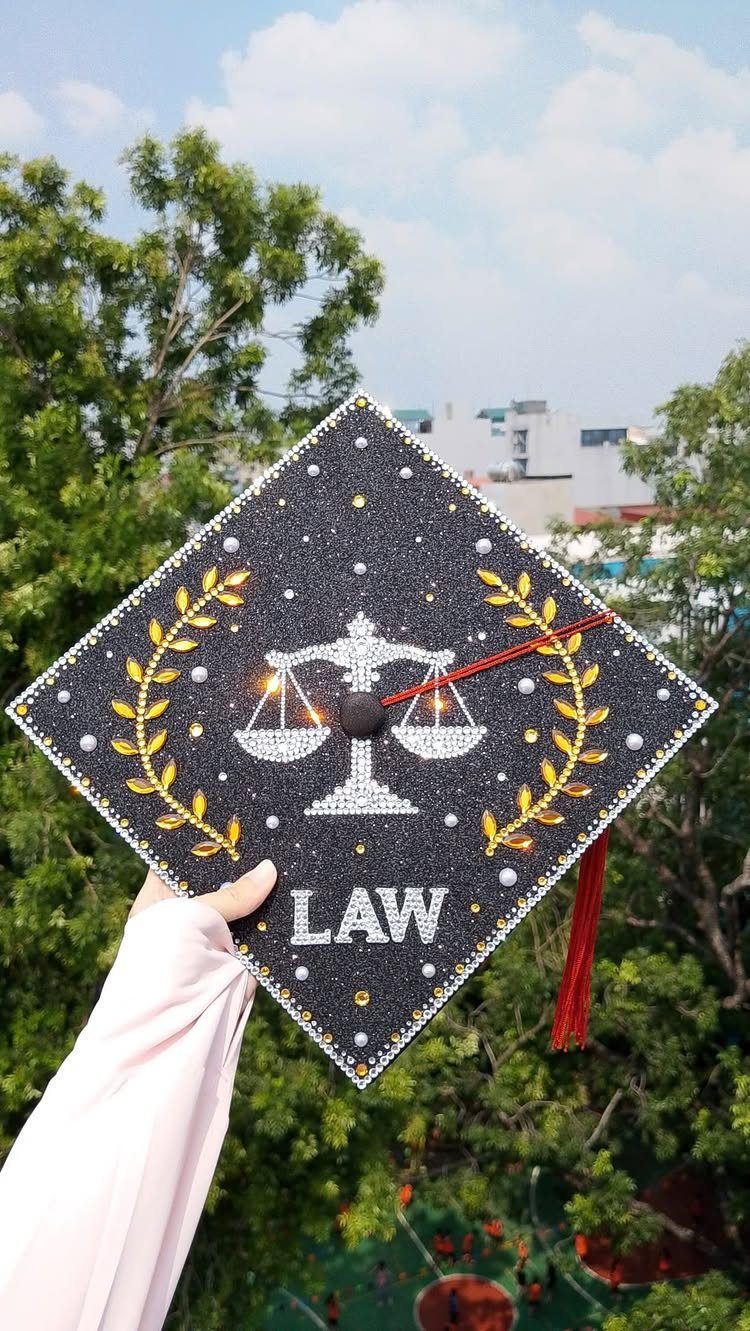
A major on a cap says what the degree was about, and a single symbol does it fastest. Scales of justice, gold laurel leaves and the word LAW make the message clear at a glance.
Silver and gold on black stand out without crowding. Use stick-on letters for the word and a printed or cut-out symbol for the image, then add a laurel sprig on each side.
Pick one symbol per major. Nursing, engineering or art each have an obvious one, and two or three only muddy the design.
7. Painted Lily Graduation Cap
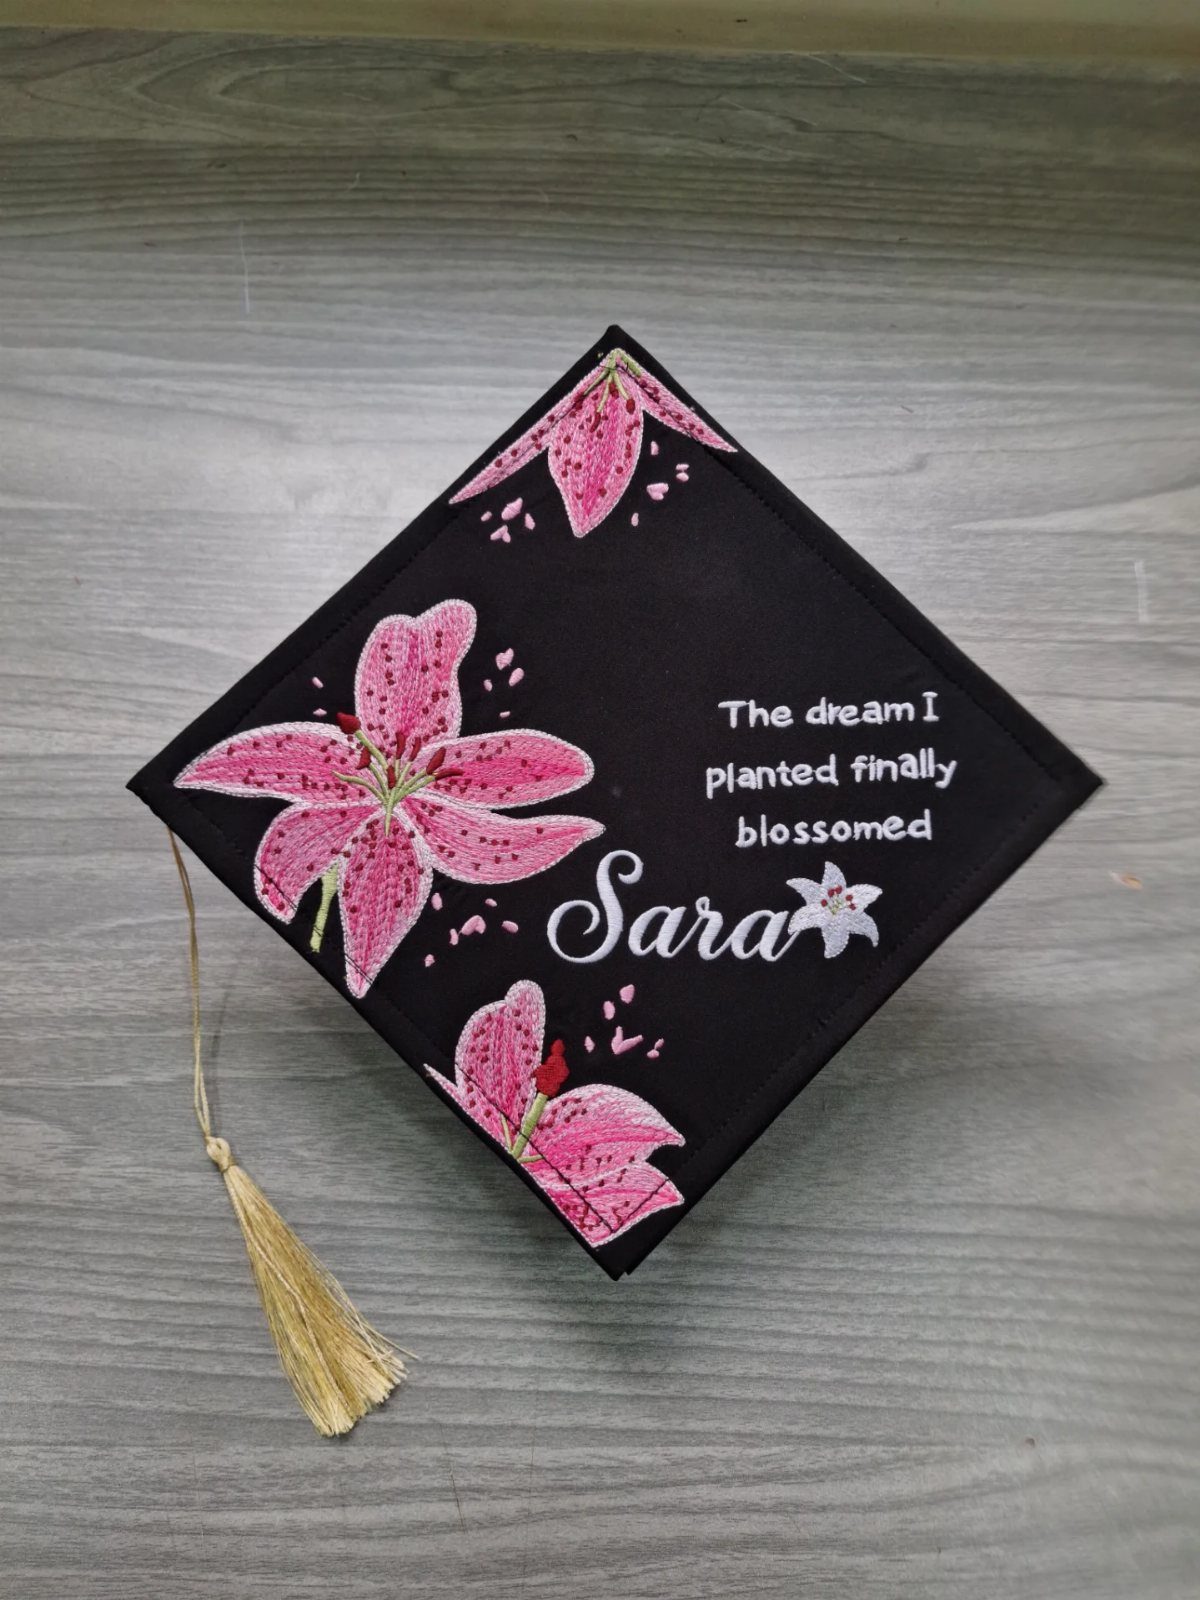
Pink lilies painted across a black cap read as soft and formal at once, and a line of script gives the flowers a message to carry. Black makes the color pop, so the petals need very little detail.
Acrylic paint works on the flat top.
Sketch the lilies lightly in chalk or pencil first, then fill the petals and add a darker pink at the center. Write the calligraphy last, once the paint is fully dry, so the letters stay crisp.
Painting takes patience, so I’d choose this for a graduate who already likes a brush. Without that, printed flower cutouts glued on give a similar look.
Keep the quote short enough to fit the cap.
Materials Needed
Cardstock and scrapbook paper do most of the work, and a single sheet of scrapbook paper from the craft store is enough for a cap top. Felt is the softer option if you want texture.
Stickers or printed images are the quickest way to get a clean design. Sticker or vinyl lettering is optional, as are pompoms, flowers, feathers and rhinestones, so buy those last, after the base is settled.
Pack glue and scissors for the same work session. Pick a glue that suits the material: paper takes a basic craft glue, while heavier trims need something stronger.
For more oomph, make your hat 3D. Glue on silk flowers, pompoms, feather, or rhinestones, for instance.
— WikiHow
Personalization Tips
Let the graduate choose the message. A name, the graduation year, school colors or a short quote all fit on a cap, and the best ones feel like the person wearing them.
A profession gives you an easy angle.
An apple or ABCs suits a future teacher, and "earned it!" suits a future registered nurse. Favorite characters, flowers or animals plus the year work just as well, and many graduates lean toward words about the adventure ahead.
For more dimension, build the design up in 3D with silk flowers, pompoms, feathers or rhinestones. A vinyl cutter gives you the crisp edges and consistent height that hand-cutting cannot match.
With younger kids, set out supplies and step back. Not every cap has to match.
Celebration Ideas
A banner, a special breakfast, or a single framed photo signals that this day is different.
Do the cap work ahead of time.
Adult caps measure 9 1/2 x 9 1/2 inches and typically ship within days of the ceremony. Trim a cardstock square to that size, decorate it weeks early, and attach it when the cap shows up.
Mark the center by drawing an X corner to corner, then cut a small hole for the center button. The tassel attaches there, so keep your design clear of it.
Set the finished cap out for the home ceremony so the graduate can walk in already wearing it.